Webmin is an open-source control panel that simplifies server management through a web-based interface. Instead of complex command-line operations, administrators can manage system settings, services, and applications through their browser. Running Webmin on Kamatera lets you efficiently control everything from file management to service configuration, with real-time monitoring and streamlined control of applications like NGINX, Apache, and MySQL.
Here is a step by step guide to manage a server with Webmin on the Kamatera platform.
Create an account on Kamatera
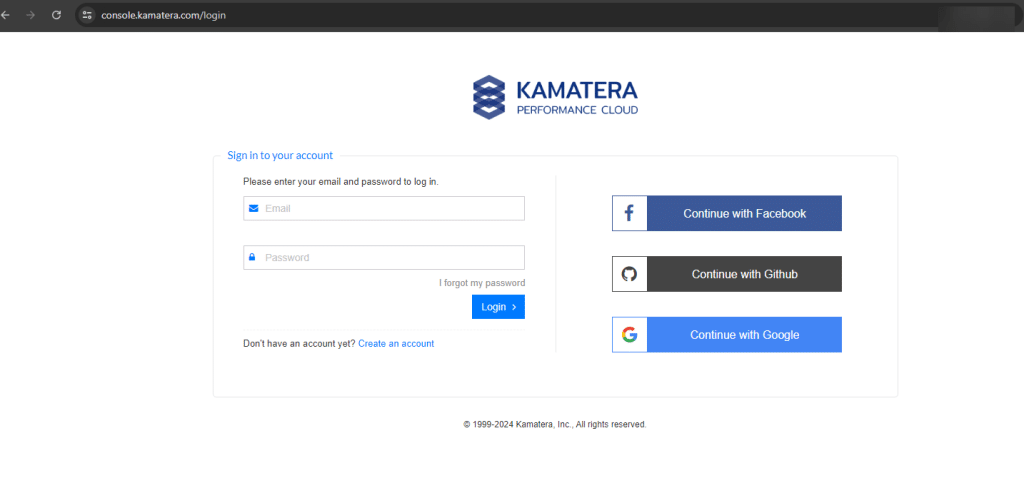
- Enter your credentials to access the Kamatera management console. Click Login.
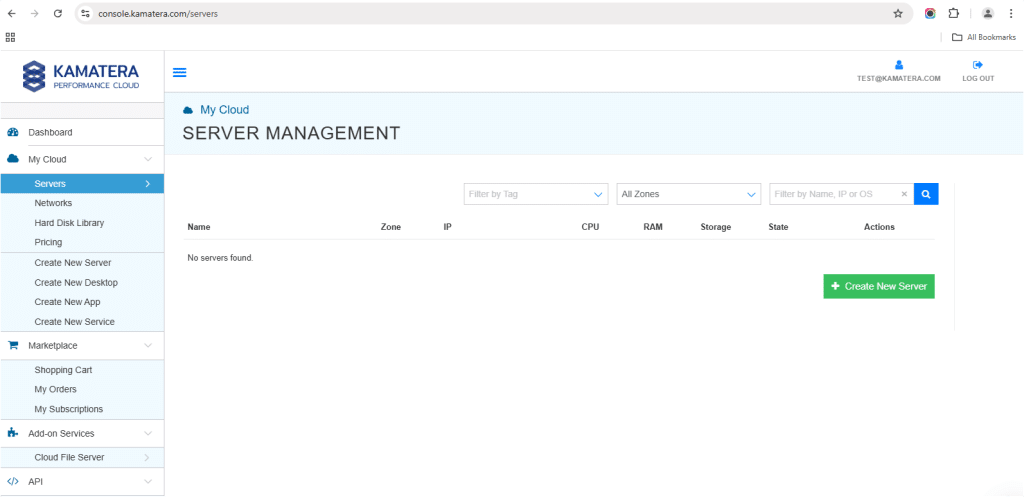
2. Navigate to My Cloud on left hand side. Select Servers.
On the left-side navigation menu, click on Create New Server or use the Create New Server option on the right-hand side.
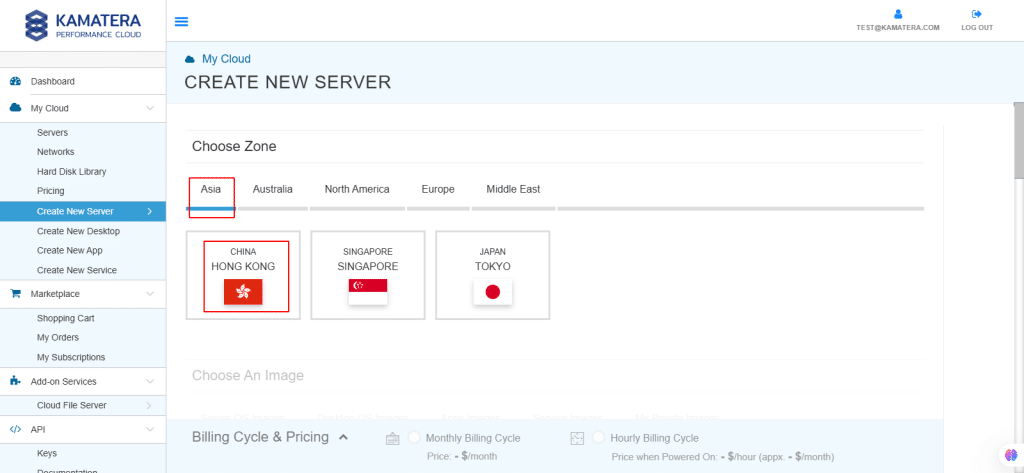
3. Choose the zone from the following options:
- Asia
- Australia
- North America
- Europe
- Middle East
Depending on the zone you select, the available countries will be displayed.
For this example, we chose the Asia server domain to set up the Ubuntu Server.
4. Kamatera offers a variety of app and server images to help users set up preconfigured resources. Users can explore options including:
- Server OS images
- Desktop OS images
- App images
- Service images
- My private images
Choose Apps Images and select Webmin.
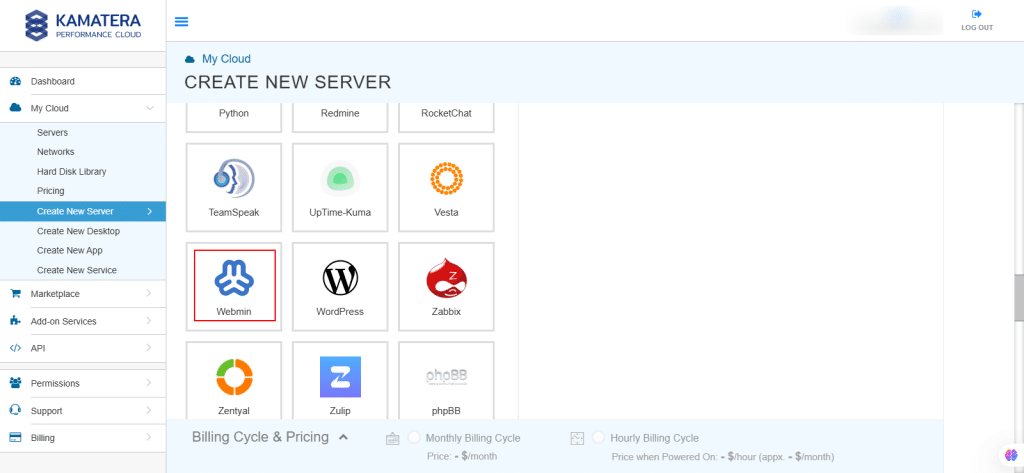
5. In Choose Version, select the latest version of Webmin Server.
Here, webmin-latest-ubuntu server24.04 is selected.
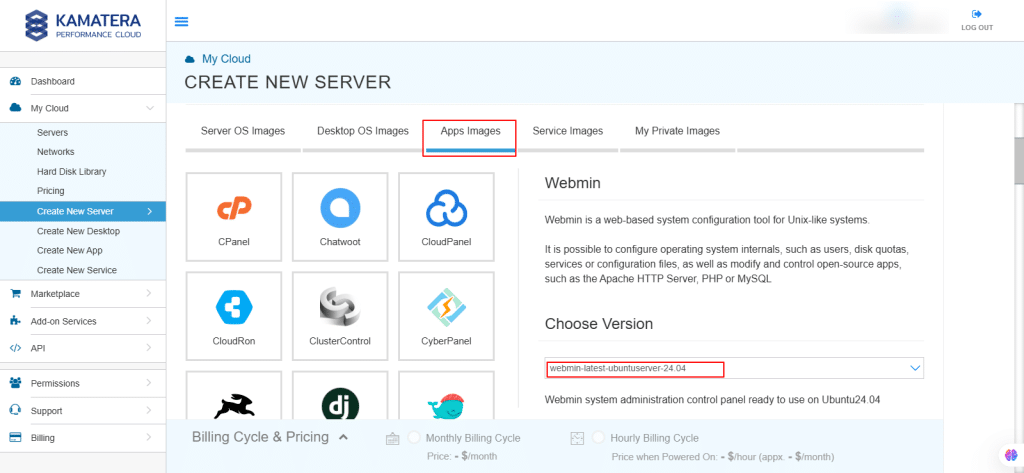
6. Upon selecting the version, toggle the Detailed view button to ‘on’ to view the detailed description, including the price. Now it’s time to choose server specs.
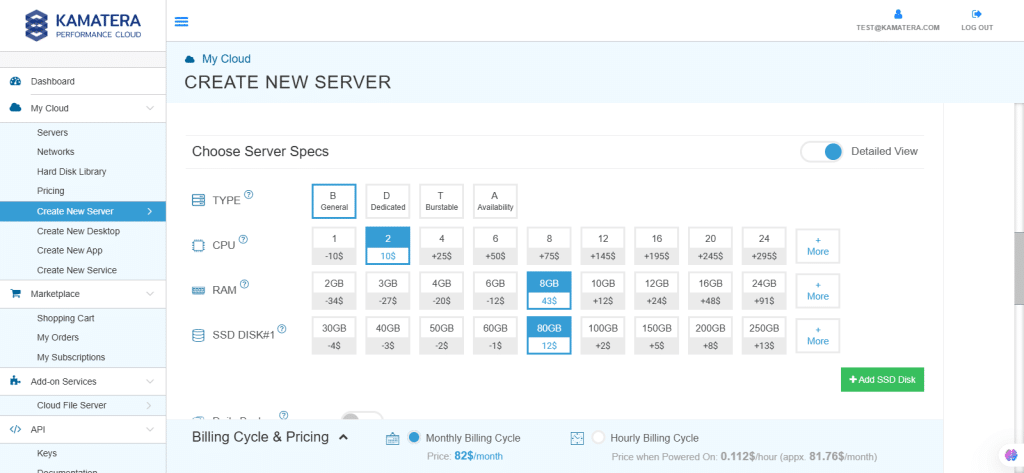
| Field | Description |
| Type | Type B-General Purpose– Server CPU are assigned to a dedicated physical CPU thread with reserved resources guaranteed.
Type D–Dedicated – –Server CPU are assigned to a dedicated physical CPU Core (2 threads) with reserved resources guaranteed. Type T – Burst – Server CPU are assigned to a dedicated physical CPU thread with reserved resources guaranteed. Exceeding an average usage of 10% will be extra charged for CPUs usage consumption. Type A-Availability- Server CPUs are assigned to a non-dedicated physical CPU thread with no resources guaranteed. Note: More information on CPU types is available on the My Cloud- Pricing page. |
| CPU | Choose the number of vCPUs that will be installed on the server. Type B/T can be configured with up to 104 vCPUs per server. Based on Intel’s latest Xeon Processors, 2.7 GHz+. |
| RAM | Choose the amount of RAM that will be installed on the server. Type B/T/D can be configured with up to 512GB RAM per server. |
| SSD DISK | Choose SSD Storage Size. You can add up to 15 SSD Disk. SSD Storage includes unlimited IOPS and unlimited storage bandwidth, free of charge. |
| Daily Backup | Toggle the switch to enable extended daily backups of your server’s storage to external backup storage. |
| Management Services | Toggle the switch to enable Management Services to the server’s operating system by Kamatera’s technical support team. |
7. Choose Networking
Users can select the network they wish to use, whether it’s a public Internet network or a private local network.
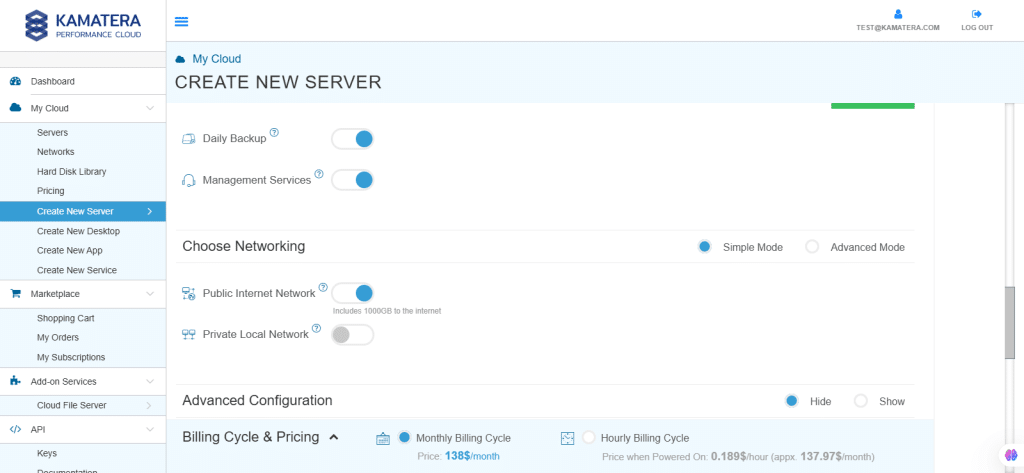
| Field | Description |
| Public Internet Network | Check to connect the server to a network interface connected to Public Internet Network. |
| Private Local Network | Check to connect the server to a network interface connected to Private Local Network. |
8. Advanced mode
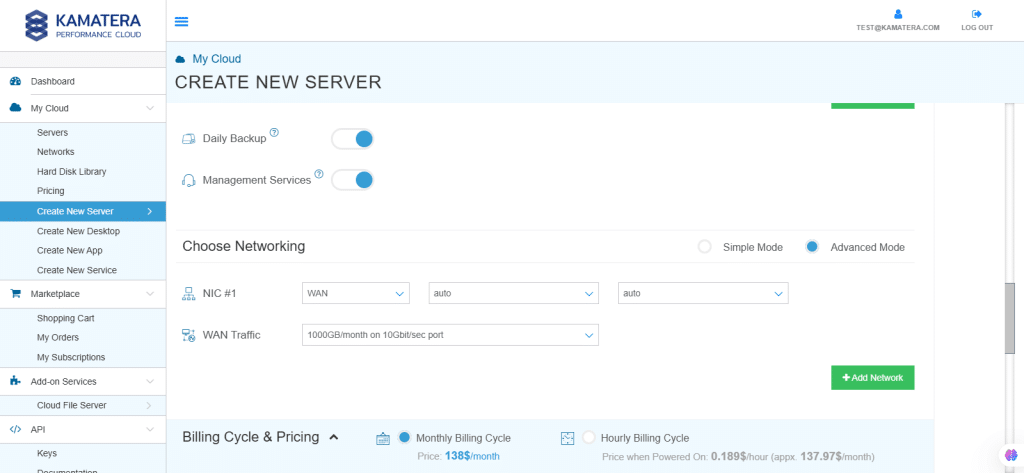
| Field | Description |
| NIC #1 | Select WAN from the options available in the drop-down menu.
Select auto from the options available in the drop-down menu.
Select auto from the options available in the drop-down menu.
|
| WAN Traffic | Select 5000 GB per month/ on 10 Gbit per second port. |
9. Advanced Configuration
Hide: If you want to hide the advanced configuration.
Show: If you want to see the advanced configuration.
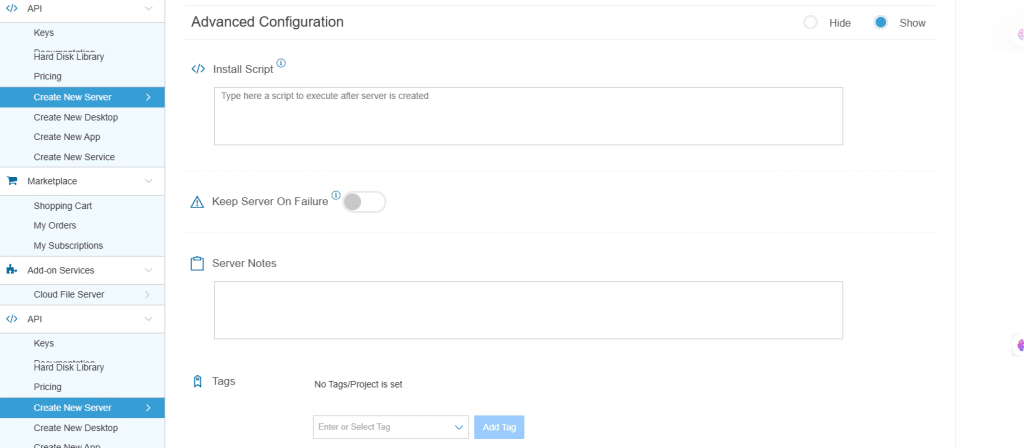
| Field | Description |
| Install Script | Enter the script here to execute once the server is created.
Note:For Windows system use Power Shell. |
| Keep Server On Failure | Do not terminate server if Start up Script or Provisioning Fails |
| Server Notes | Enter any server notes to be noted. |
| Tags | Select the Tags from the drop-down menu and click Add. |
10. Finalize Settings
Finalize settings by setting the password, re-validating it, selecting the number of servers, specifying the server name, and enabling the Power On Servers option.
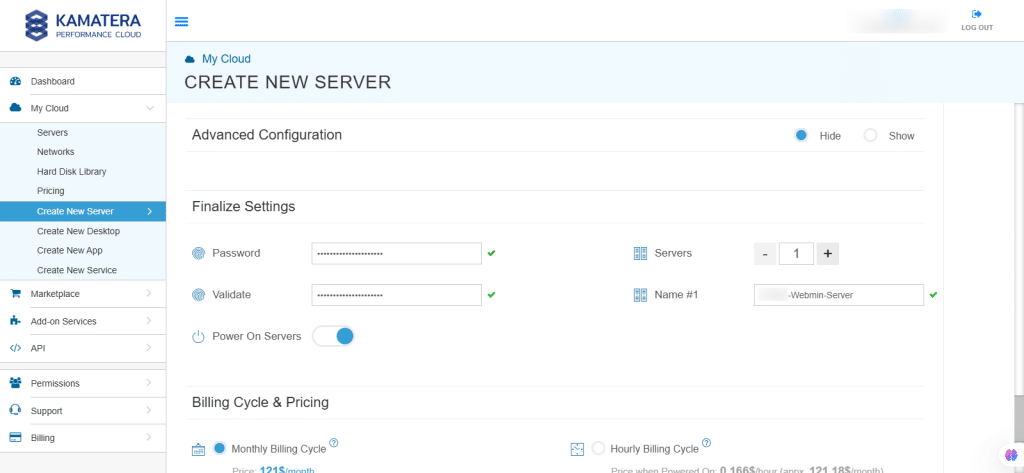
| Field | Description |
| Password | Select password
Password allowed characters: a-z, A-Z,0-9 !@#$^&*()~ and must need the following requirements:
|
| Validate | Re-enter the password to validate. |
| Servers | Select the number of servers you want. |
| Name # 1 | Enter the name of the server. |
| Power On Servers | Switch on the toggle button to see the details |
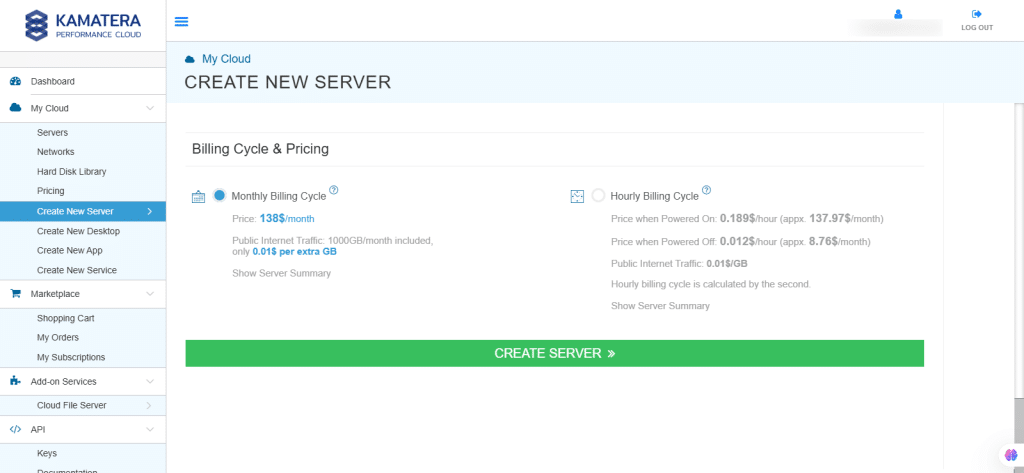
11. Billing Cycle and Pricing
You can choose between Monthly Billing Cycle and Hourly Billing Cycle.
Note: The Server Summary displays the location, operating system (including server specifications), add-on services, servers, and pricing.
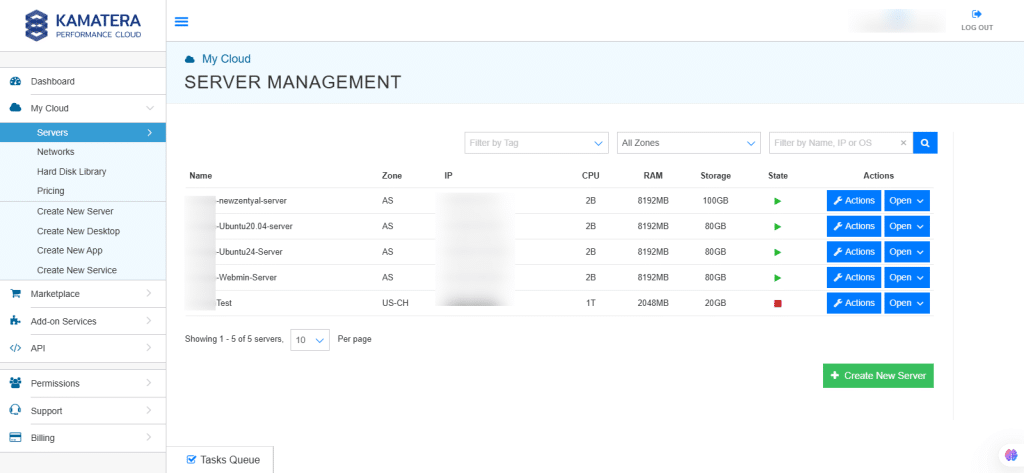
12. The server is added to the Tasks Queue. Once the server is created successfully, click on Open beside the server’s name.
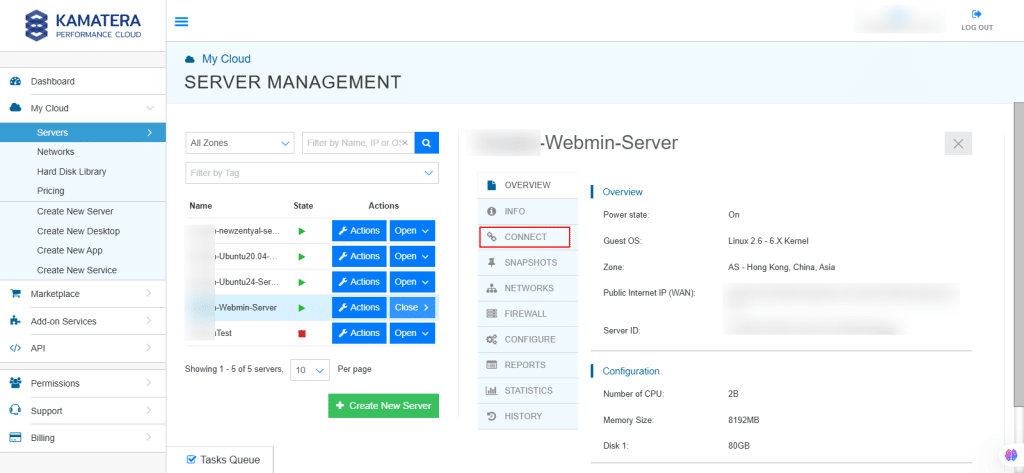
13. On the right, the overview of the server is displayed. Click on Connect.
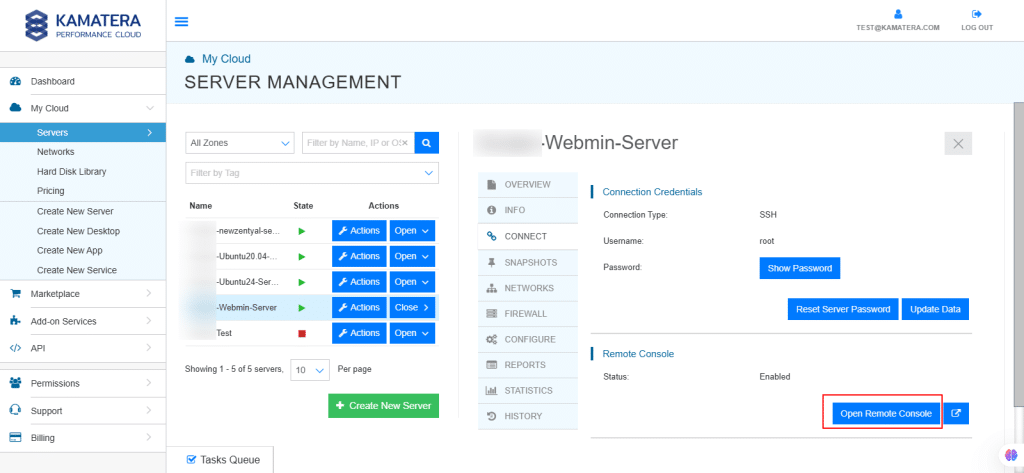
14. Connection credentials like username and password are displayed. Under Remote Console, click Open Remote Console.
Set up your Webmin image
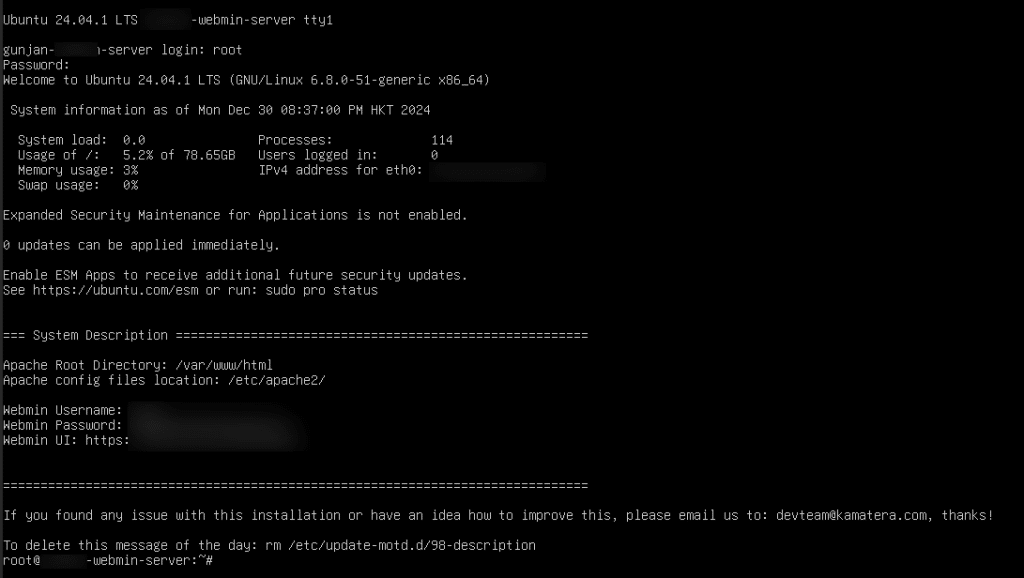
15. You will be directed to the Ubuntu terminal.
Enter the username and password you set during setup. After the credentials are entered, Webmin server’s username, password, and URL is displayed on the screen. Use these credentials when signing in to the Webmin user interface.
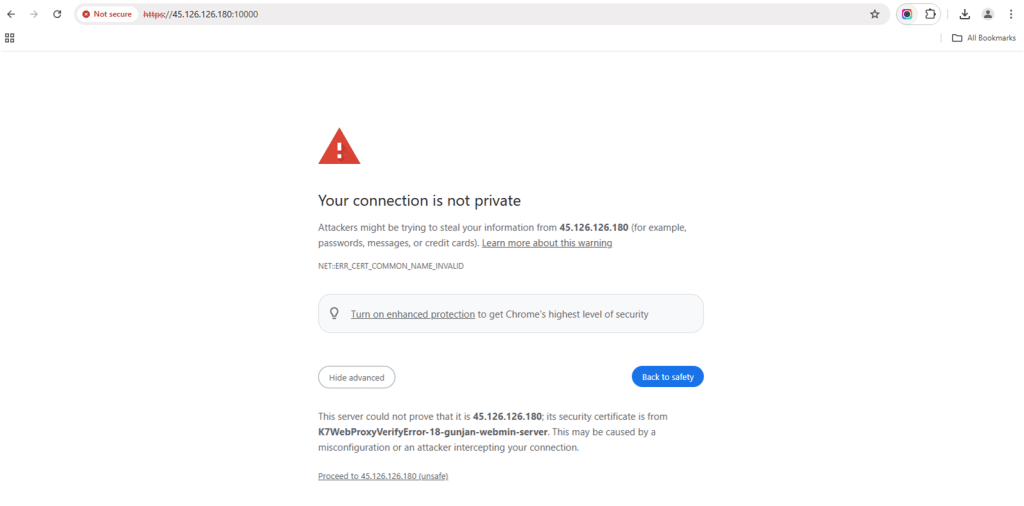
16. Open a browser and navigate to: https://<server-ip>:10000
Click on Advanced.
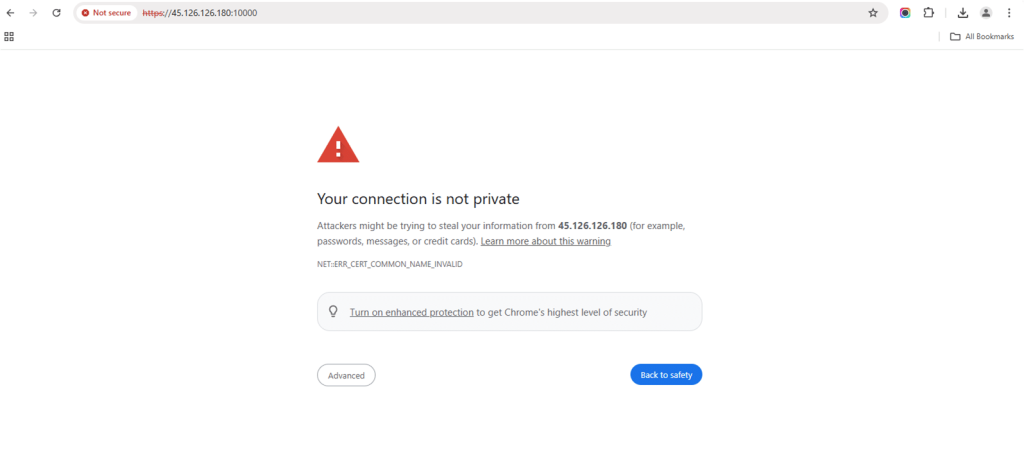
17. Click on Proceed to <server-ip>.
18. Webmin login page opens. Enter username and password and click Sign In.

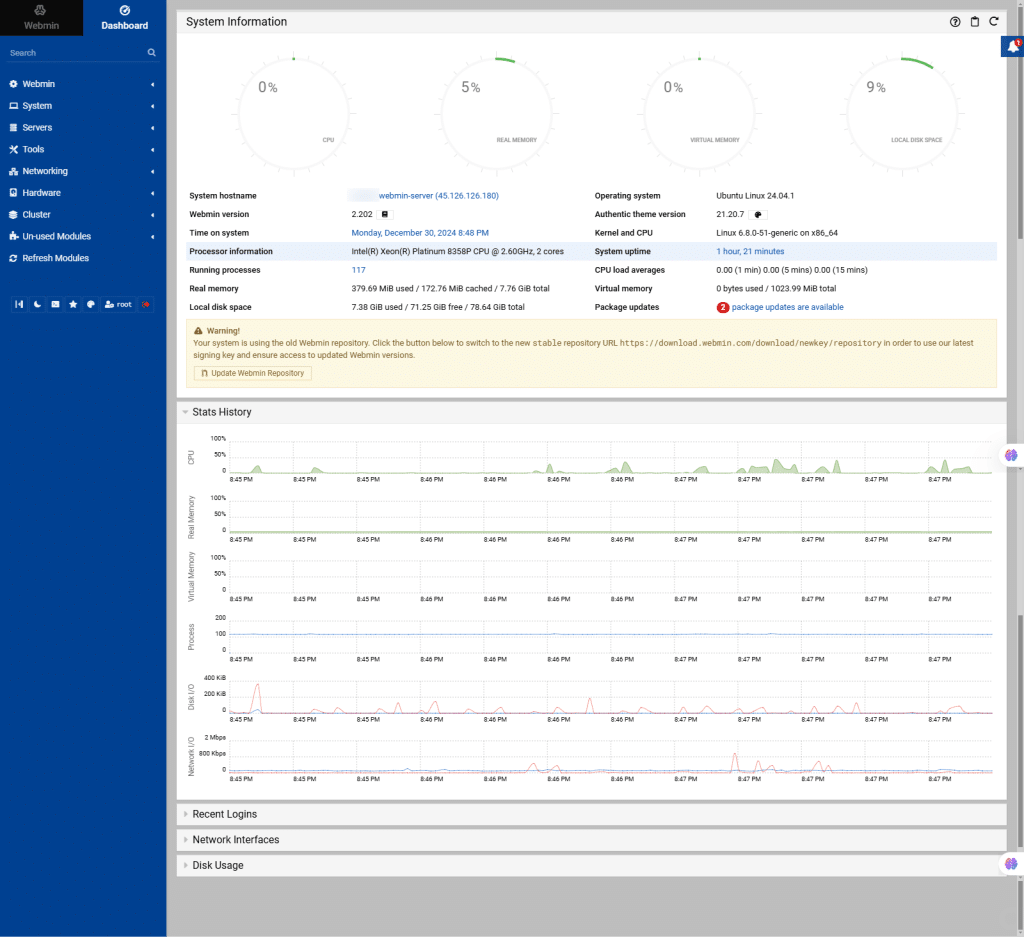
19. On the screen below, you can see Webmin’s user interface. Here is where you can perform various tasks, such as editing configuration files and running commands to create accounts, managing email forwarding, and setting up a web server. Through Webmin, you can easily administer your system.
Stats History refers to a feature that tracks and displays historical data about your server’s performance or activity. This can include logs or graphical data on aspects like CPU, disk space, and memory etc.
20. From the left navigation menu, select Webmin.
Configure and Backup your Webmin files
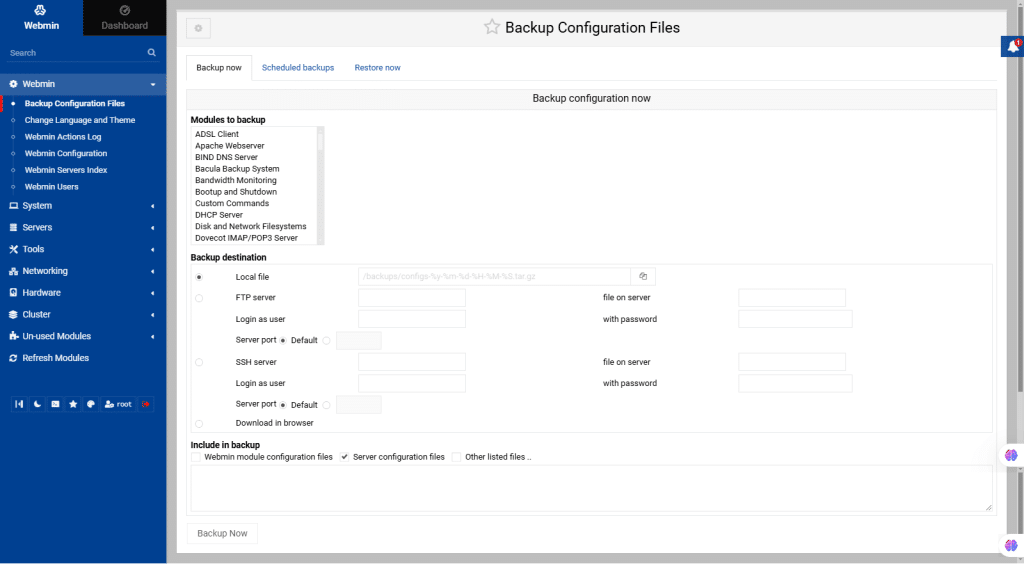
Backup Configuration Files
Using this module, you can manage system configuration files and back them up. This feature allows you to create and restore backups of these files, ensuring system settings can be recovered. While designed for single-system backups, restoring backups on different systems requires matching OS and version.
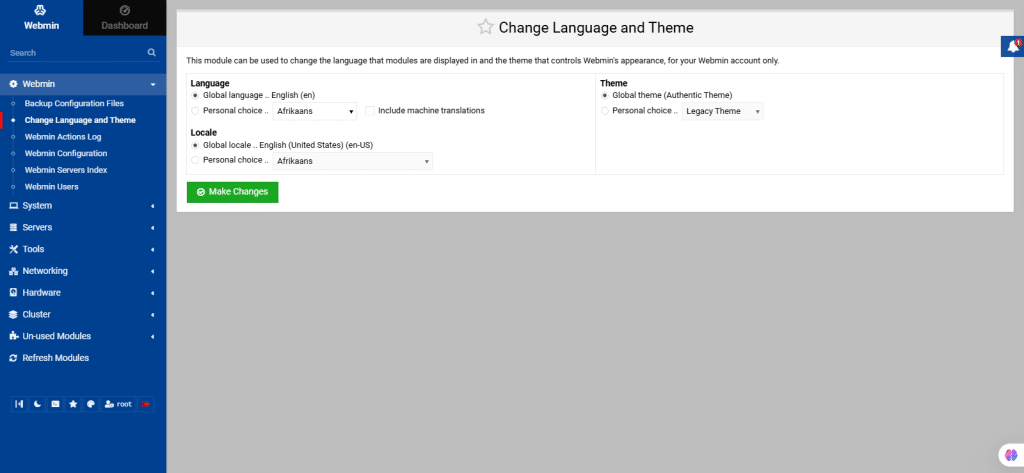
21. Change Language and Theme
All changes made in the Change Language and Theme module are user-specific and unaffected by global settings.
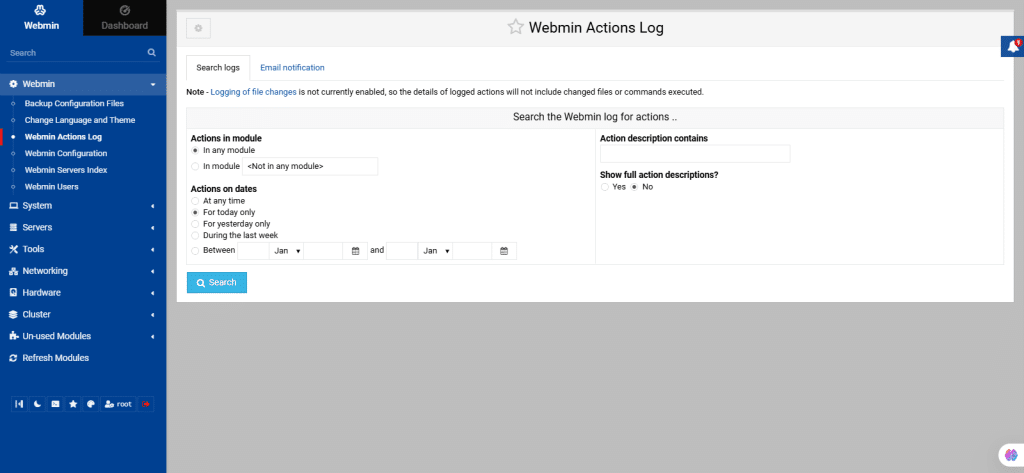
22. Webmin Actions Log
The Webmin Actions Log records system changes made through Webmin, such as creating users or updating settings. Unlike the /var/webmin/miniserv.log file that logs all page visits, the actions log focuses on system-altering actions.
23. Webmin Configuration
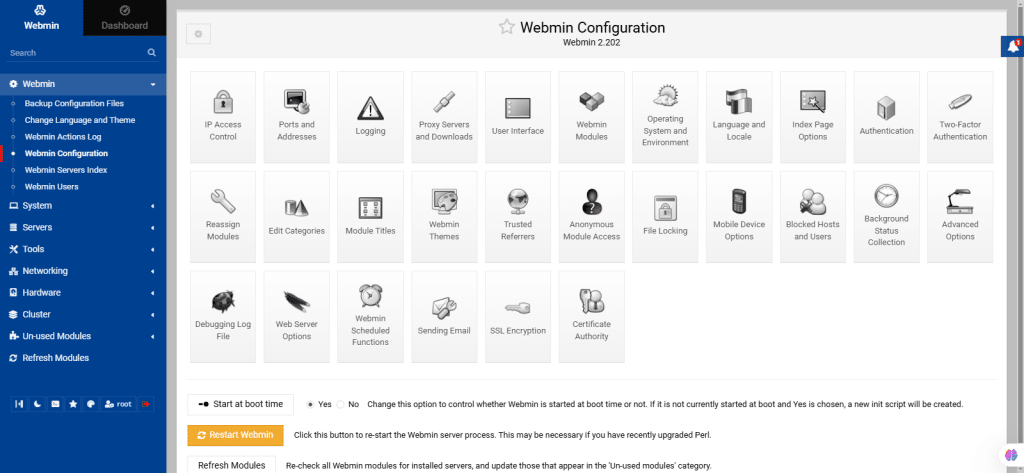
This module is used to configure Webmin itself, unlike other modules designed to manage external servers or services. It allows you to:
- Change Webmin’s port or access restrictions.
- Limit client addresses that can connect.
- Modify the interface theme and language.
- Install new modules.
By clicking on the icons displayed on the screen, it leads to a form for adjusting specific settings.
24. Webmin Servers Index
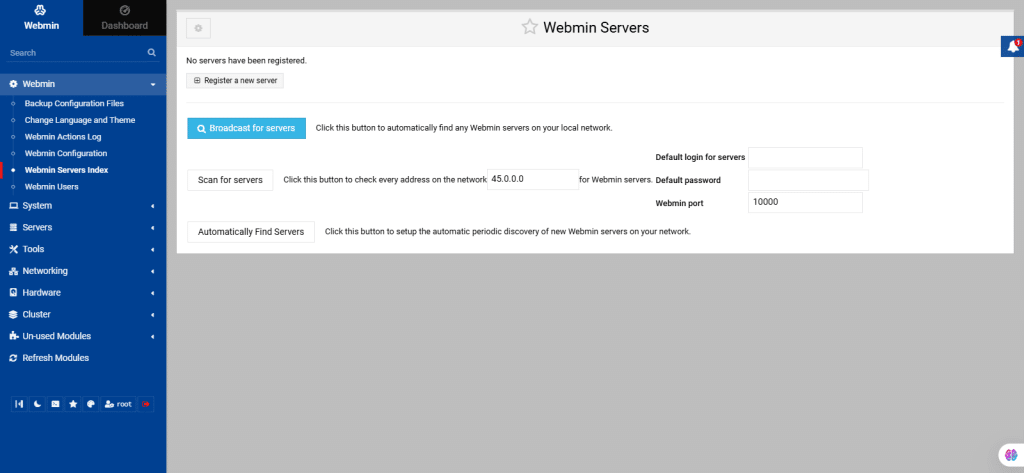
This module serves two main purposes:
- It creates a master index of other Webmin-enabled systems on your network. Each system is displayed as an icon, which can link directly to the server or provide a tunneled connection for automatic login with traffic routed through the master server.
- It also defines systems that can be controlled by a master Webmin server using the System and Server Status module or Cluster modules. Communication between master and slave systems uses a special RPC protocol, requiring Webmin to be installed on all systems.
Accessing the module displays a table of server icons, which is initially empty. Use the provided buttons on the screen below to discover Webmin servers on your local network.
25. Webmin Users
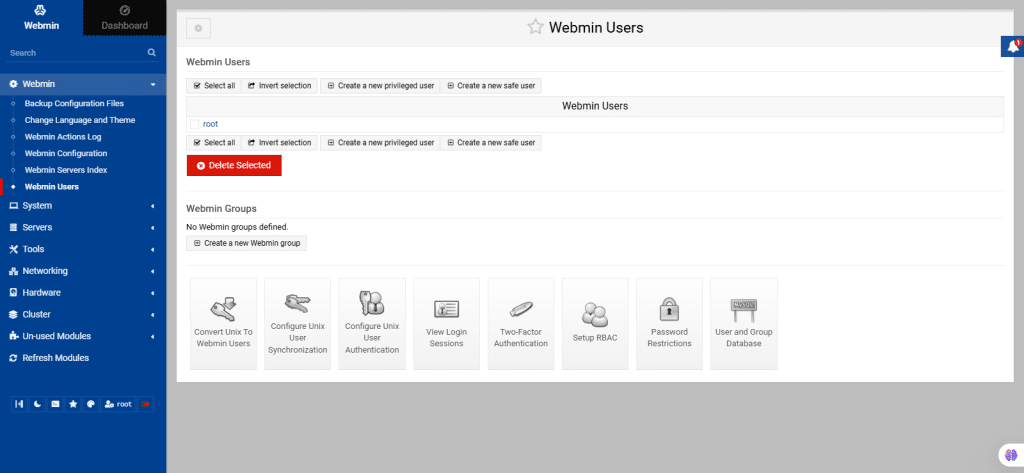
Webmin often comes with a single user, named root or admin, who has full access to all features and modules. For single-user systems or environments with only one administrator, this setup is often sufficient, even if multiple system users exist.
26. From the left navigation menu, select System: Bootup and Shutdown
This module shows how to manage servers and services that start at boot time and also provides tools to configure custom commands to run during system startup using Webmin.
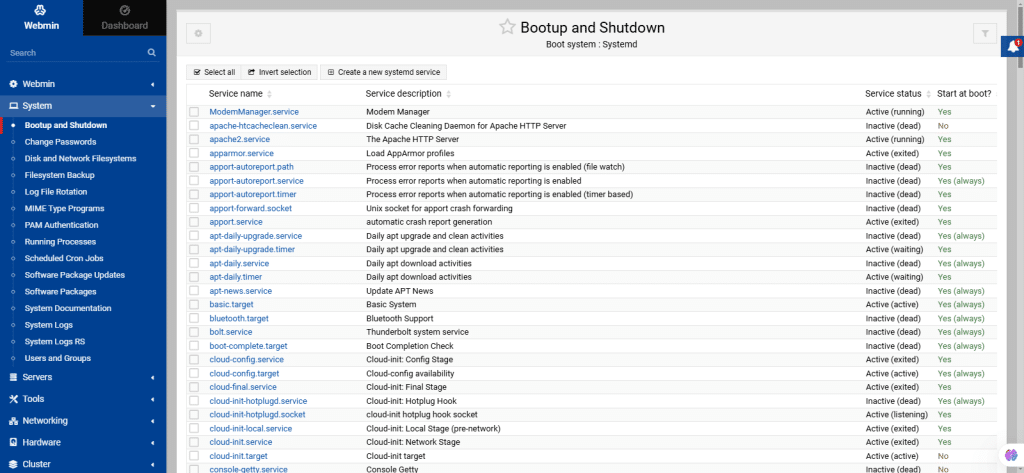
Completing different admin processes with Webmin
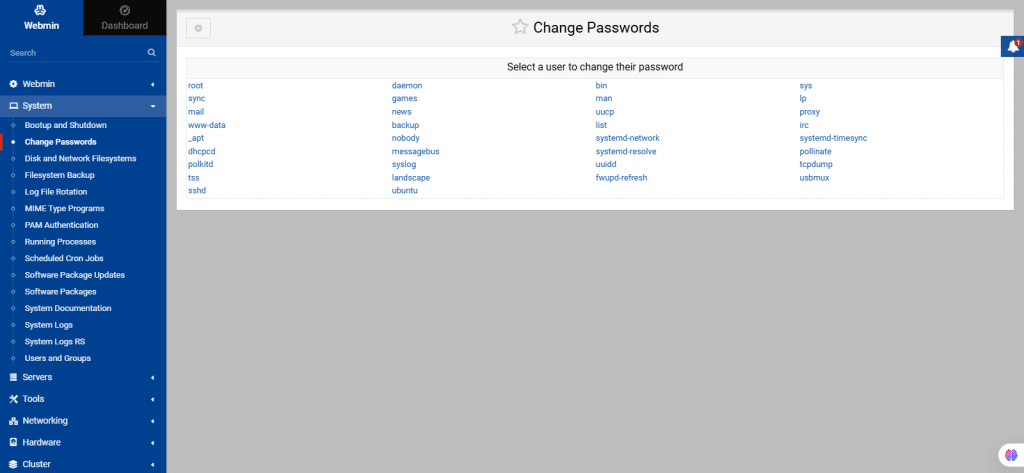
27. Change Passwords
By using this module, you can change the Unix user’s passwords.
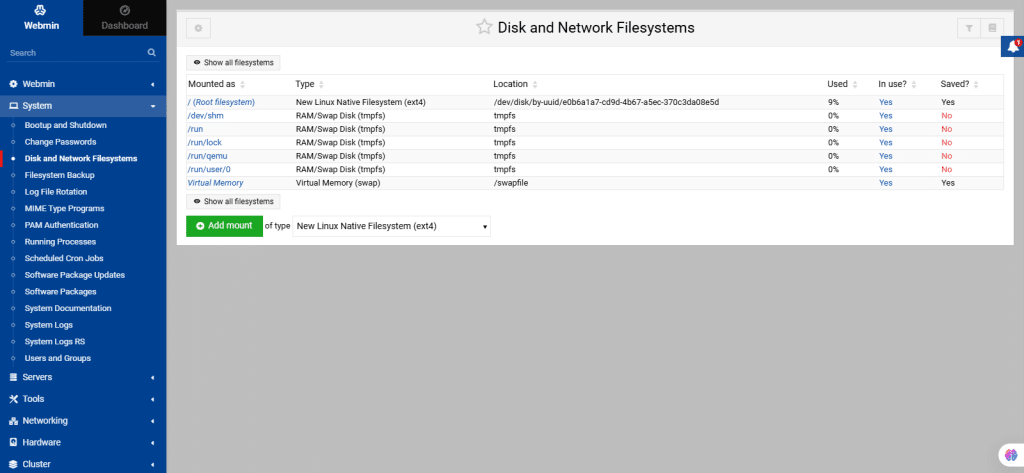
28. Disk and Network Filesystems
By using this module, you can cover how to mount filesystems, whether from local disk partitions or remote file servers, using Webmin.
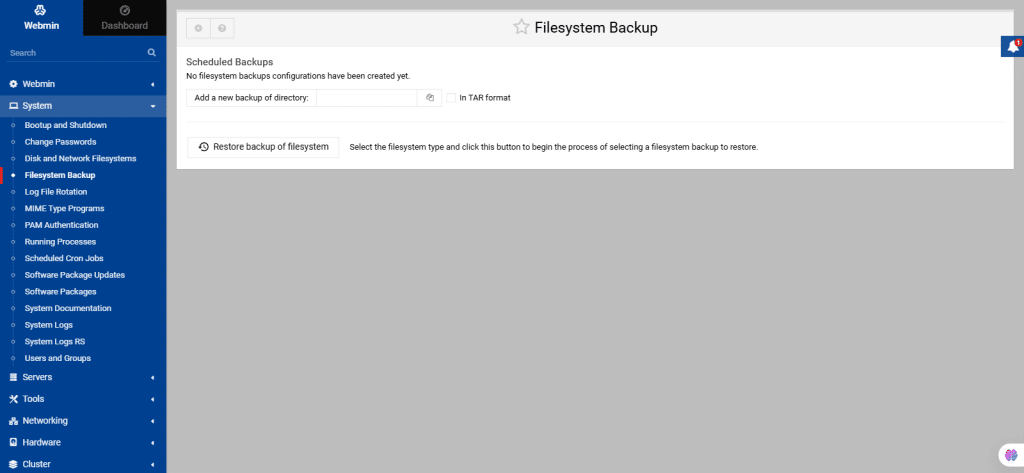
29. Filesystem Backup
This module explains common Unix backup commands and how Webmin utilizes them to perform one-time or scheduled backups and restores.
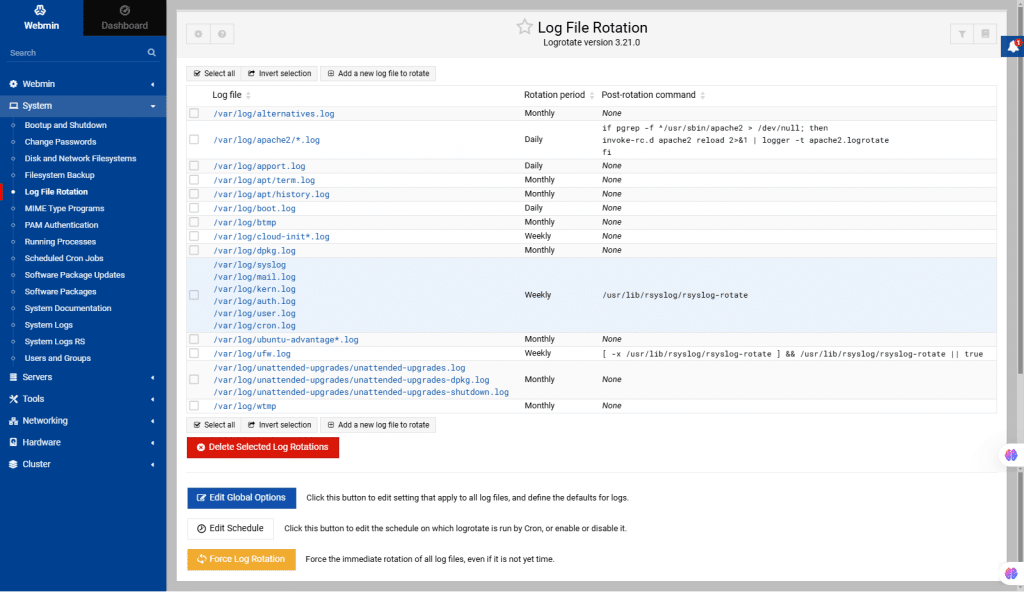
30. Log File Rotation
Log file rotation automatically truncates, compresses, and deletes log files to prevent excessive disk usage. This module configures the log rotate program to manage logs from different services.
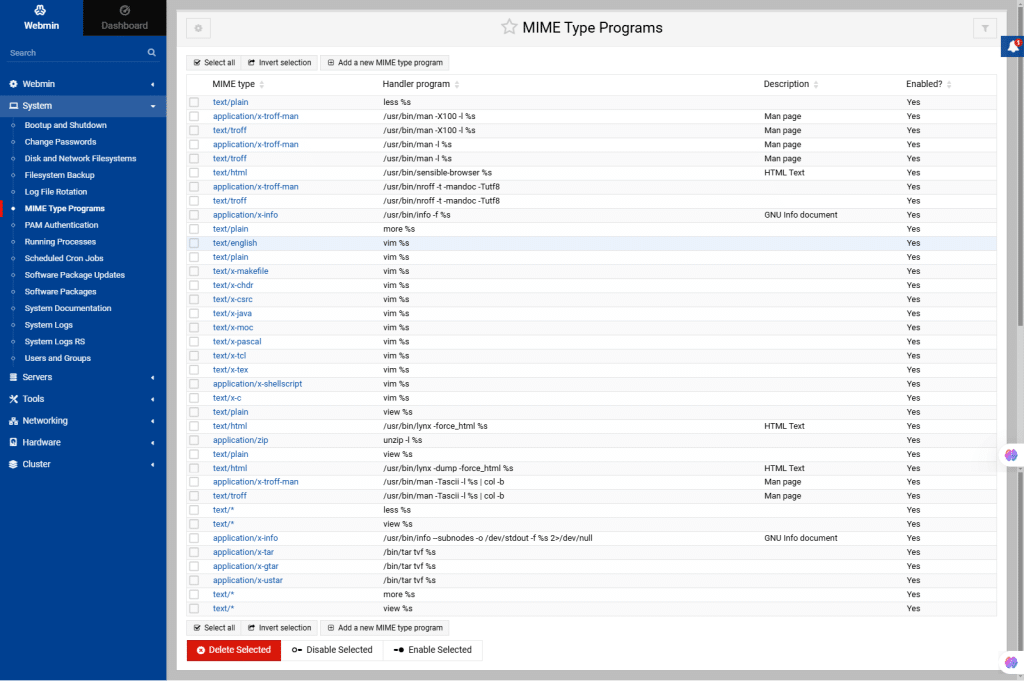
31. MIME Type Programs
MIME Types are used to define the data type of an object, helping clients interpret the data. Even though initially designed for email, MIME has become the standard for many network connections. The MIME Types Programs module in Webmin lists the accepted MIME types and their associated extensions.
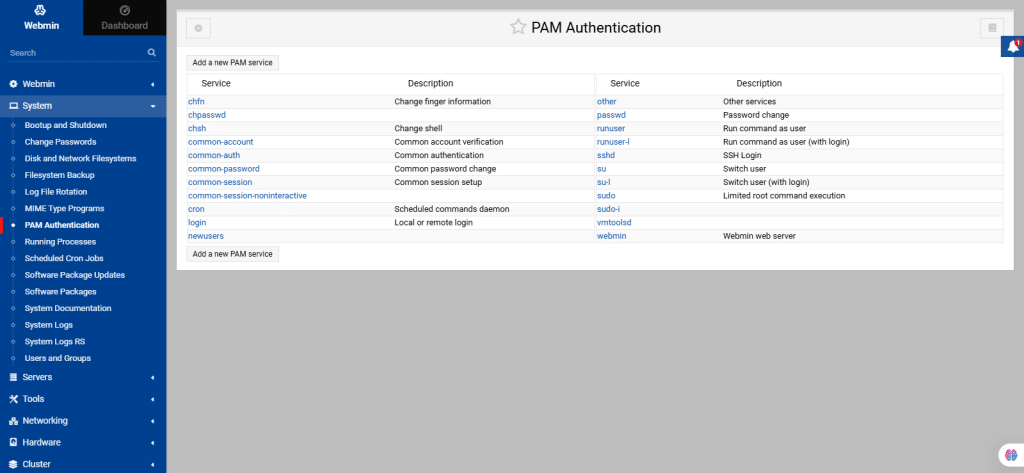
32. PAM Authentication
PAM is used to manage authentication on Unix-like systems. The PAM Authentication module in the Webmin allows you to configure how users authenticate to the system, supporting methods such as passwords, biometrics etc. It enables easy integration of different authentication methods, ensuring flexibility and security in user management.
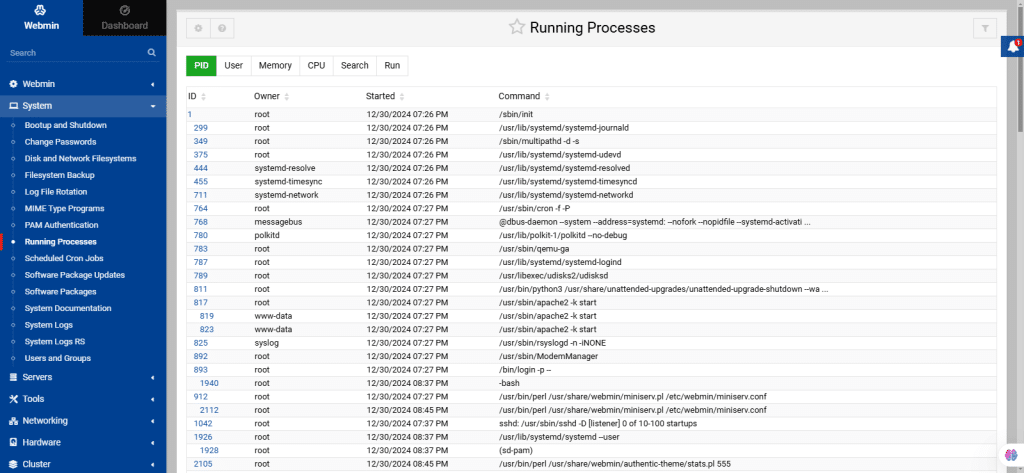
33. Running Processes
It shows how to manage running processes on your system using this module.
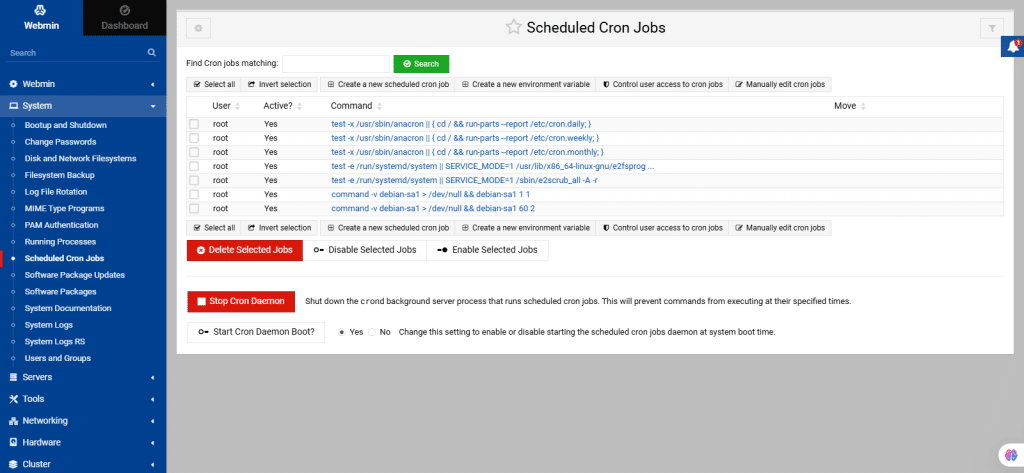
34. Scheduled Cron Jobs
This module lists jobs scheduled by Webmin or other modules like Filesystem Backup. Unlike Scheduled Commands which are executed once, cron jobs run periodically, for example hourly or weekly.
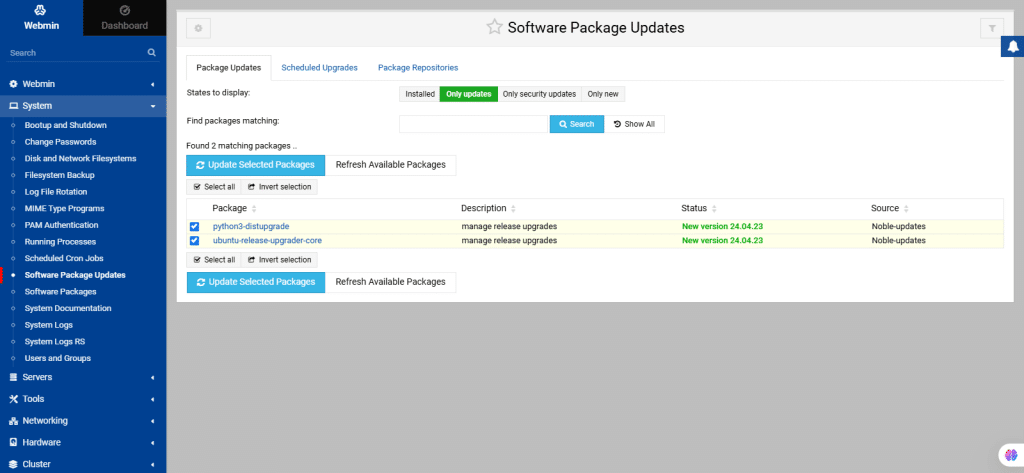
35. Software Package Updates
This module shows the available updates and provides for actual updating.
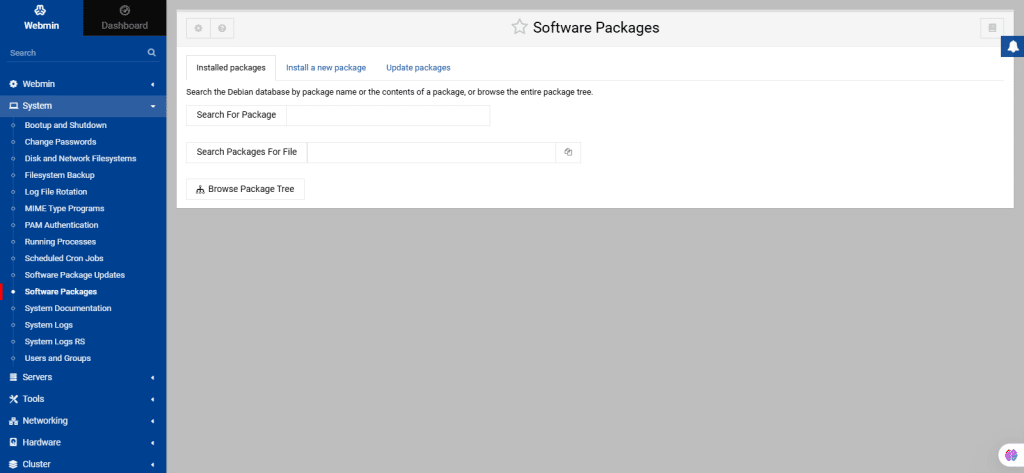
36. Software Packages
This module covers installing and managing software using packages.
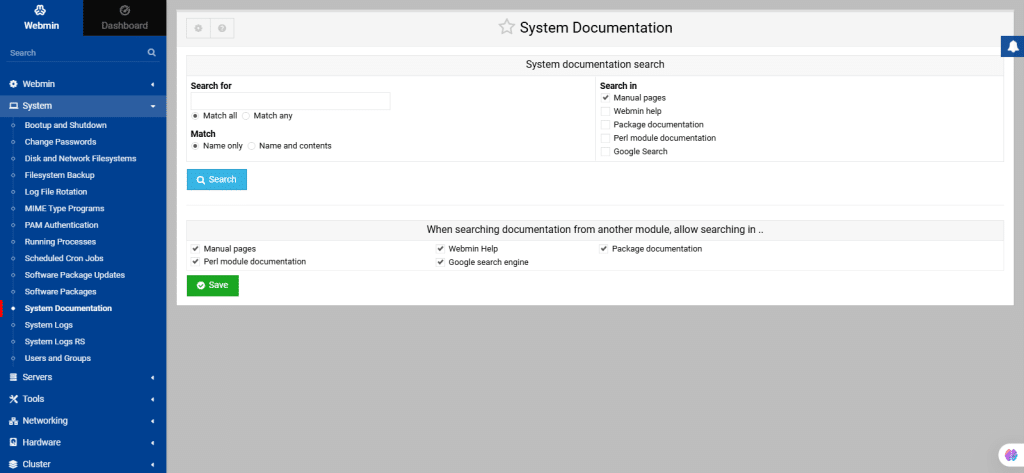
37. System Documentation
This module allows you to search for documentation on your system. Enter search terms, select document types, and choose whether to match all or any words. You can search by file name or content (the latter takes longer). Click Search to view matching results and access specific documents.
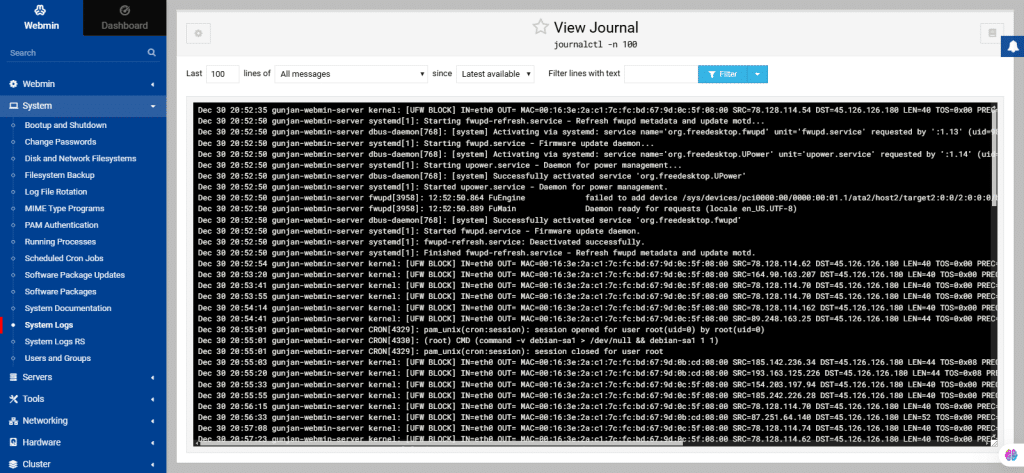
38. System Logs
Through this module, you can manage log files created by the Operating System.
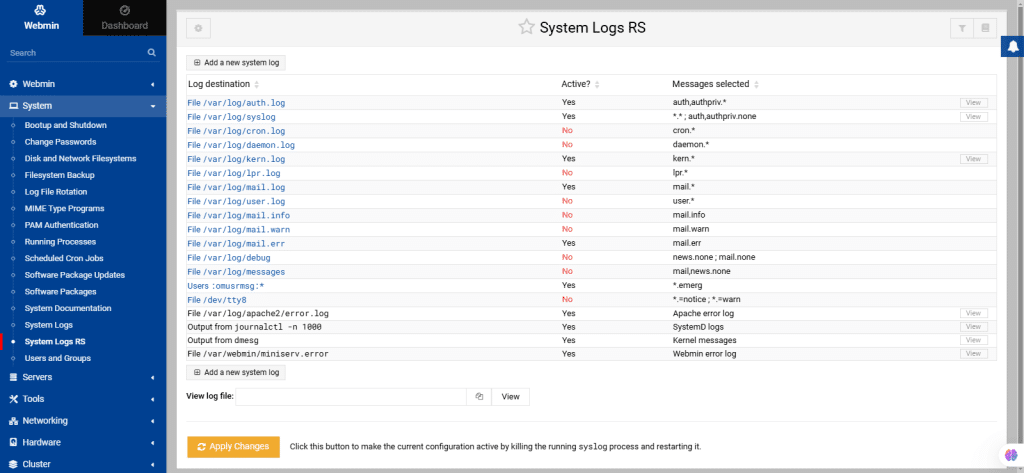
39. System Logs RS
This module supports an open-source implementation of the syslog protocol. It offers advanced features like content-based filtering, flexible configuration, and TCP transport.
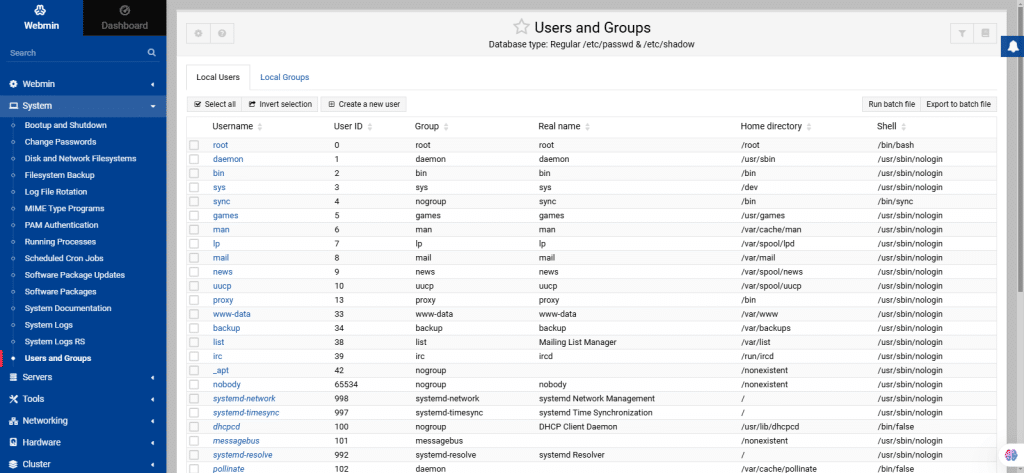
40. Users and Groups
This module allows you to create and manage Unix user accounts and Unix groups.
41. From the left navigation menu, select Servers.
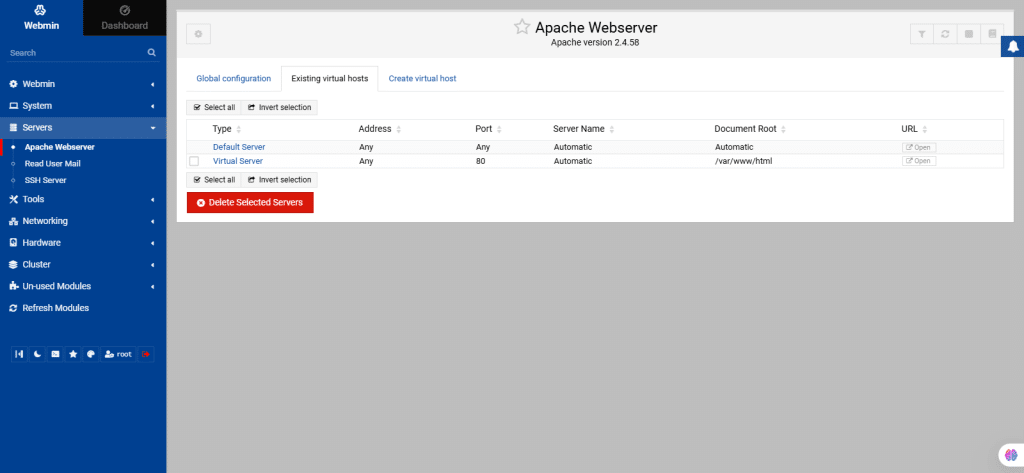
Apache Webserver:
This page explains how to configure the Apache Webserver using Webmin, covering topics like virtual hosts, IP access control, password restrictions, and more.
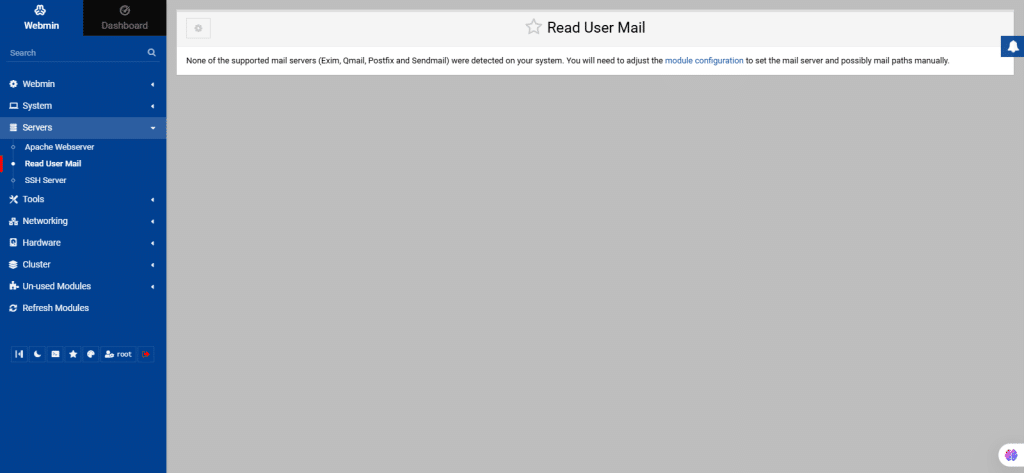
42. Read User Mail
The Read User Mail module provides web-based user mail access, independent from the actual mail server. Click Module Configuration to set the mail server and mail paths manually.
43. SSH Server
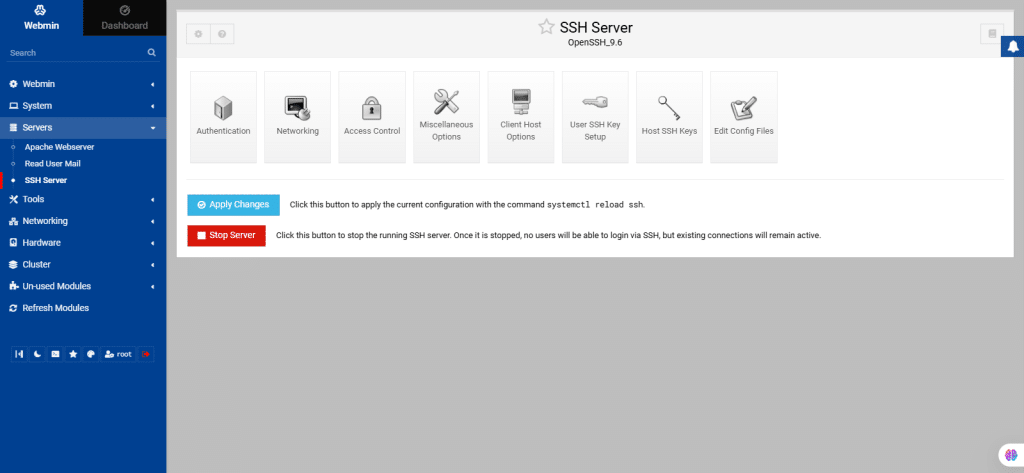
SSH (Secure Shell) is a protocol that is used for securely logging in and transferring files between computers over a network. SSH encrypts traffic, offering improved security compared to older protocols like Telnet and FTP. An SSH server waits for client connections, and both the server and client authenticate each other using keys or passwords. There are two main versions: SSH1 and SSH2, with both supported by popular packages like OpenSSH.
The Webmin SSH Server module is used to configure SSH servers. It allows you to edit the main configuration files (sshd_config for servers, ssh_config for clients) and apply changes. If no SSH server is installed, Webmin will prompt you to install OpenSSH or the commercial SSH package.
44. From the left navigation menu, select Tools.
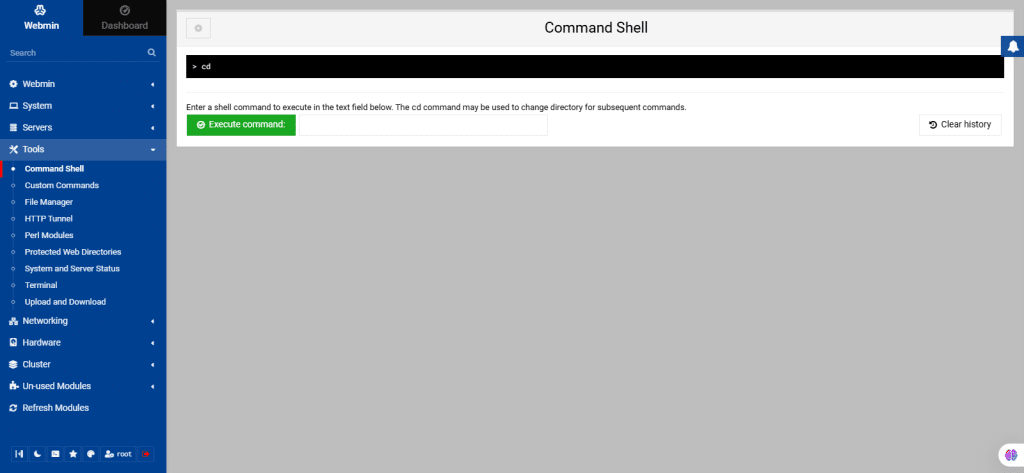
Command Shell:
This module in Webmin allows you to run shell commands remotely.
Enter a command and click Execute command to run it, with output displayed above.
You can even re-run previous commands from the history menu or clear the command history using the Clear history button.
45. Custom Commands
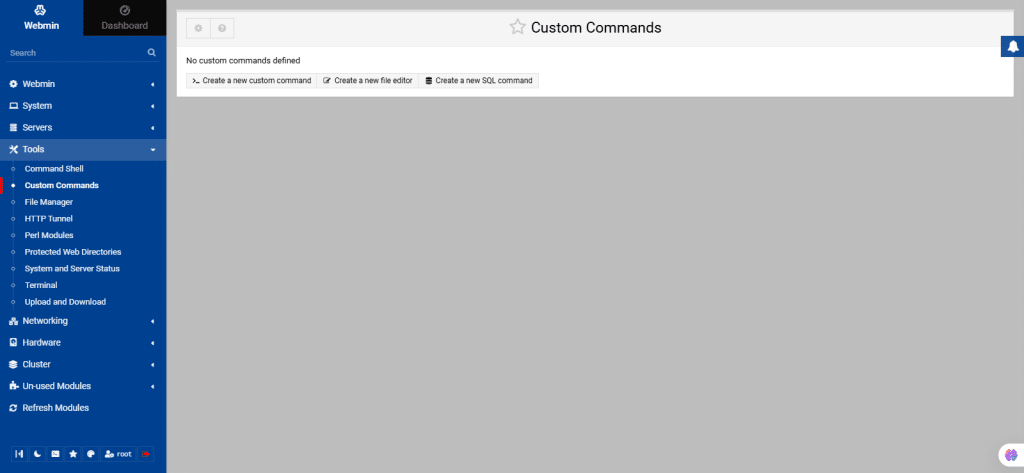
The Custom Commands module in Webmin allows you to create simple web interfaces for shell scripts and commands, so that they can be run from within Webmin. It also allows you to define parameters of various types for each command that can be entered by the user and substituted into the shell command. This can be used to provide additional arguments or input to the scripts that are run, depending on selections made by the user before running it.
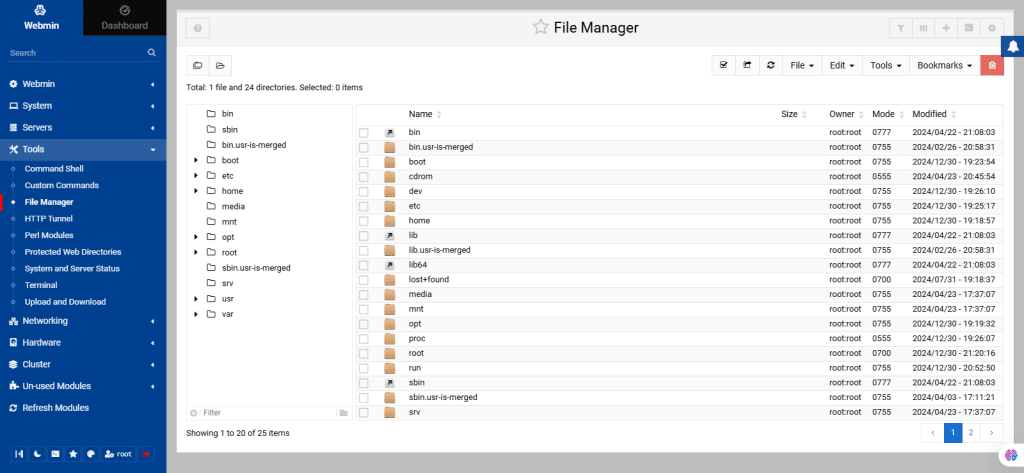
46. File Manager
The File Manager module in Webmin enables users to view and manage server files through an HTML interface, replacing the old Java-based File Manager.
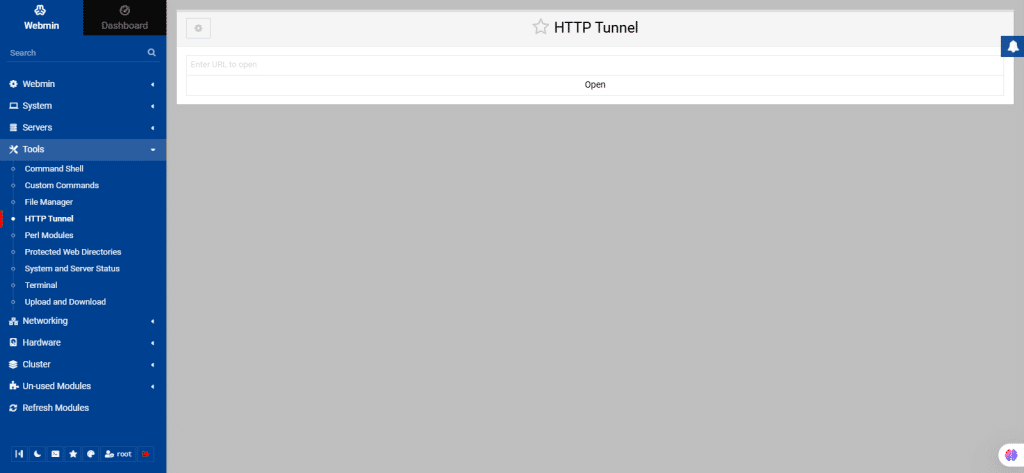
47. HTTP Tunnel
This module in Webmin allows access to a target HTTP server through a Webmin server that is acting as a proxy. This is useful when the target server is behind a firewall or restricted network.
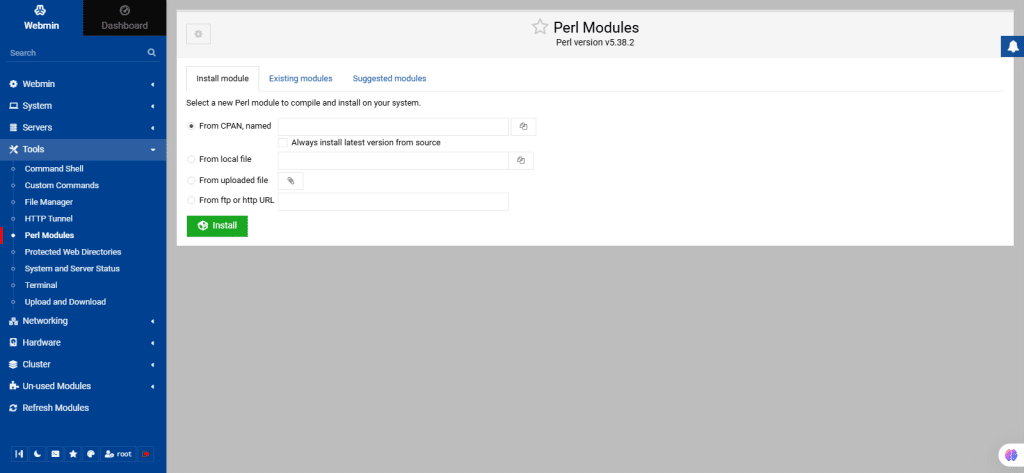
48. Perl Modules
This module lets you view, install, and remove Perl modules. It lists installed modules with details like name, description, installation date, and sub-modules.
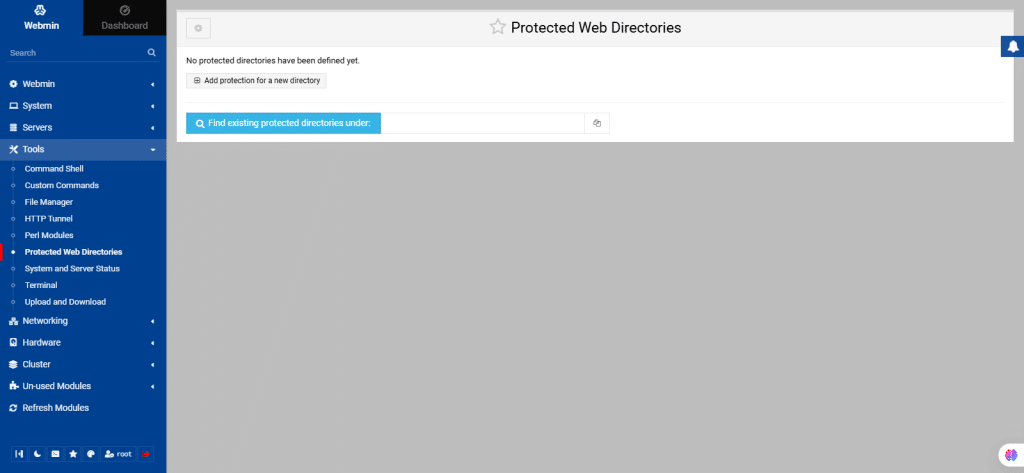
49. Protected Web Directories
This module allows you to manage web directories secured with .htaccess and .htpasswd files. The webserver must permit overriding authentication settings, for this functionality to work.
- .htaccess (Hypertext Access): It is a configuration file used by Apache-based web servers. It allows for decentralized management of web server configuration.
- .htpasswd: This file is used in combination with .htaccess to password-protect web directories.
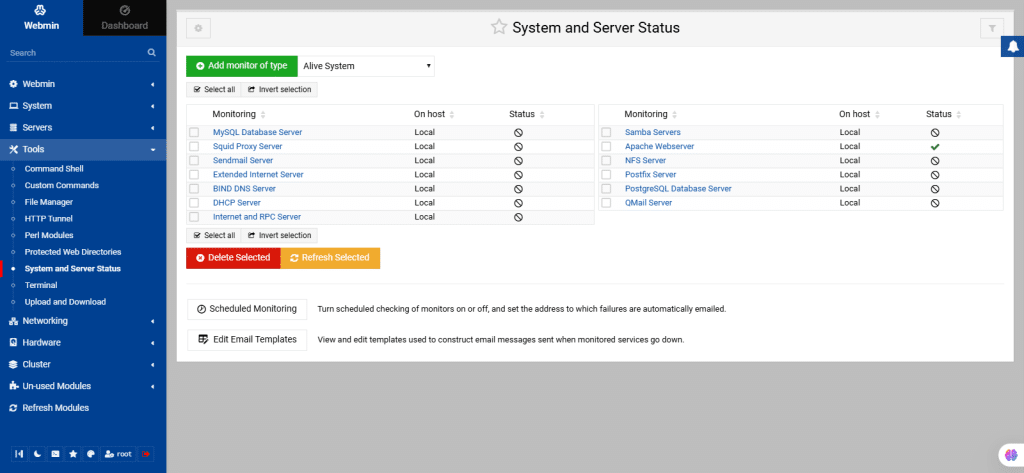
50. System and Server Status
This module lets you monitor the status of servers and daemons on your system, highlighting those that are running or down. It can be configured to check server status regularly and notify you via email or execute a command if a server goes down, which is useful for monitoring critical services like web or DNS servers.
51. Terminal
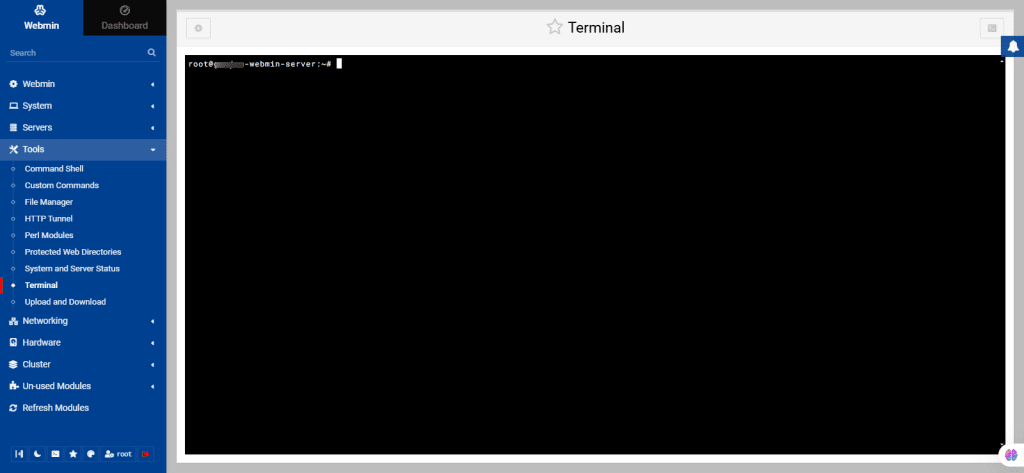
This module in Webmin enables you to access and interact with the command-line shell of your server or system directly from within the Webmin interface.
With the Terminal module, you can perform various tasks using commands like the traditional terminal or command prompt. This includes running commands, executing scripts, managing files and directories, and configuring system settings.
52. Upload and Download
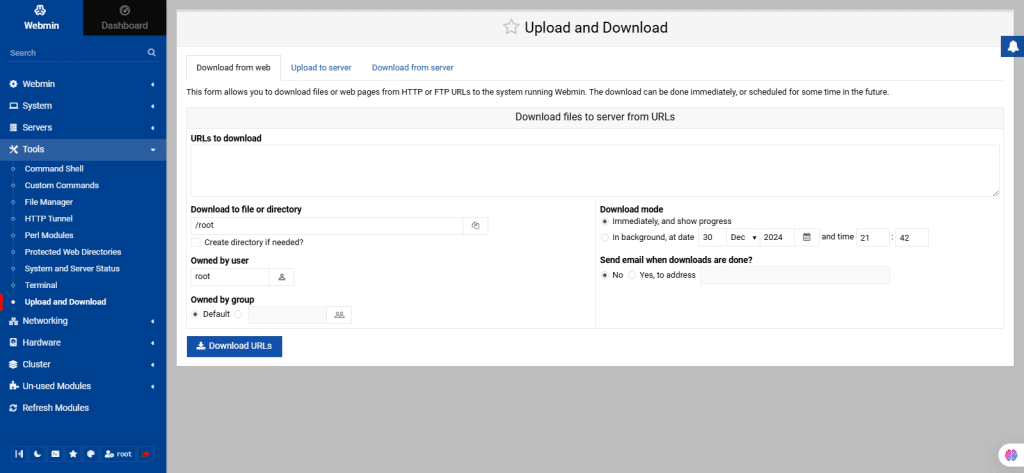
The Upload and Download module in Webmin allows administrators to transfer files to and from the server with an intuitive user interface. This simplifies file management without needing direct server access or additional FTP tools.
53. From the left navigation menu, select Networking.
Bandwidth Monitoring
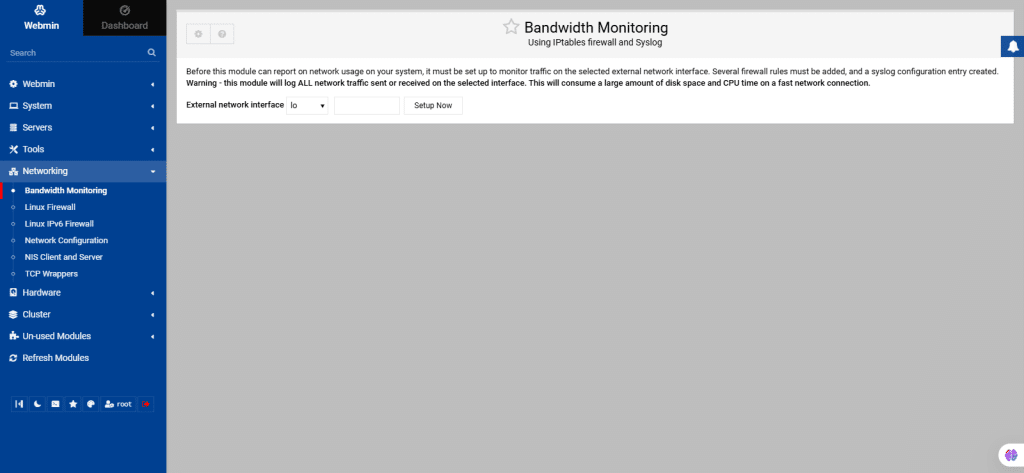
The Bandwidth Monitoring module is used to create reports on bandwidth usage by protocol, port, host, and time, useful for both standalone hosts and gateway systems with NAT.
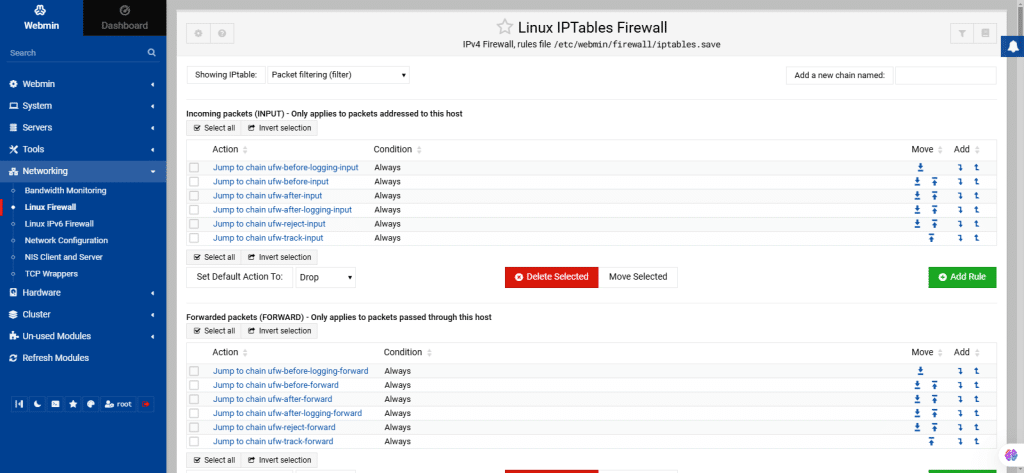
54. Linux Firewall
The Linux Firewall module enables you to edit a firewall on Linux by enabling IPtables. This configuration file is compatible with iptables.save and iptables.restore commands. If using a manual shell script, it must be first converted to an iptables save file for Webmin editing.
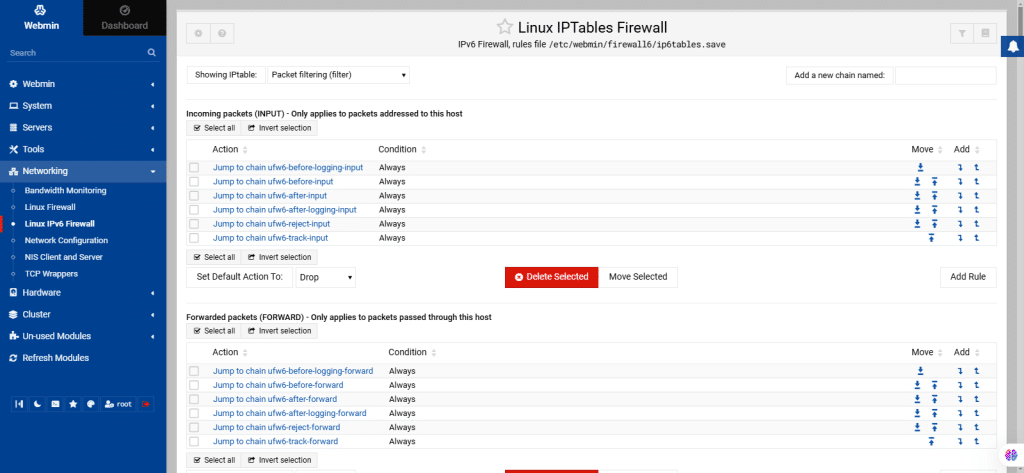
55. Linux IPv6 Firewall
The Linux IPv6 Firewall module in Webmin enables you to configure and manage IPv6 firewalls on systems running Linux. Its functionality is similar to the regular Linux firewall module but specifically handles IPv6 traffic.
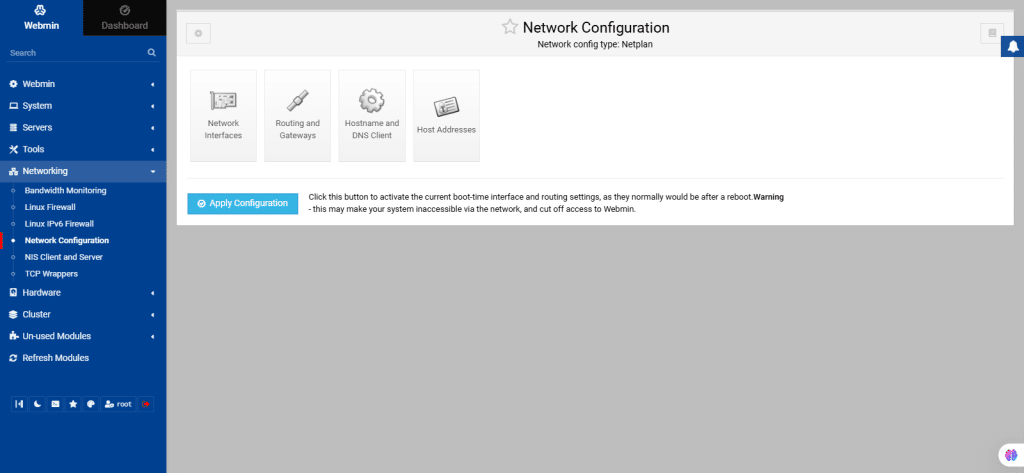
56. Network Configuration
The Network Configuration module is used for configuring networking on systems with permanent connections like ethernet.
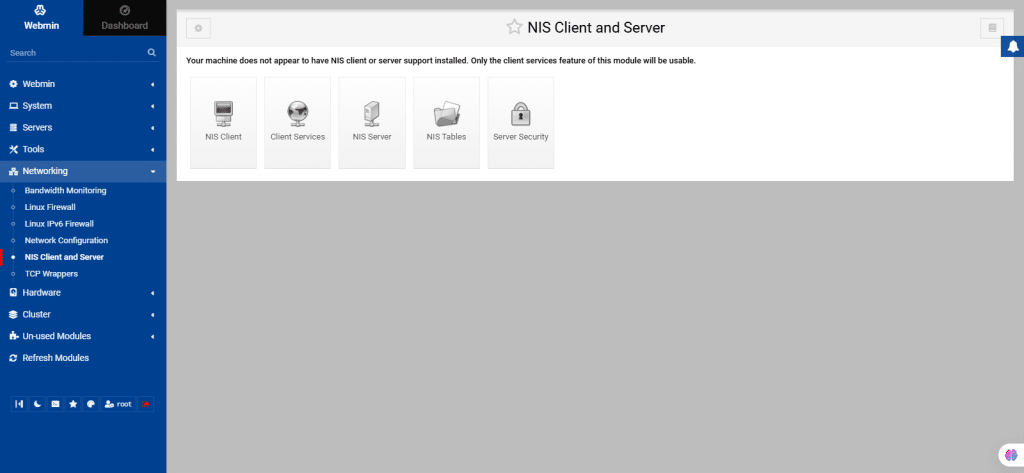
57. NIS Client and Server
The NIS Client and Server module in Webmin manages the use of NIS (Network Information Service) for sharing users, groups, and other data across systems.
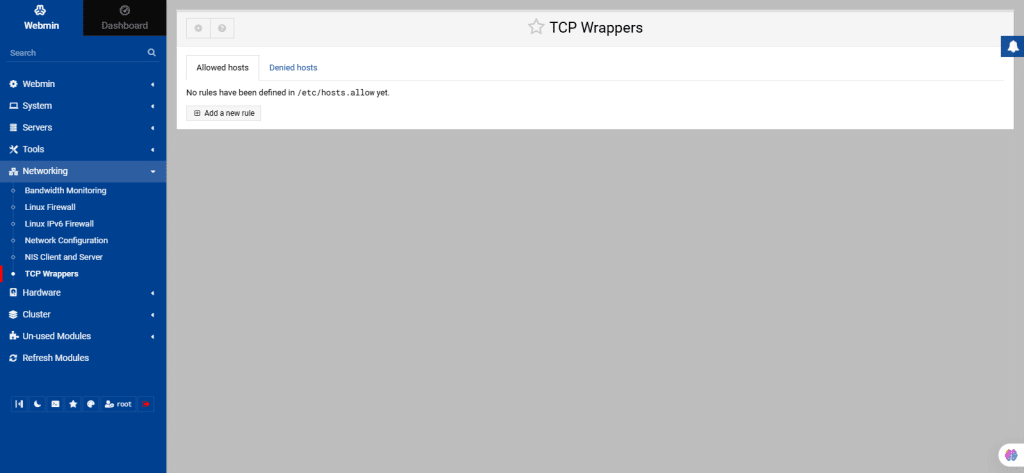
58. TCP Wrappers:
It uses a simple access control language that is based on client and server patterns.
59. From the left navigation menu, select Hardware.
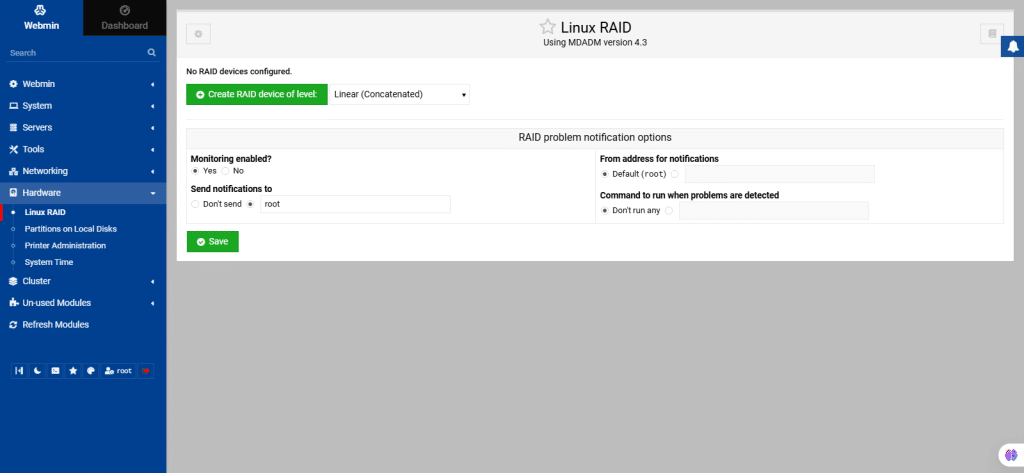
Linux RAID
RAID, which stands for Redundant Array of Inexpensive Disks, combines multiple disk partitions into a single virtual device. This module enables you to create, format, and delete RAID arrays on your Linux system. The main page displays existing RAID devices, if any.
60. Partitions on Local Disks
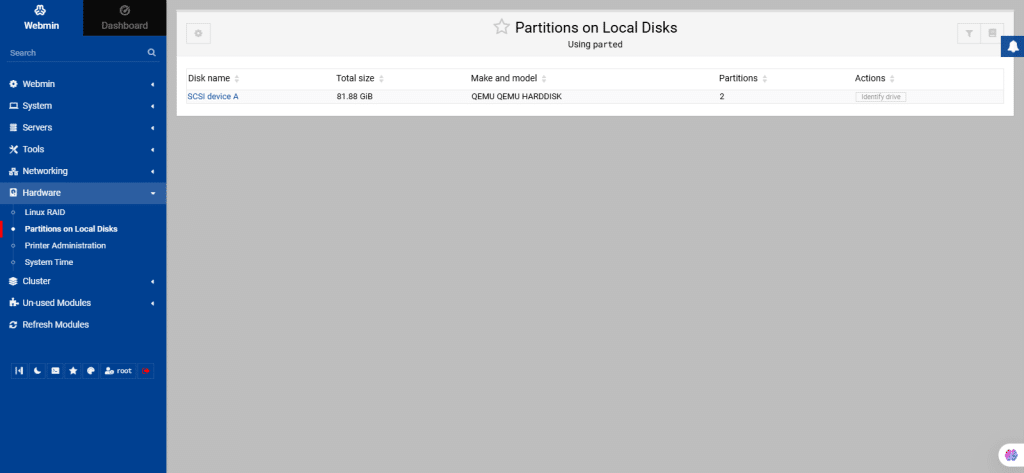
This module allows you to manage disk partition. It will display all hard disks and partitions. All IDE and SCSI disks, along with their manufacturers and model numbers, are displayed.
61. Printer Administration
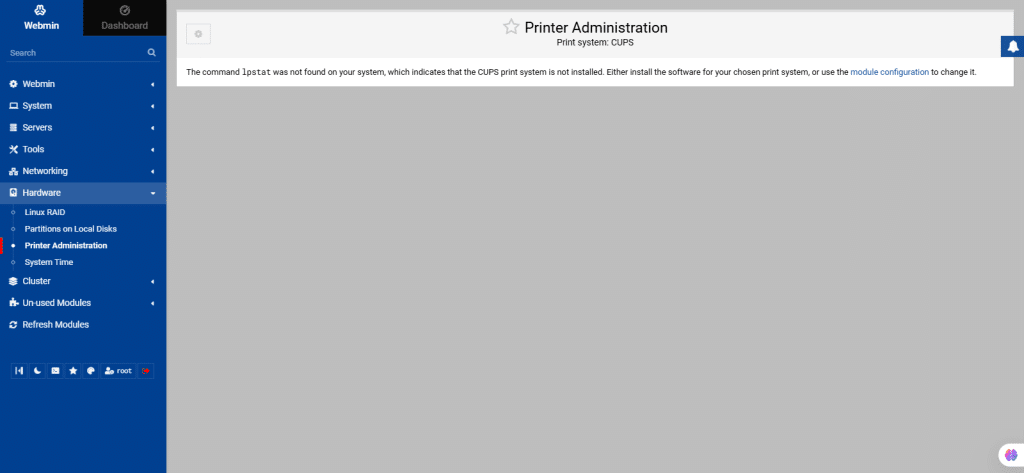
This module in Webmin helps you to set up printers and printer drivers on your system. It covers many different print systems in use such as CUPS, etc.
Click Module Configurations to make any changes.
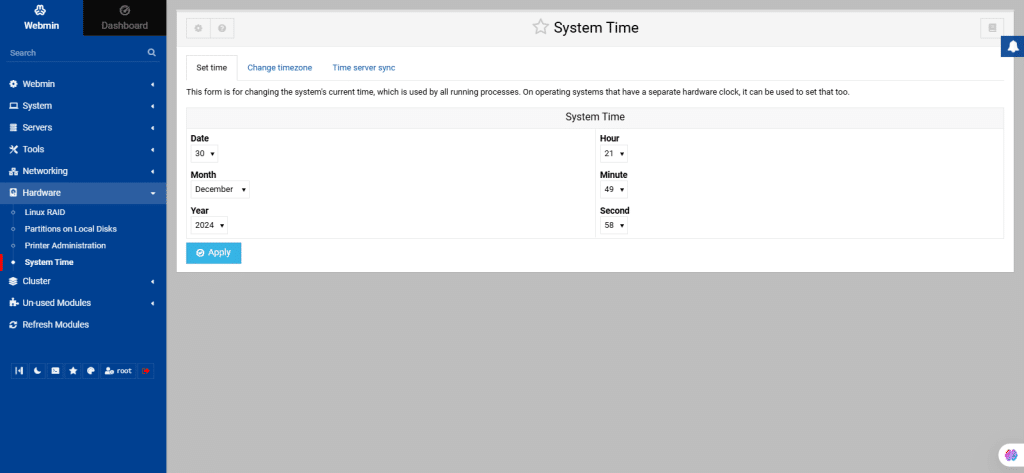
62. System Time
This module helps to set up the system and also the hardware clocks on your server.
63. From the left navigation menu, select Cluster.
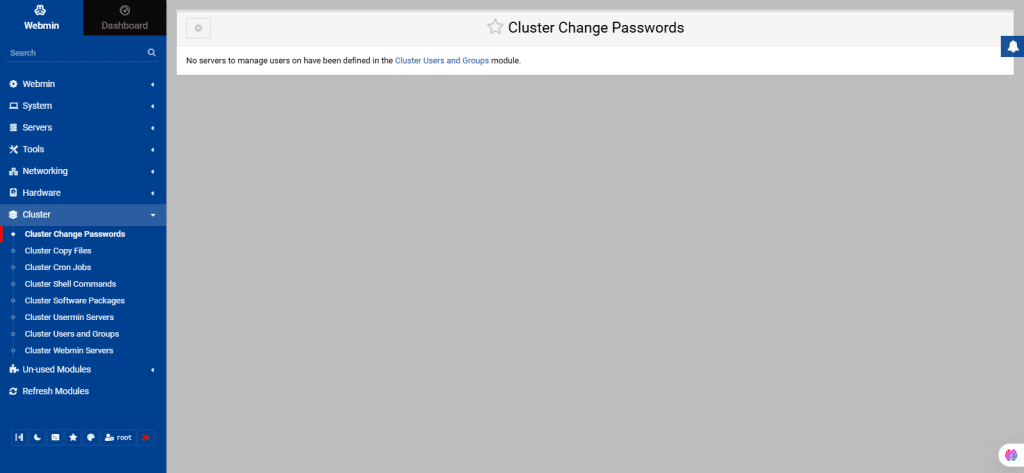
Cluster Change Passwords
By using this module, you can change all passwords within a cluster all at once.
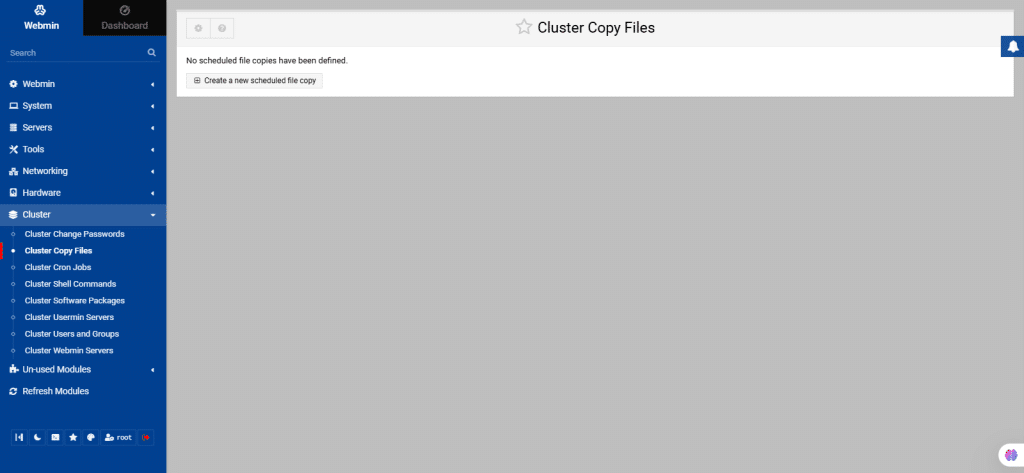
64. Cluster Copy Files
It allows you to set up schedule transfer of files from a master server to other servers in a Webmin cluster.
You can transfer files only when servers that have been created in the Webmin Servers Index module with a login and password will appear in the list.
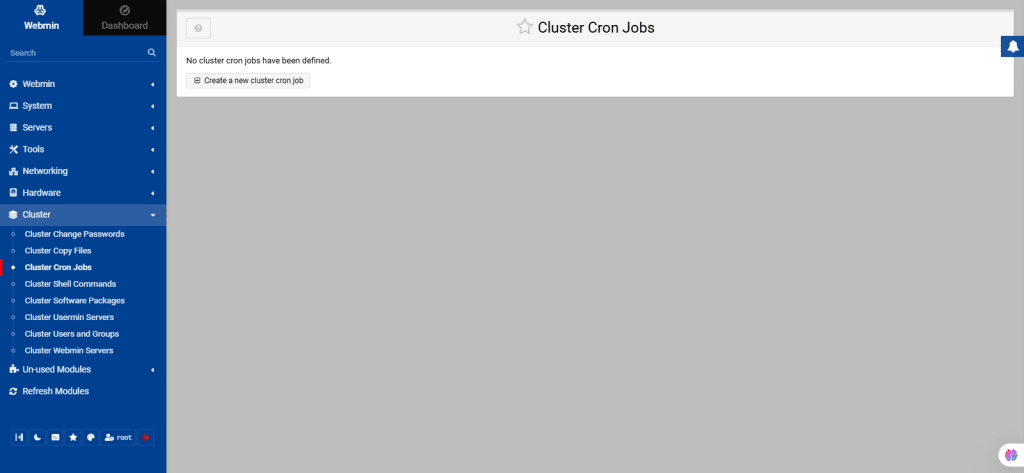
65. Cluster Cron Jobs
Like Scheduled Cron Jobs, but Cluster Cron Jobs allows scheduled commands to be run on multiple servers at once. This is useful when you want to run the same command on all servers or some of them on a regular schedule.
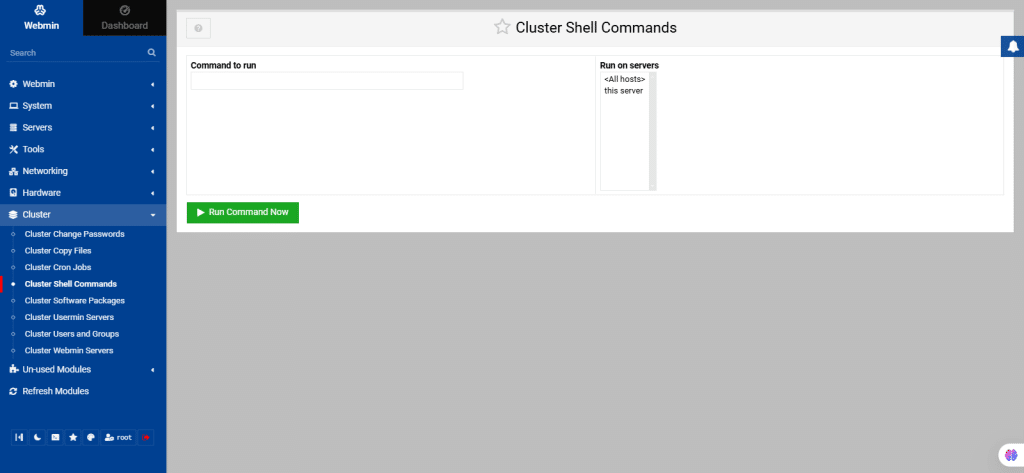
66. Cluster Shell Commands
This module allows you to run simple commands on multiple servers. Enter a command to run or select an old one and choose the servers or groups to execute it on.
You can run commands only when servers that have been created in the Webmin Servers Index module with a login and password will appear in the list.
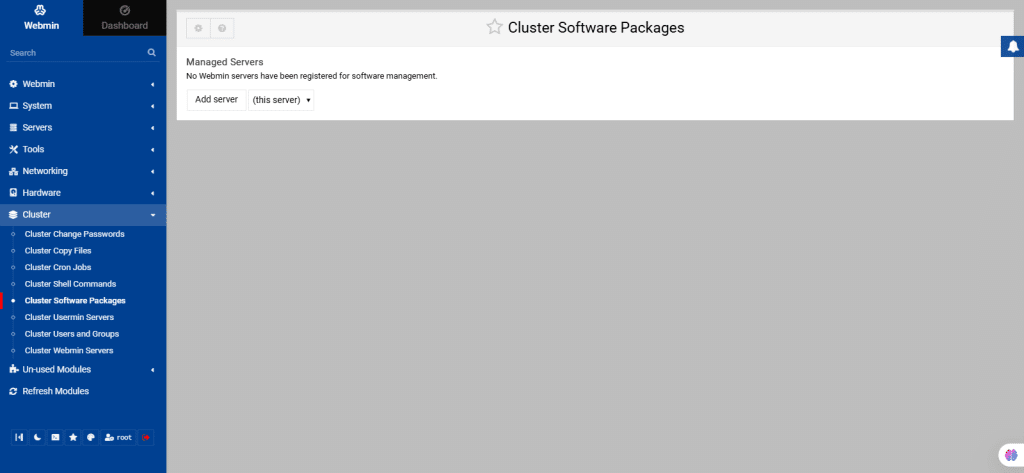
67. Cluster Software Packages
Use this module for installing software packages on multiple servers.
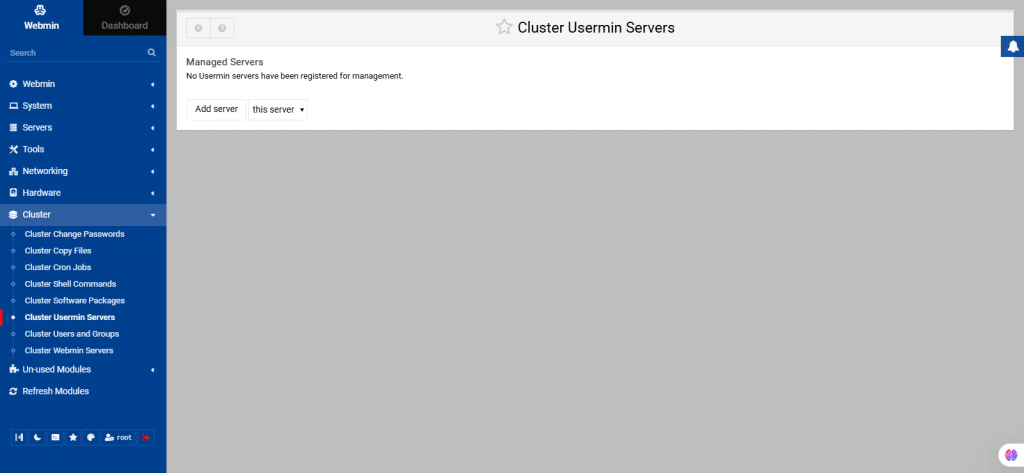
68. Cluster Usermin Servers
This interface allows you to manage users and groups, modules, and themes on multiple Usermin Servers.
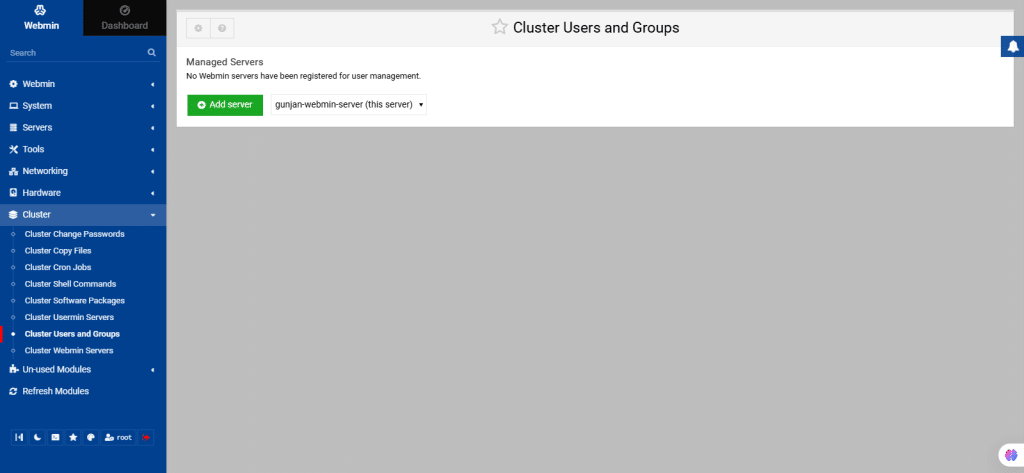
69. Cluster Users and Groups
Before using this module, your system must be added to the list of servers. With the help of this module, you can manage users and groups on multiple servers.
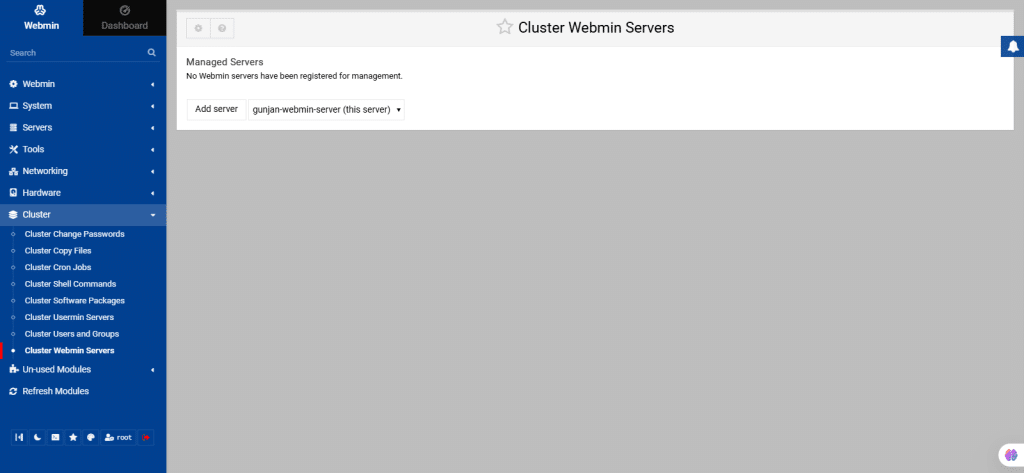
70. Cluster Webmin Servers
By using this module, you can manage modules, themes, users, and groups on multiple Webmin servers through a single interface. It combines features from the Webmin Configuration and Webmin Users modules, allowing you to perform actions like installing themes or creating users simultaneously on multiple servers.
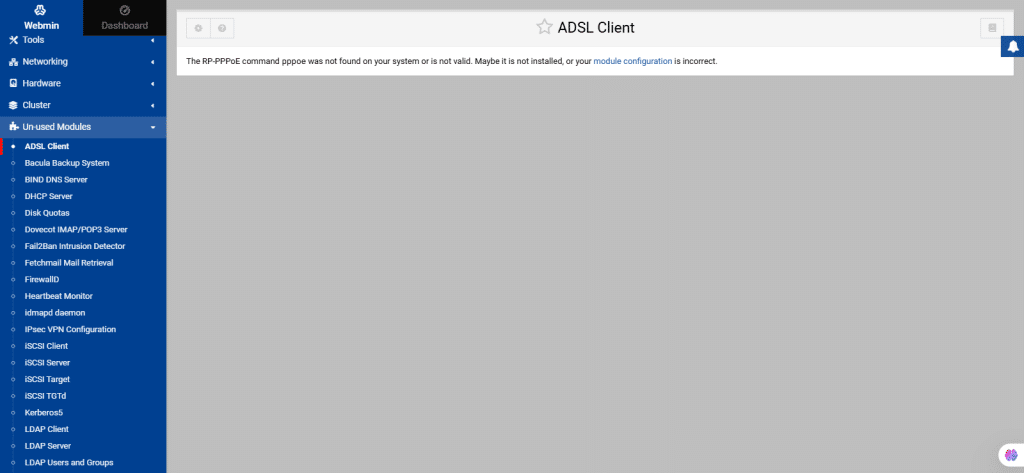
71. From the left navigation menu, select Un-used Modules.
You will see a list of modules which are not installed. Administrators identify and activate them by installing necessary dependencies and configure necessary features by clicking on module configuration.
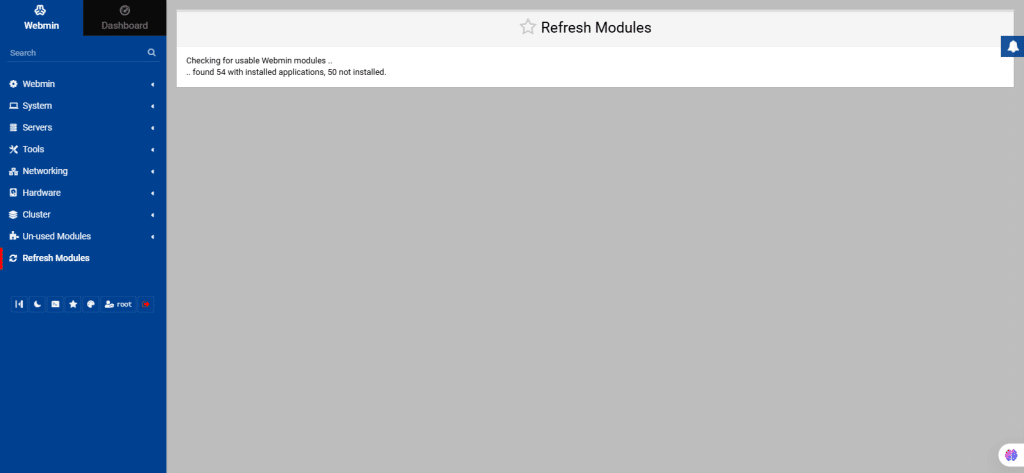
72. From the left navigation menu, select Refresh Modules.
If any new software is installed, added new features or updated configurations, then the Refresh Modules module updates Webmin’s list of modules to reflect any changes made to the system.
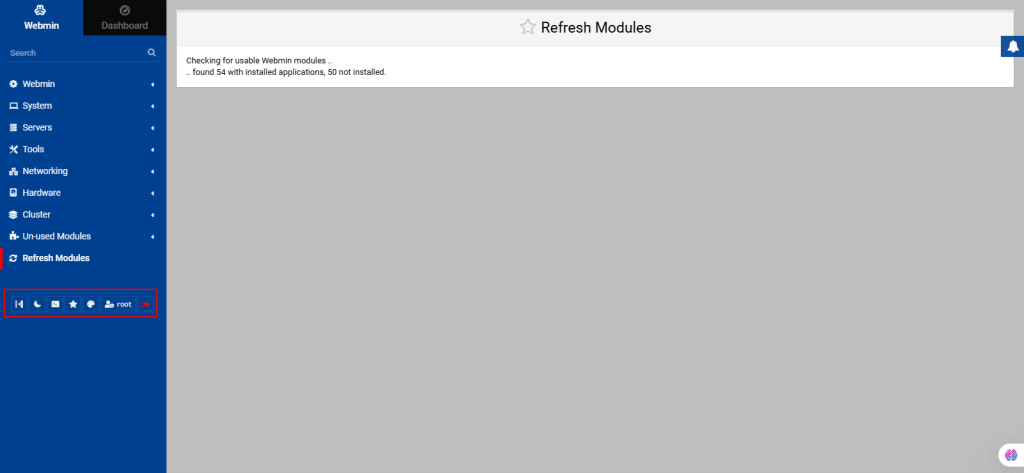
73. To Sign out, click on the red button on the left navigation. Take a moment to explore the other buttons.
And that’s it! You have successfully learned all about managing your Kamatera server using Webmin.


