


MongoDB is an open-source, NoSQL database system that stores data in a flexible JSON like format called BSON (Binary JSON). It uses dynamic schemas, meaning that, unlike relational databases, MongoDB does not require a predefined schema before you add data to a database. You can alter the schema at any time and as often as necessary without having to set up a new database with an updated schema. It is designed to handle large volumes of data and provides high performance for both read and write operations. Developers and organizations that deal with large and evolving datasets use MongoDB for its scalability, flexibility, and ease of use.
Here is a step by step guide to set up MongoDB on Windows.
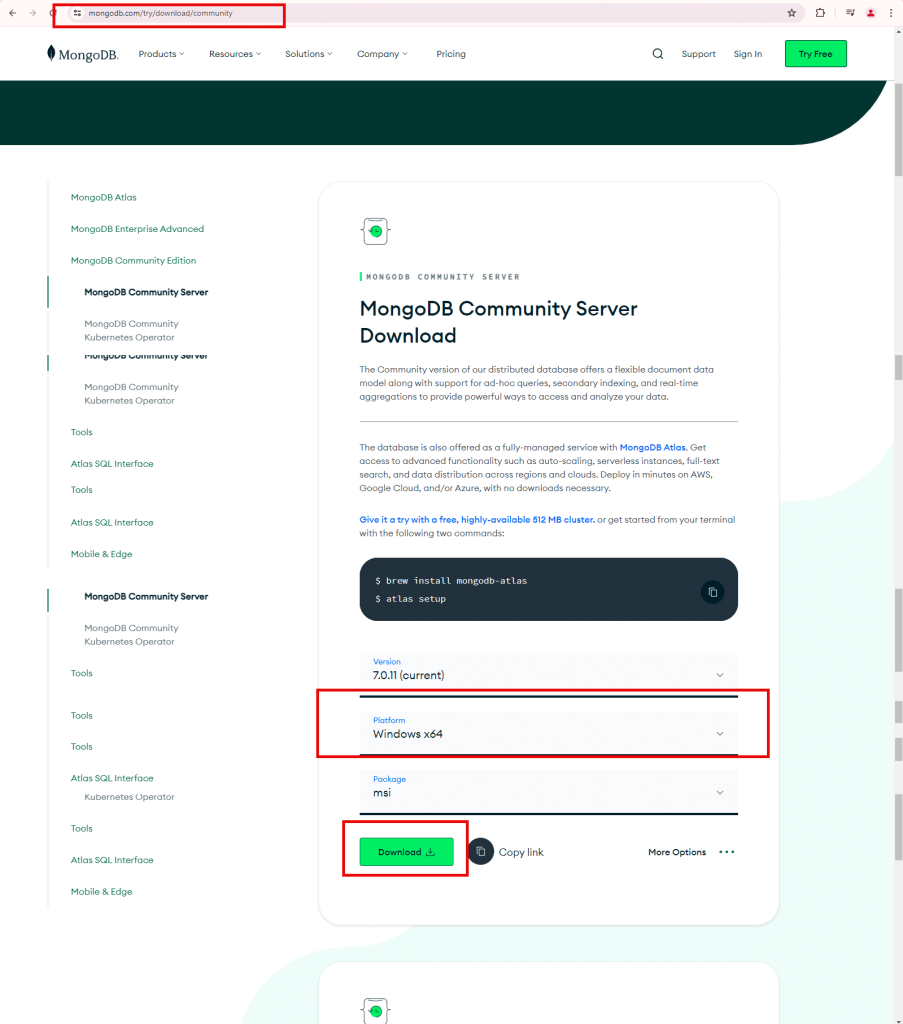
- Go to www.mongodb.com and navigate to community server section.
Select the version of MongoDB Community Server-7.0.11
Select Windows system -x64.
Select .msi and click Download.
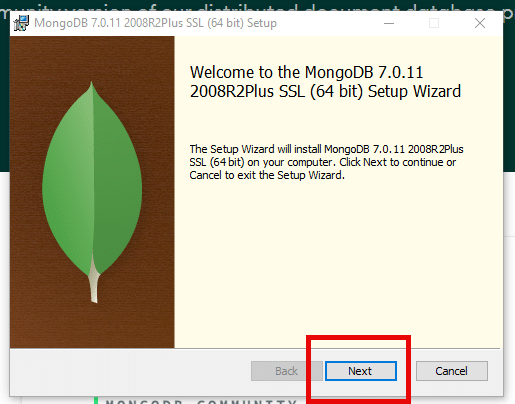
- Click Next on MongoDB setup wizard.
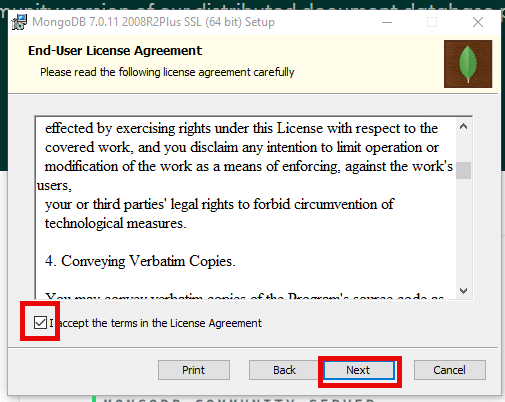
- Check the box in the end-user License agreement and click Next.

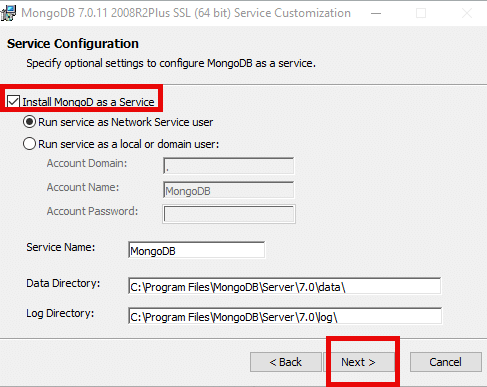
- Check the box for Install MongoD as service and click Next.
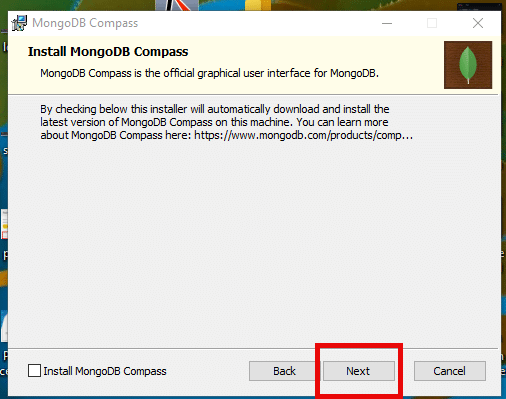
- If you want to install MongoDB Compass, check the box. Otherwise uncheck the box and click on Next.
MongoDB Compass: MongoDB Compass is a graphical user interface (GUI) tool provided by MongoDB to interact with MongoDB databases. It allows developers and database administrators to visually explore their data, run ad hoc queries, manage indexes, and perform various other tasks related to MongoDB databases.
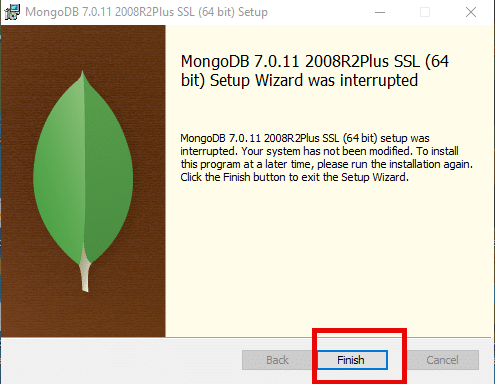
- Click Install to begin the installation.

- Click Finish on Installation Setup Wizard.
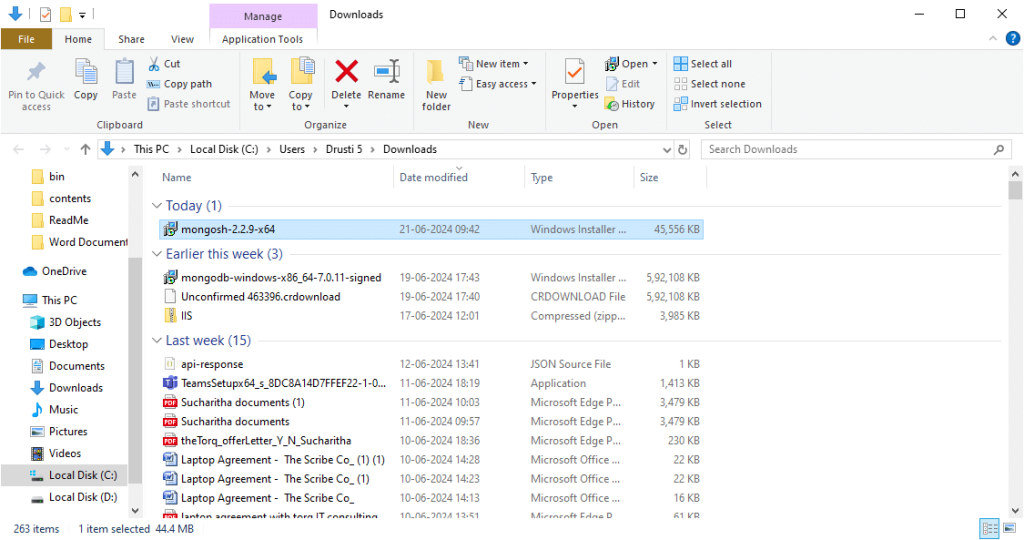
- Click on Downloads, select the folder and you can see Windows Installer.
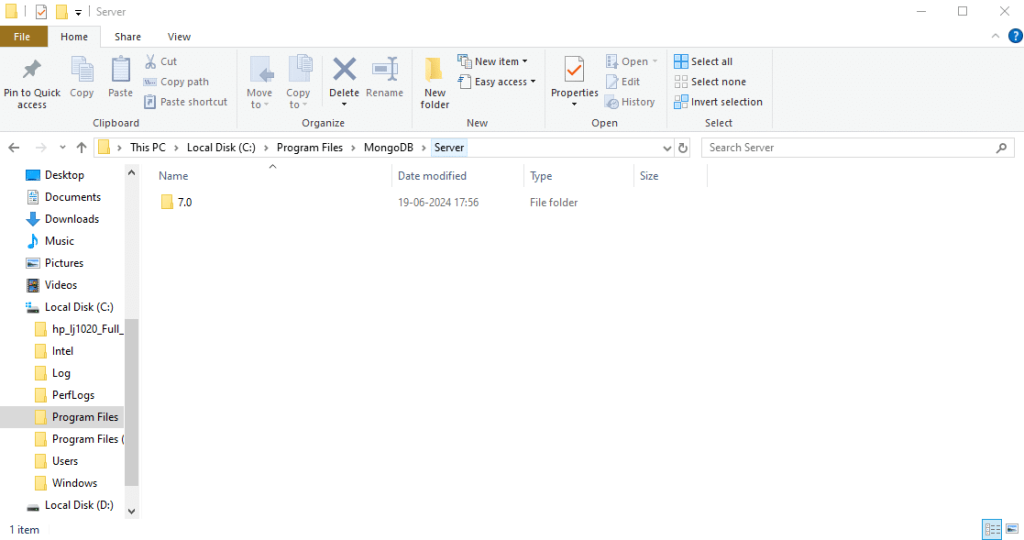
- Now, go to C drive, select Program files, and click on MongoDB.
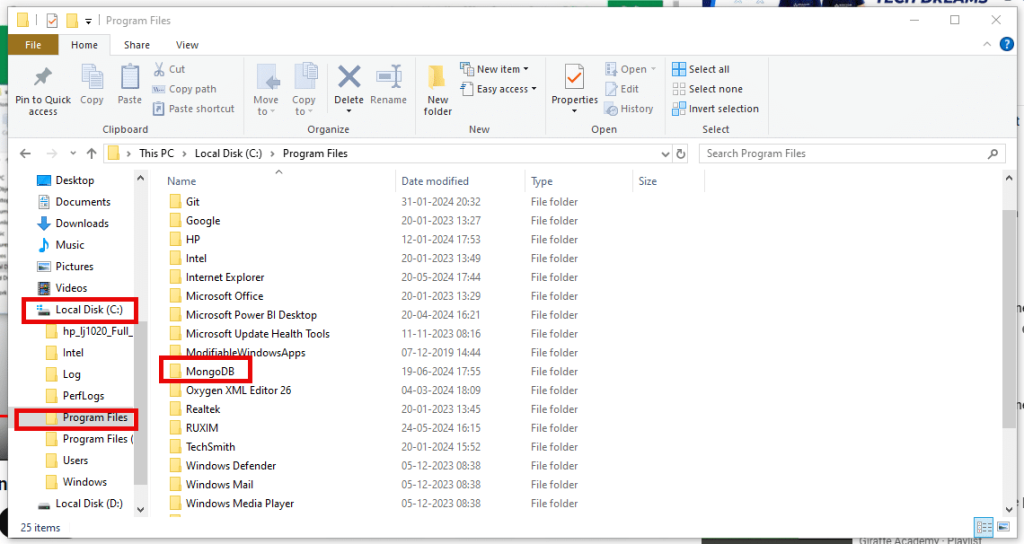
- Select Server.

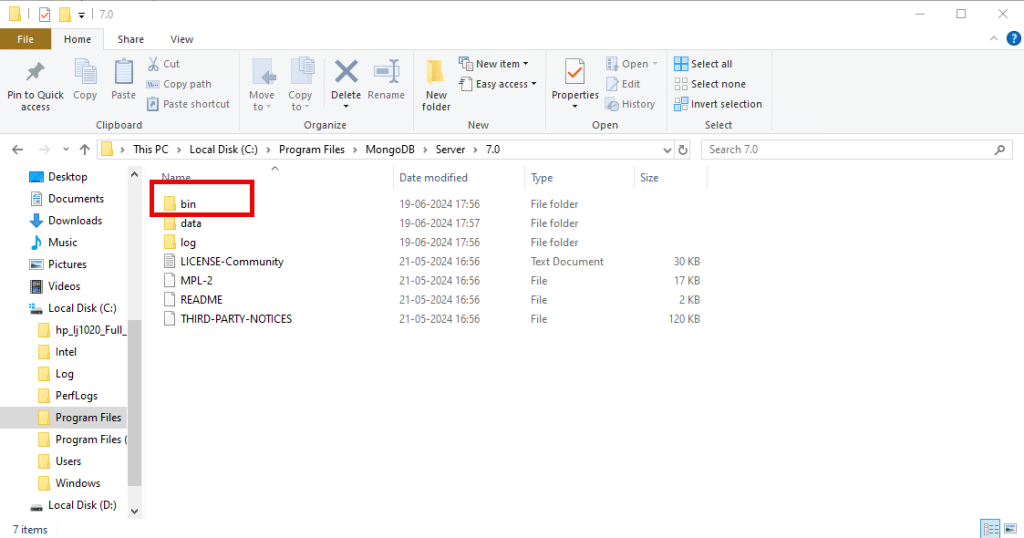
- Select 7.0 (version).
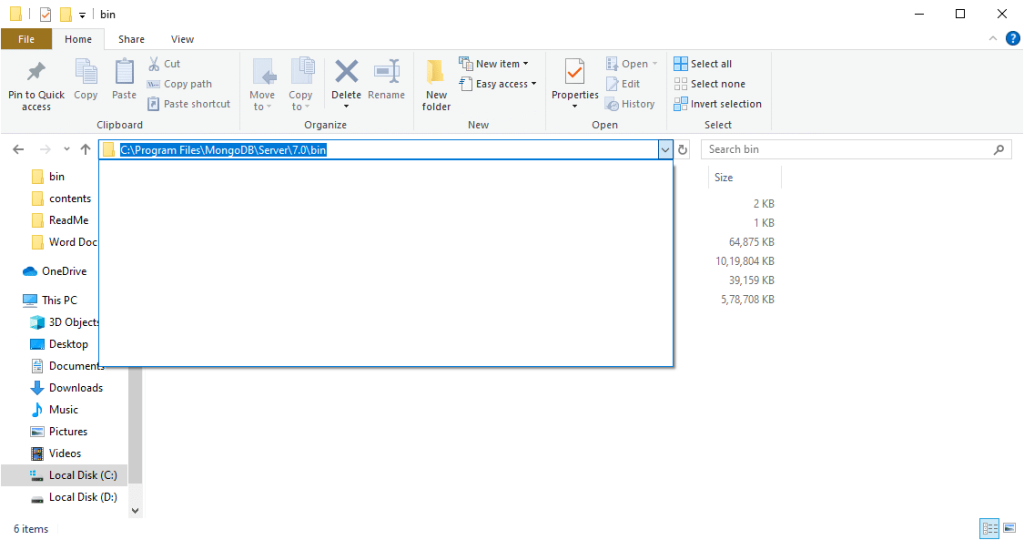
- Select bin.
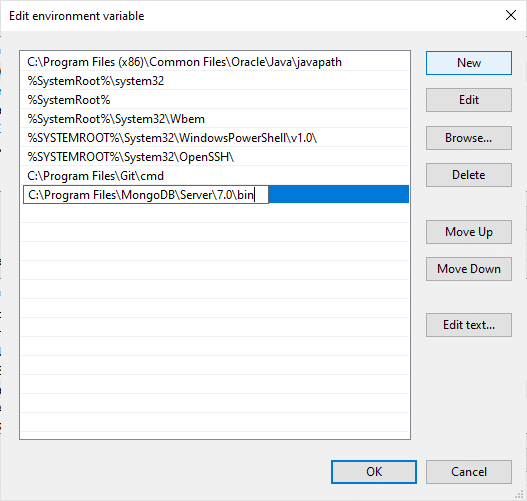
- Click on dropdown arrow and select the path
C:\Program Files\MongoDB\Server\7.0\bin
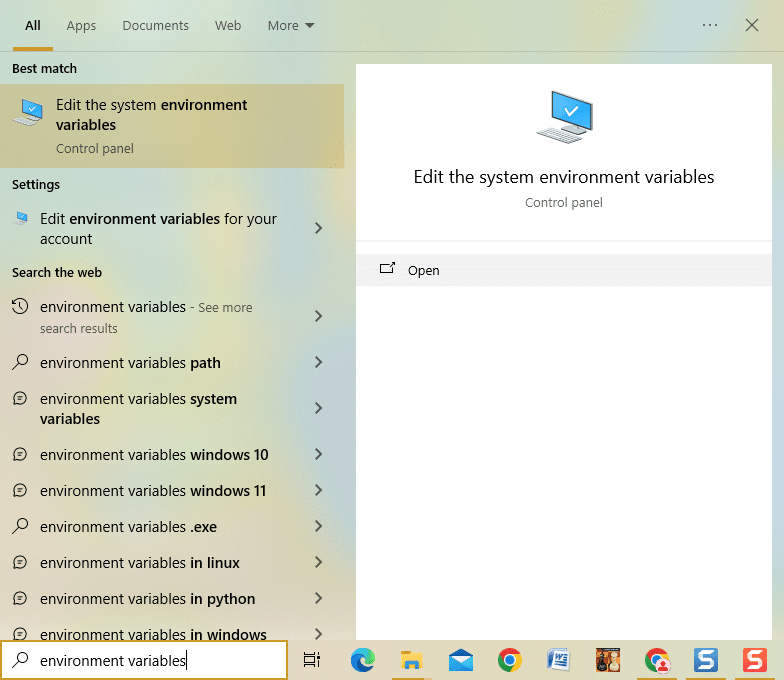
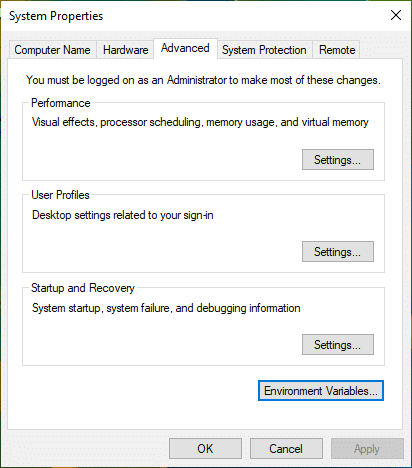
- Search Environment Variables. You will see Edit the system environment variables (Control Panel) and select Open.
- Click on Environment Variables in System Properties window.
- Select the path and click Ok.
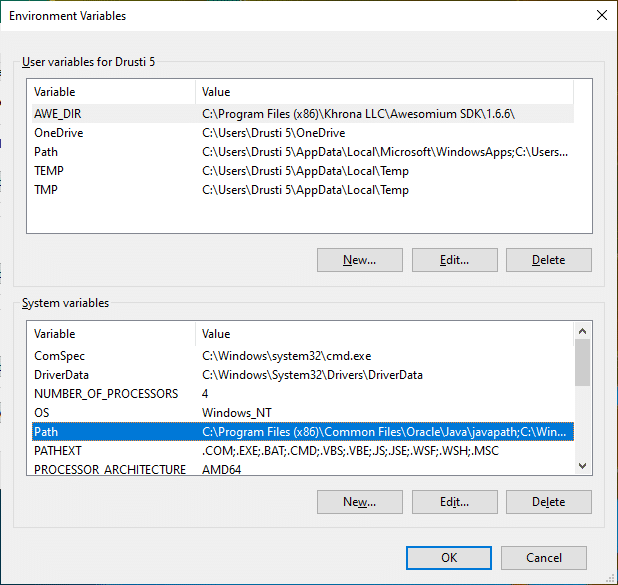
- Select New, copy the path and click Ok.
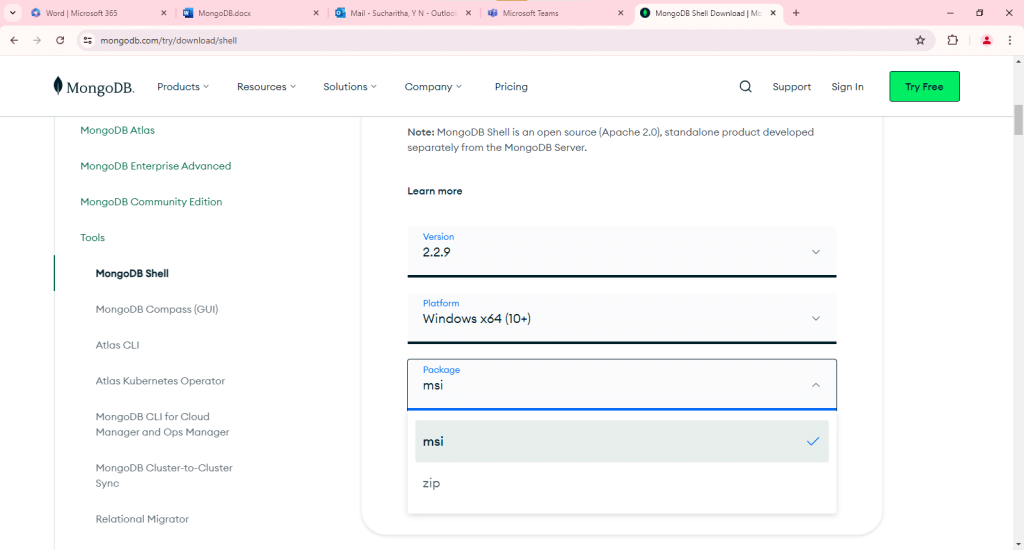
- Now, install MongoDB Shell. MongoDB Shell is required to interact with MongoDB Server. Go to Google search bar and type mongodb shell, it will automatically take you to MongoDB website.
MongoDB Shell: MongoShell, also known as the MongoDB Shell or simply mongo, is an interactive JavaScript interface to MongoDB, which allows developers and administrators to interact with MongoDB instances directly through a command-line interface (CLI). It’s a powerful tool that provides a way to perform various operations, such as querying and updating data, managing indexes, and executing administrative commands.
Select the latest version-2.2.9
Select the platform-x64
Select the package-.msi. Click on Download.

- Go to Downloads, open the folder and click on mongosh-2.2.9-x64.
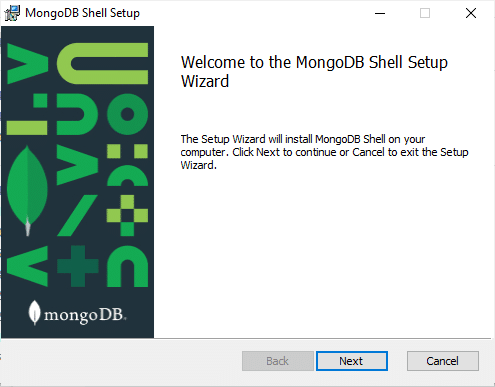
- Click Next on MongoDB Shell Setup Wizard.
- Uncheck the box and click Next on MongoDB Shell Setup.

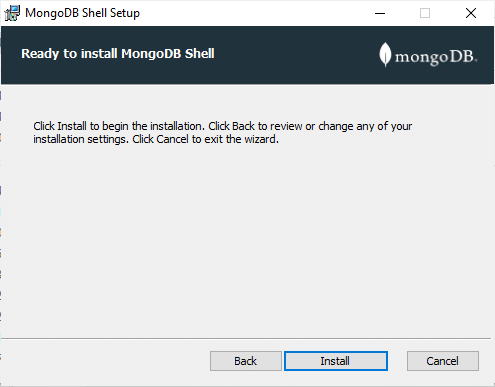
22. Click Install on MongoDB Shell setup.
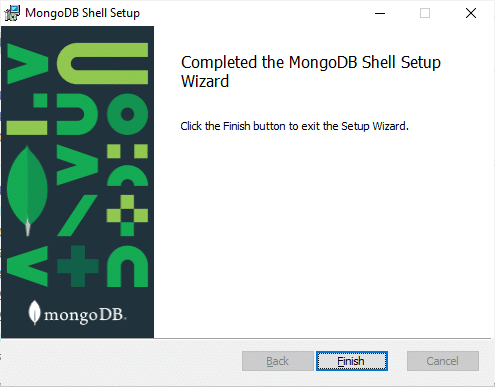
- Click on Finish to complete the installation.
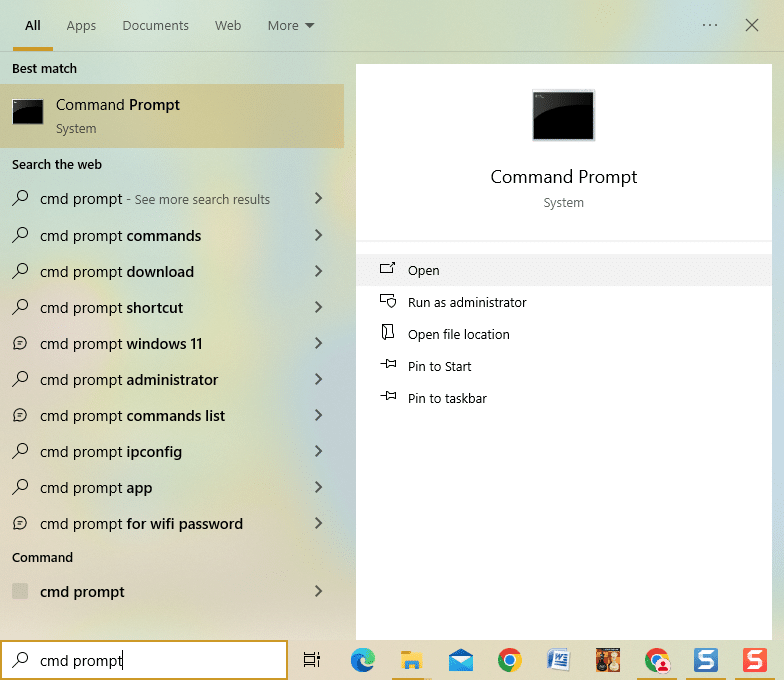
24. Now, cmd prompt in search bar and select Command Prompt and select open, to check MongoDB and Mongo shell installations.
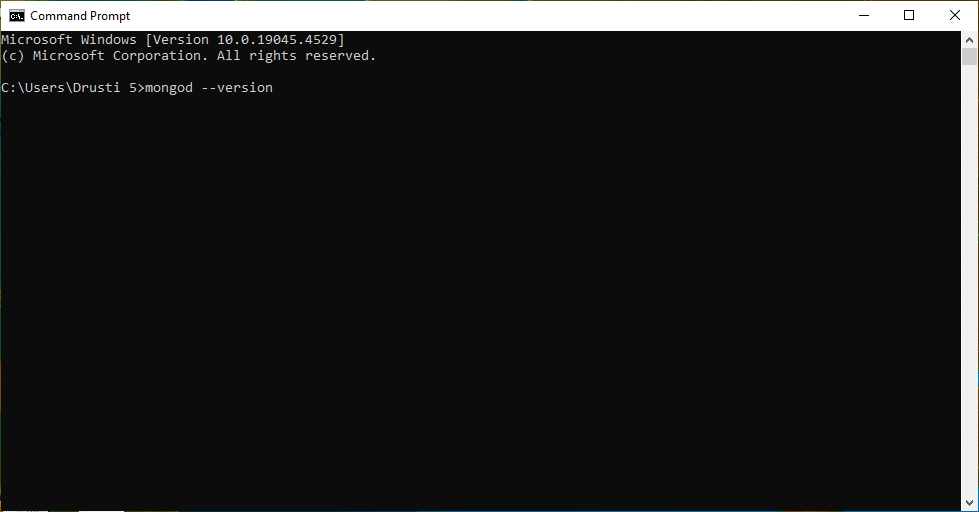
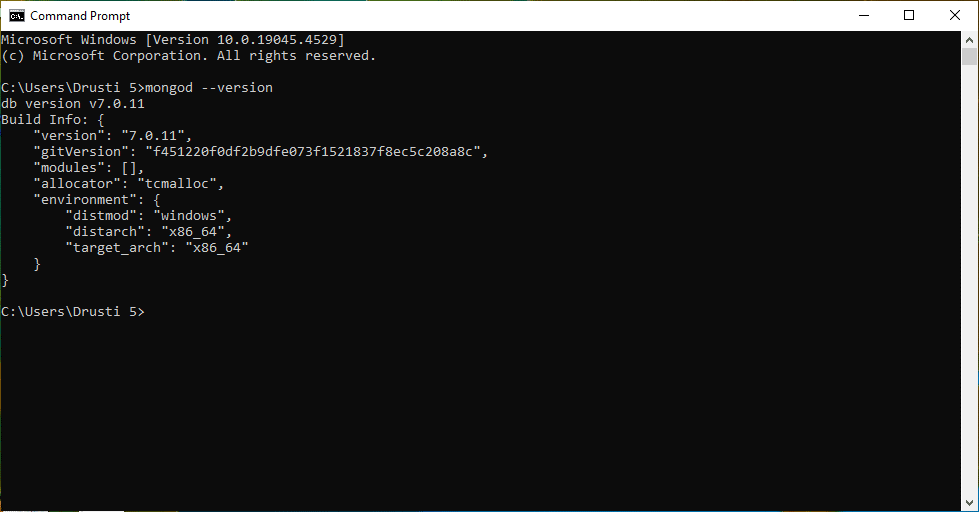
- Type mongod –version in the command prompt.
Command: C:\Users\Drushti 5>mongod –version
- If the MongoDB installation is successful, we get a message as shown below.
It will show the version as V7.0.11.
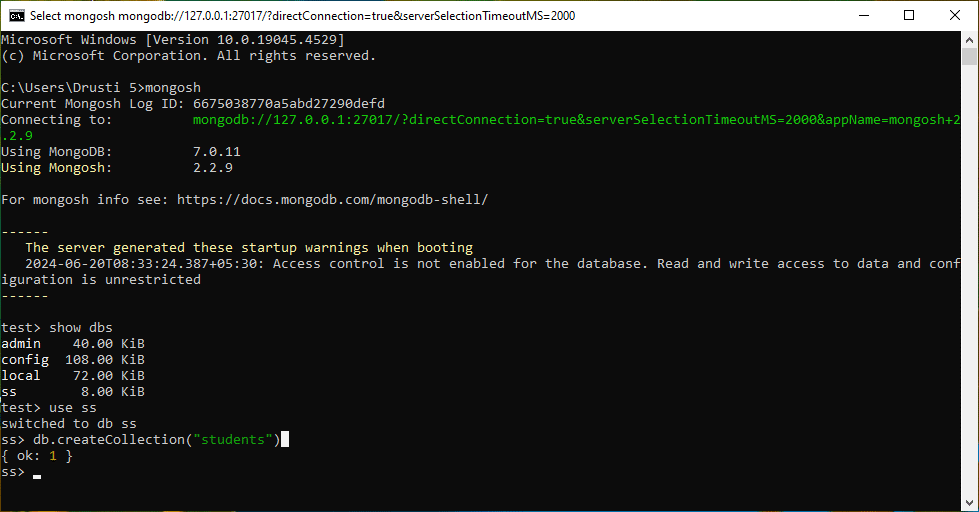
- Go to Command prompt again and type mongosh.
Command: C:\Users\Drushti 5>mongosh
If mongosh installation is successful, we get message as shown below.

- We can test it by typing command show dbs (it shows all the databases that are currently available on MongoDB server).
Command: test> show dbs
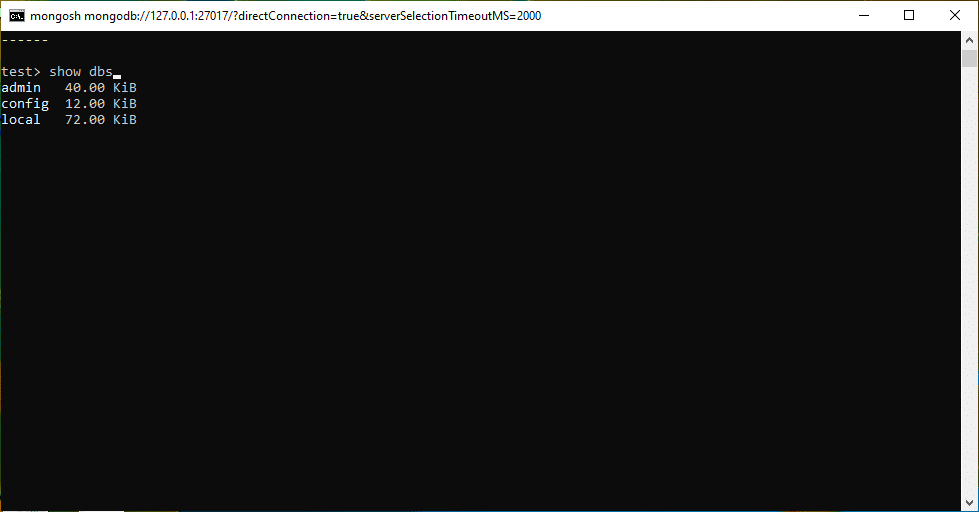
- Below image shows the successful mongosh installation, and the databases that are currently available in MongoDB:
To create new database, type use ss (ss is name of the new database).
Command: test> use ss

Now, it switches to new database that is ss.
- To create collection in the current database, type db.createCollection(“students”).
Command: ss> db.createCollection(“students”)
A message is displayed saying that 1 collection is created in the MongoDB.
{ok:1}
And that’s it! You have successfully set up a MongoDB database. You might also be interested in our blog, Mastering MongoDB Hosting: 6 Strategic Tips for Success.