Odoo is an Enterprise Resource Planning (ERP) system available both in the cloud and on-premises. Even though it is known for its ERP capabilities, it is a comprehensive open-source business management software suite providing a wide range of applications to help businesses manage various aspects of their operations. Some of the key features of Odoo are its modularity, user-friendly interface, customization, integration and scalability.
What you need to know to install Odoo:
- It can be installed on Windows 10/11, Windows Server
- Odoo 16 requires Python
- Odoo uses PostgreSQL as a database management system.
Here is a step by step guide to install Odoo on your Kamatera Windows server.
How to install Odoo
- Go to https://www.odoo.com, and the Odoo home page opens.

2. In the home page of Odoo, click on Community and then click on Download under GET THE SOFTWARE section as shown in the screen below.
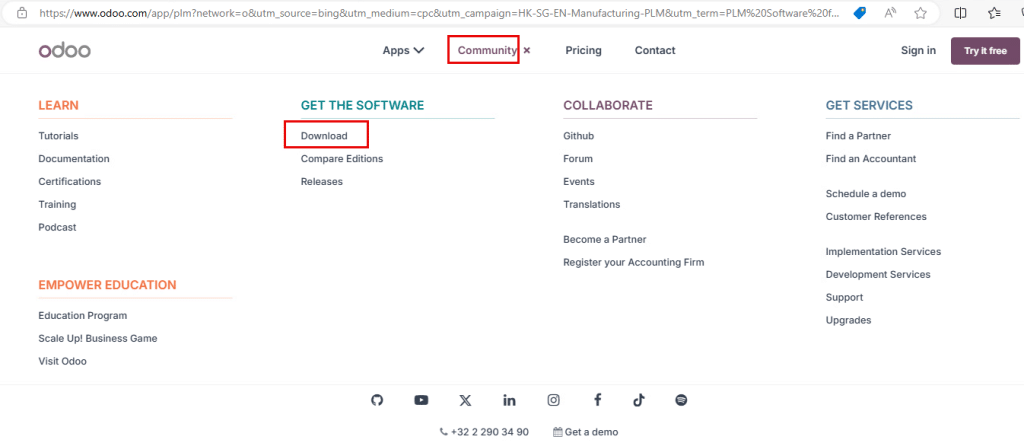
3. You will be directed to a new page. Fill in the required information, under Community, click on Download beside Windows.

4. Click on Open file under Downloads on the right top corner of the page.

5. Select the language from the dropdown list and click OK.

6. Odoo setup wizard opens, click Next.

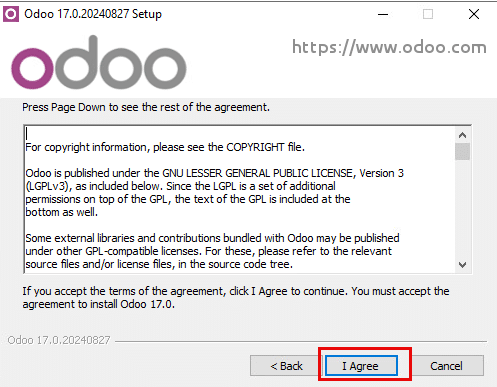
7. Click on I Agree.
8. Check the box next to Odoo Server and PostgreSQL Database (or) select Odoo Server And PostgreSQL Server from the drop-down list.
Click Next.

9. You can configure the information for PostgreSQL connection.
Click Next.

10. You can keep the destination folder as default or change the file path by clicking on Browse.
Click Install.

11. You can see the installation is in progress.

12. Once the installation is finished, click Next.

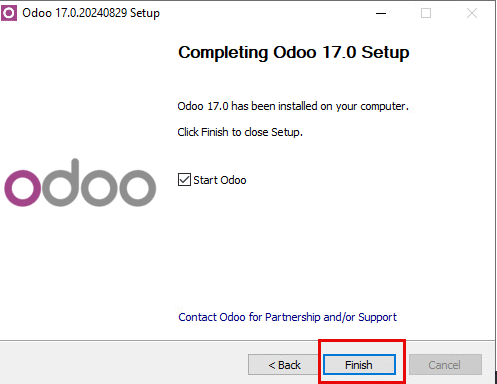
13. Check the box next to Start Odoo and click Finish.
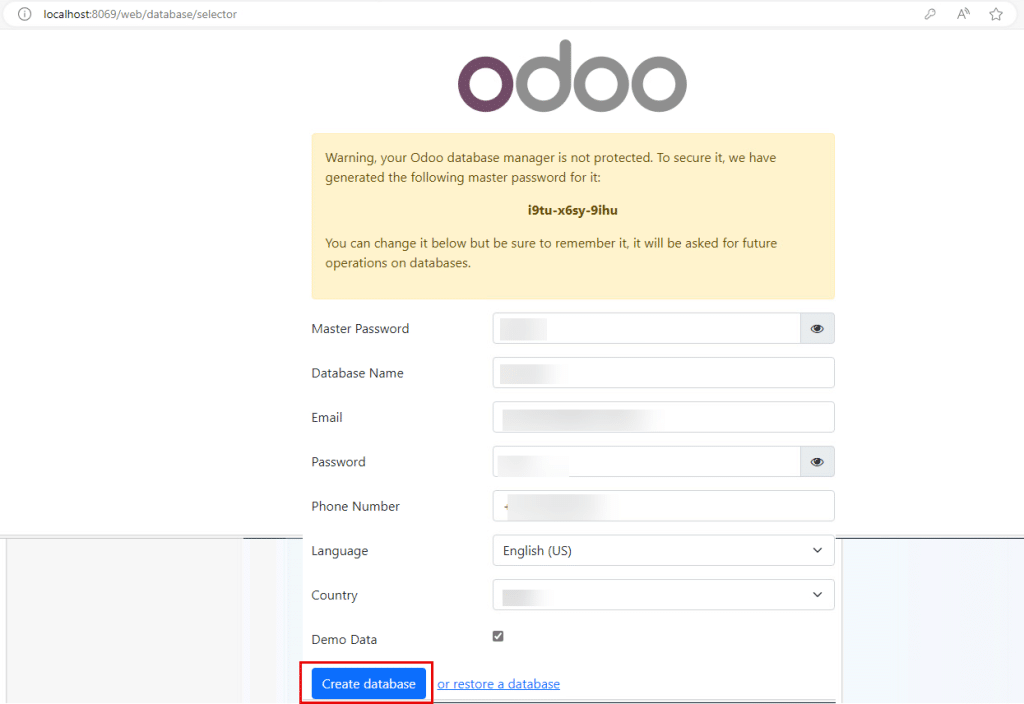
14. Odoo login page opens at port: 8069, as shown below.
How to create and restore a database
If you want to create a database:
- Change the password in Master Password text field and fill in the required details.
- If you have a live database, then enter that database name. Otherwise, just input a name in that field.
- If the database is for demo purposes, check the box next to Demo Data.
- Click Create database.
If you want to restore a database, the Restore Database option allows administrators to restore a previously backed-up database to the Odoo system. To do this, fill in the required information and click Restore a database.
15. Once the database is created, you will be directed to Odoo login page. Enter Email and Password and click Log in.
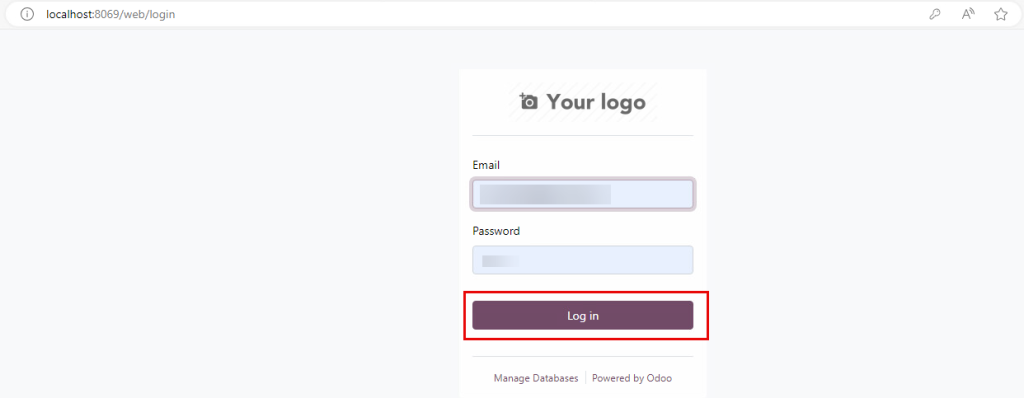
When you click on Manage Databases below Log in, a new page opens as shown in the screen below.

| Field | Description |
| Backup | It creates a backup for existing database which is essential for data protection and recovery purpose |
| Duplicate | It creates a copy of an existing database |
| Delete | It will permanently delete database from the Odoo system |
| Create Database | It sets up a new database |
| Restore Database | It will restore a database from previously created backup |
| Set Master Password | You can change the master password for the system |
16. After you click on Log in, you can see different modules here and click Activate under any module as shown in the screen below.
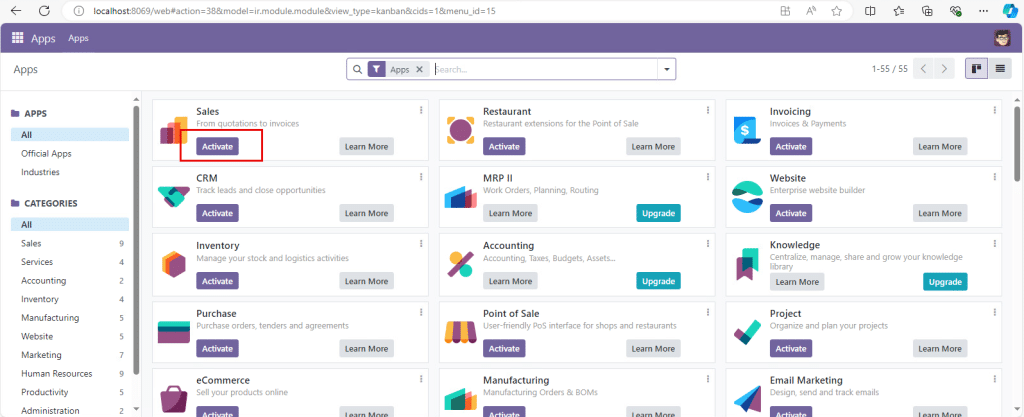
17. A new page opens, where you can start a meeting, check the inbox, see channels, direct messages.

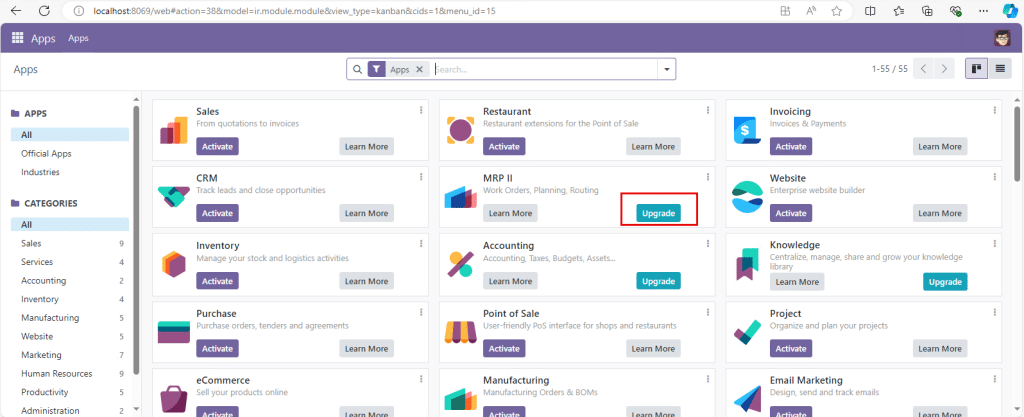
18. If you want to upgrade any module then click Upgrade under that module as shown below.
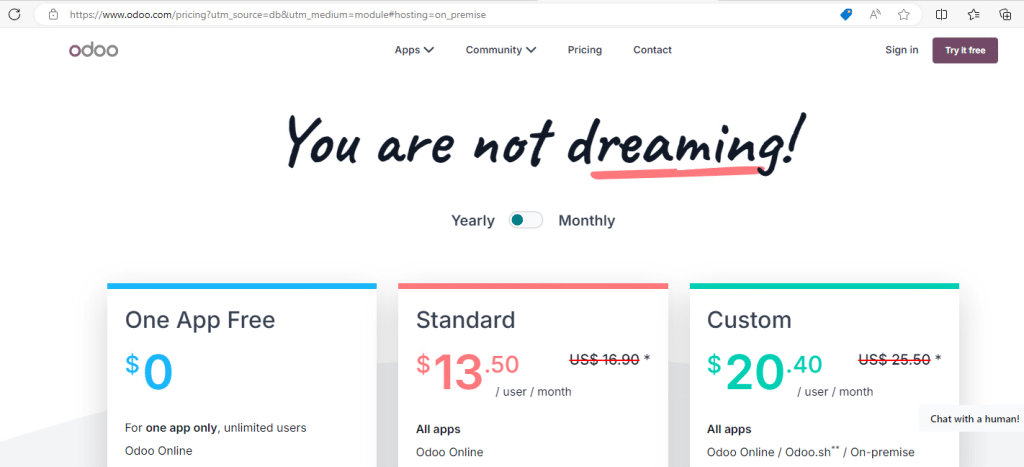
19. You will then be directed to the pricing page. Select according to your requirements.
Congratulations! You have successfully installed Odoo on your Kamatera Windows server. Odoo’s modular nature helps businesses meet specific needs enhancing operational efficiency.


