You can set up a Node.js server on Kamatera to leverage its capabilities for development needs. Developers use Node.js for server-side programming. Node.js is a free, powerful, open-source JavaScript runtime environment that helps developers to create servers, command line tools, scripts, and web apps. It is best suited for applications that require real-time data processing. Node.js’s npm (Node Package Manager) has an ecosystem of libraries and tools that enhance functionality. With the help of npm, developers can easily include modules and frameworks supporting rapid development.
If you want to build a web server, develop complex microservices, or create APIs, Node.js provides the scalability and flexibility needed to meet the software demands.
Here is a step-by-step guide to install Node.js on your Kamatera Windows server.
How to install Node.js
- Go to Node.js website: https://nodejs.org/en and click on Download Node.js (LTS)
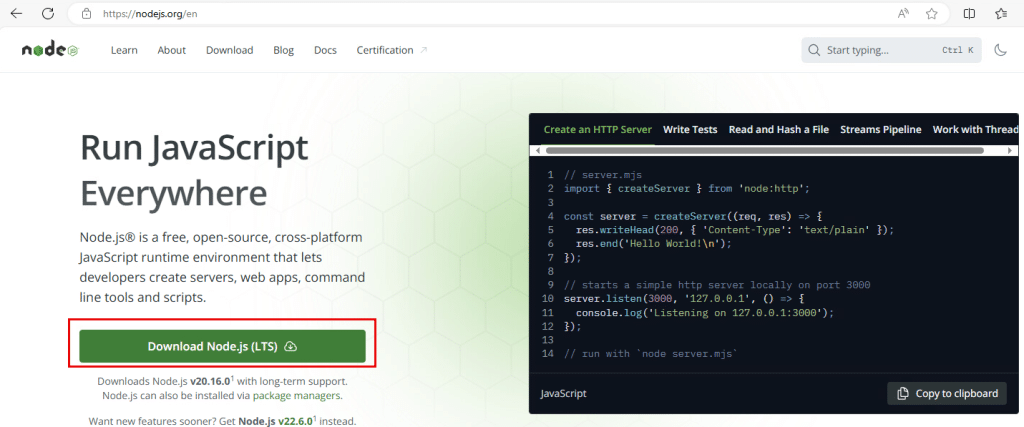
(or)
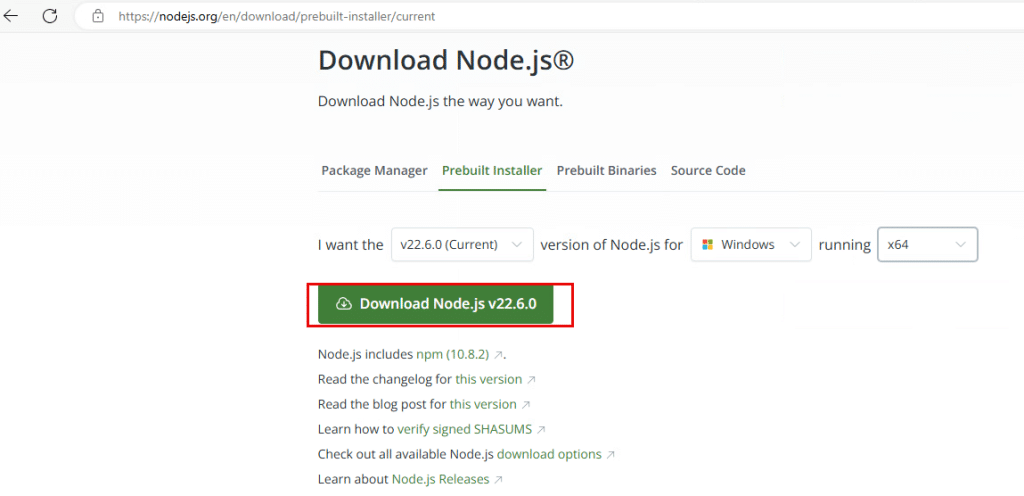
navigate to https://nodejs.org/en/download/ and select Prebuilt Installer.
- Select the current version that is v22.6.0 (Current) or LTS version that is v20.16.0 based on your requirements.
- Select Windows.
- Select x64.
2. Click on Open file under Downloads in top right corner (or) click on folder icon and double click on node.js installer to begin the installation process.

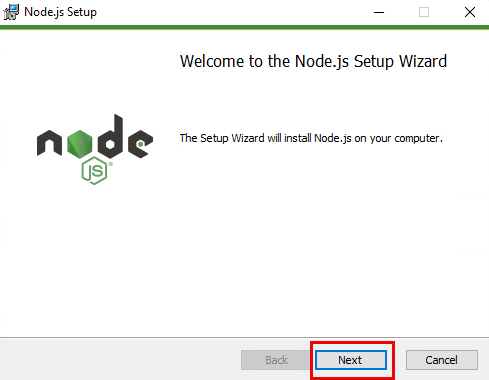
3. Node.js Setup wizard opens. Click on Next.
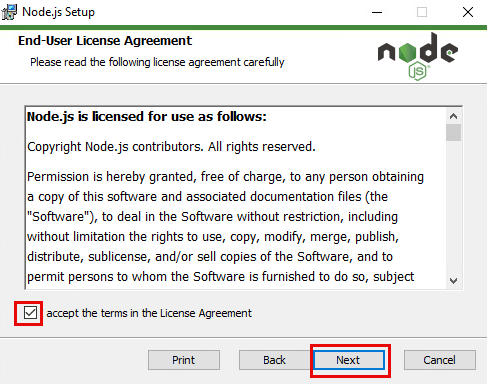
4. Check the box next to I accept the terms in the License Agreement and click on Next.
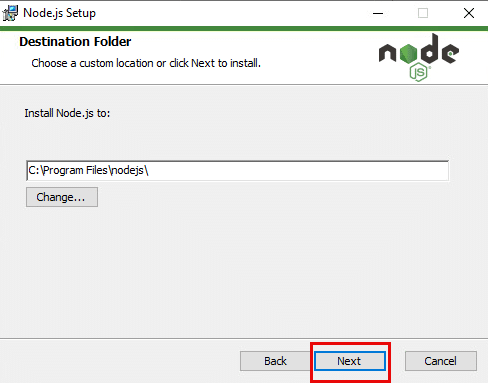
5. You can change the destination folder where you want to install Node.js by clicking on Change.
Then click on Next.
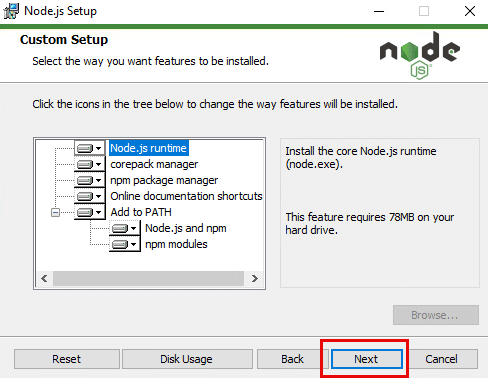
6. Click on Next.
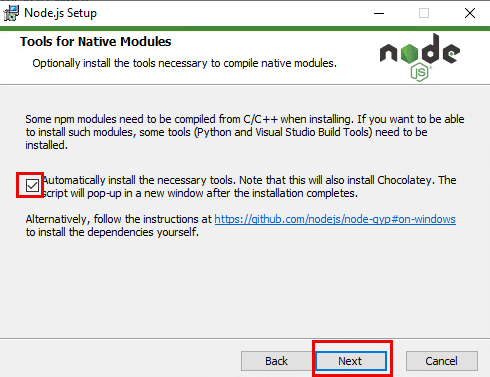
7. Check the box next to Automatically install necessary tools. Then click on Next.
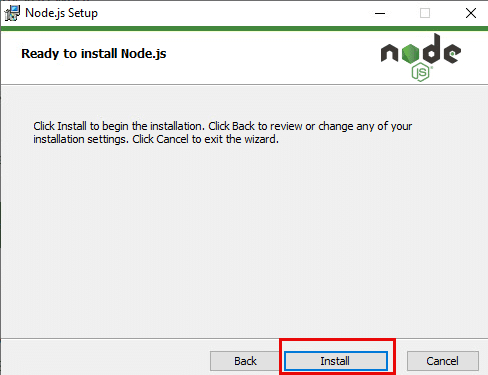
8. Now, click on Install.
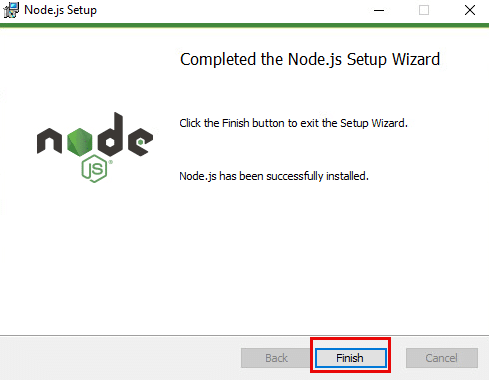
9. Once the installation is complete, you will see the screen below. Click on Finish.
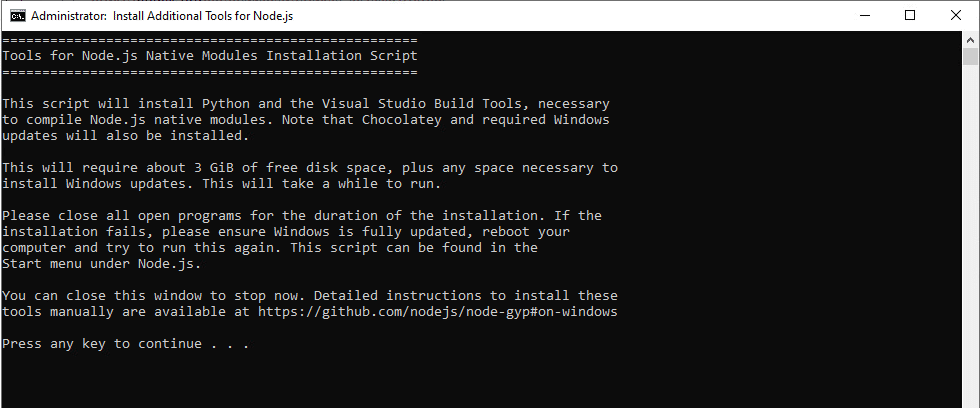
10. Once the Finish button is clicked, it will move to the command prompt to show installation of tools.
Enter any key to continue.
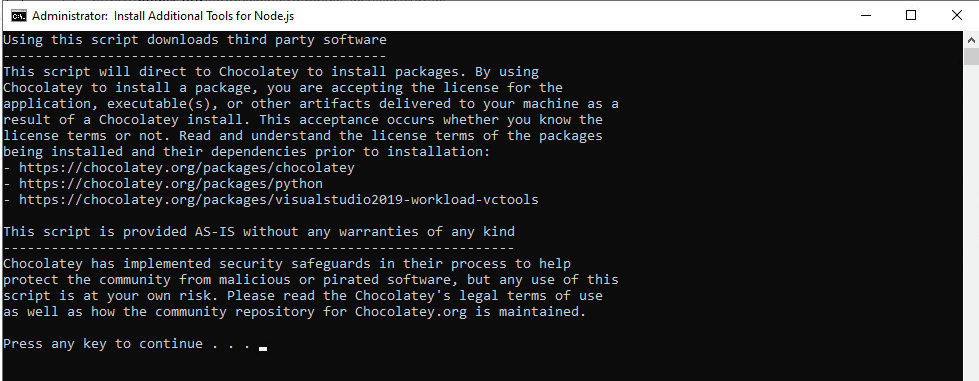
11. After entering any key, the next screen appears showing installation of Chocolatey and its packages
Enter any key to continue.
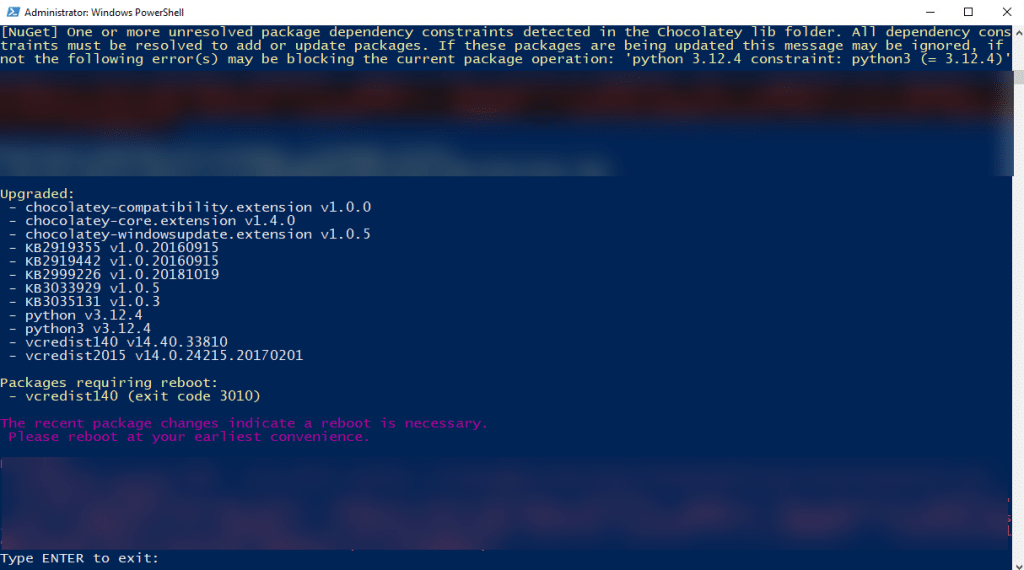
12. After the installation is complete in Windows PowerShell,
Type Enter to exit Windows PowerShell.
Verify your Node.js
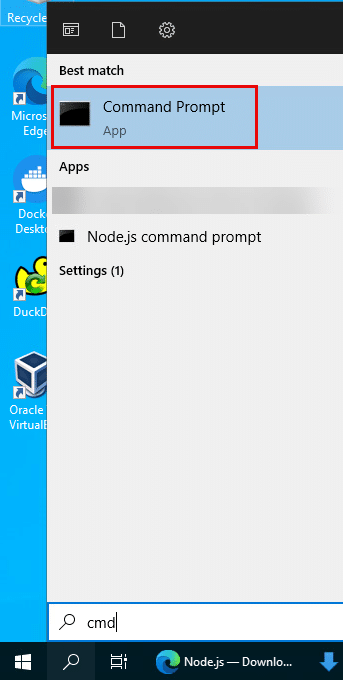
13. Go to the Windows search bar, and type cmd. Select Command Prompt.
Verify installation and version of Node.js
- Verify the installation of Node.js by running the below command
Command:
node --version
You can see the message as “v22.6.0” . This is the version downloaded from Node.js website.
- Also verify the installation npm (node package manager) by running the below command.
Command:
npm --version
You can see the message as “10.8.2”.

14. Now, move to node by typing node in the Command Prompt. To see the messages, type
console.log(“hi”)
Now, you can see the message hi in the next line. You can perform arithmetic operations, too.

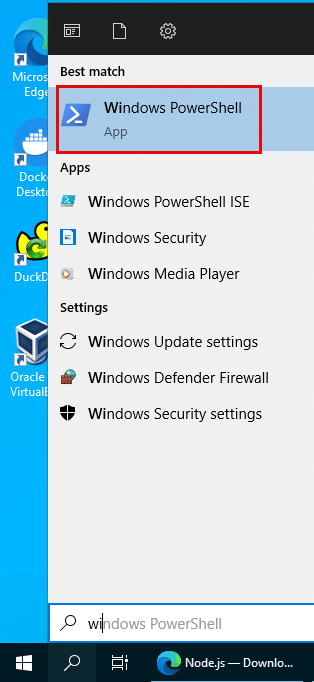
15. You can also check the node version in Windows PowerShell. To do this, go to the windows search bar, type Windows PowerShell and select it.
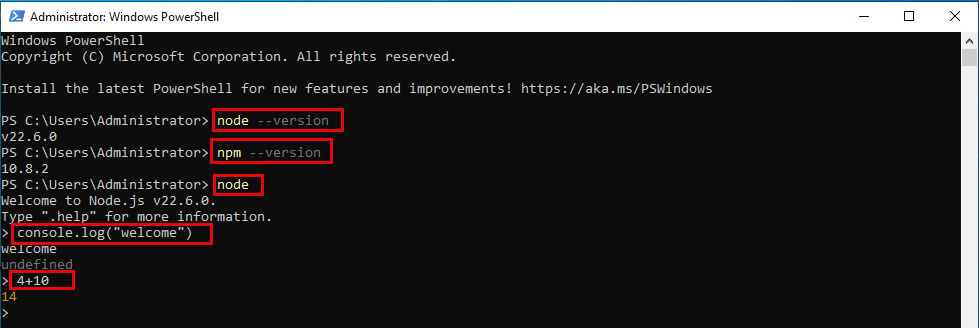
Run this command to verify the installation of node.js and npm.
Commands:
node --version

npm --version
Type node in the next line to change to node prompt.
To see the messages, type:
console.log(“welcome”)
Now, you can see the message welcome in the next line. Similarly, you can perform arithmetic operations.
Ex: type 4+10
You can see the message as 14 in the below screen.
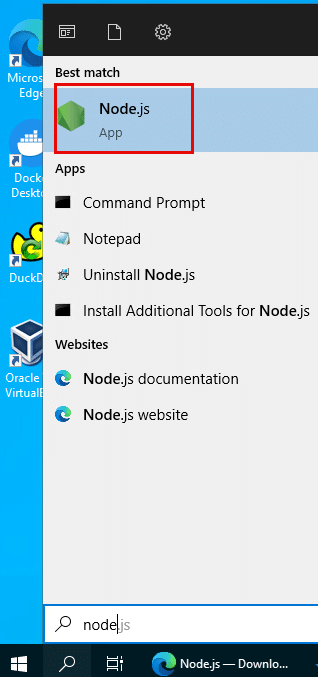
16. To check if Node.js is successfully installed, in the Windows search bar, type Node and select Node.js app to enter the Node command prompt.
Now, you are in Node prompt. To see the messages, type
console.log(“thank u”)
Now, you can see the message thank u in the next line. You can perform arithmetic operations too.
Ex: type 10-2
You can see the message as 8 in the below screen.

Congratulations! You have successfully installed Node.js on your Kamatera Windows server.


