Zulip is an open-source platform for team collaboration. It enhances communication within teams and organizations. It has various features that help users manage conversations, projects, and workflows efficiently.
In Zulip, conversations are organized into streams (like channels) and topics within those streams. This threading allows for structured and organized discussions.
It can integrate with other tools through APIs. It is accessible via browsers, desktop applications and mobile apps.
Here is a step-by-step guide on how to install Zulip on your Kamatera Windows server.
How to install Zulip
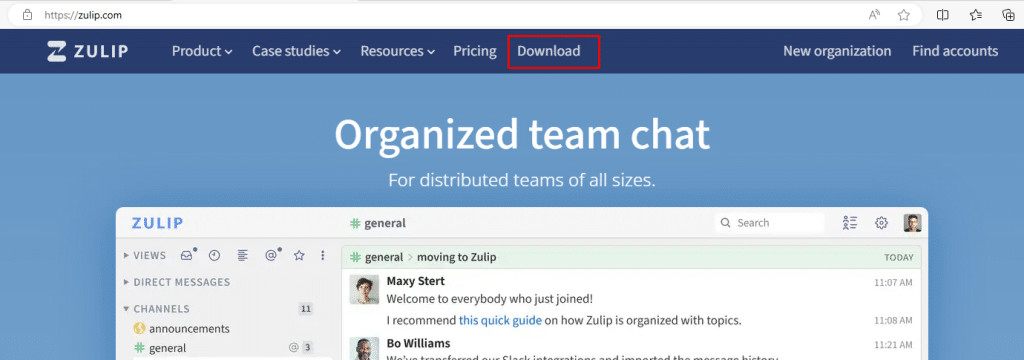
- Go to https://www.zulip.com, and click on Download as shown in the screen below.
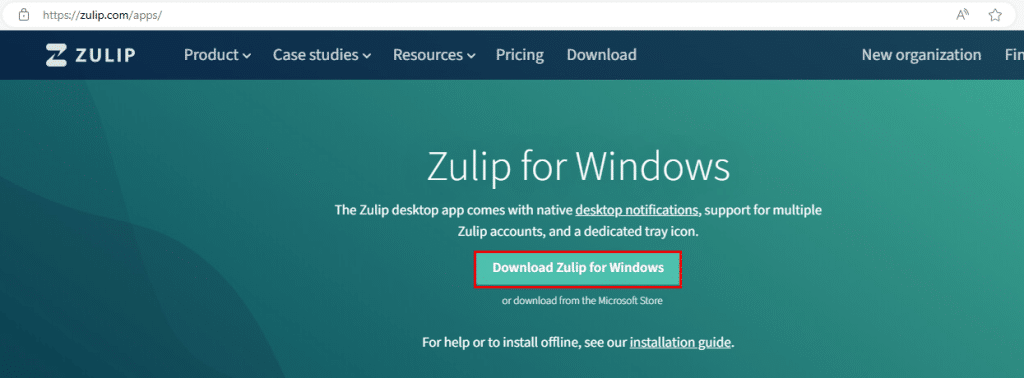
2. Click on Download Zulip for Windows.
3. After downloading the file, click on Open file under Downloads.

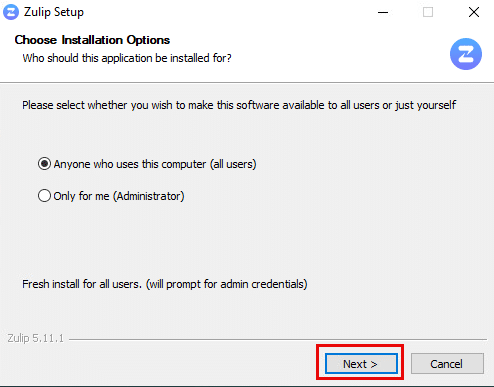
4. Zulip setup wizard opens. Select any of the options according to your choice and click Next. Here, anyone who uses this computer (all users) is selected.
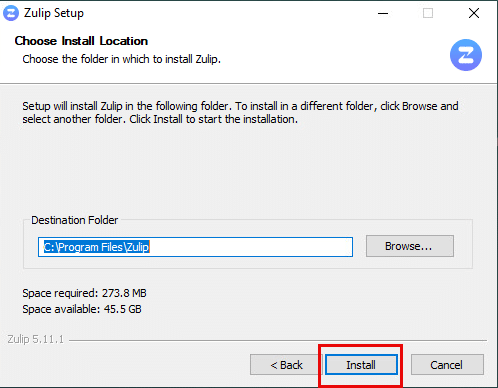
5. You can change the path of the file where you want to save it by clicking on Browse. Otherwise leave it default.
Click Install.
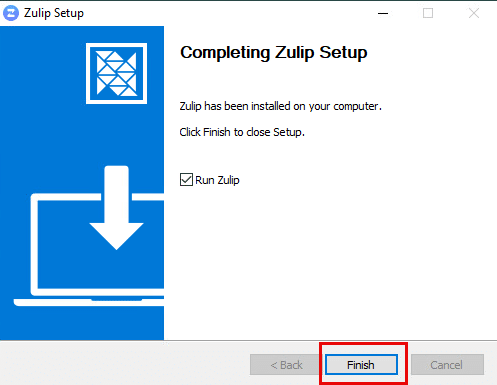
6. After the installation is complete, check the box next to Run Zulip and click Finish.
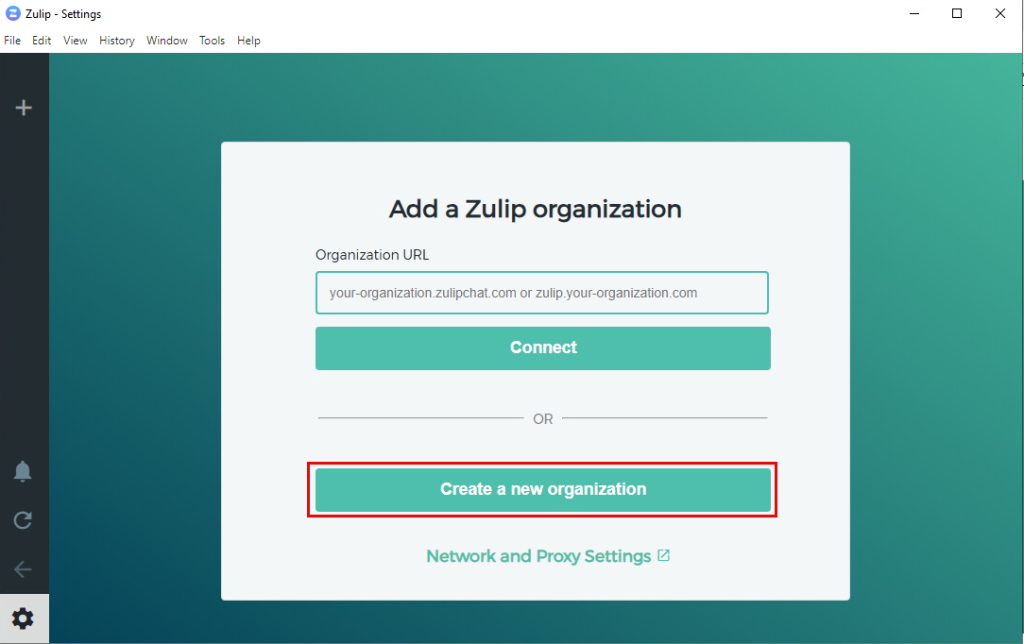
7. You will be directed to a new page. If you have an Organization URL, then enter the URL and click on Connect.
If you want to create a new organization, then click Create a new organization.
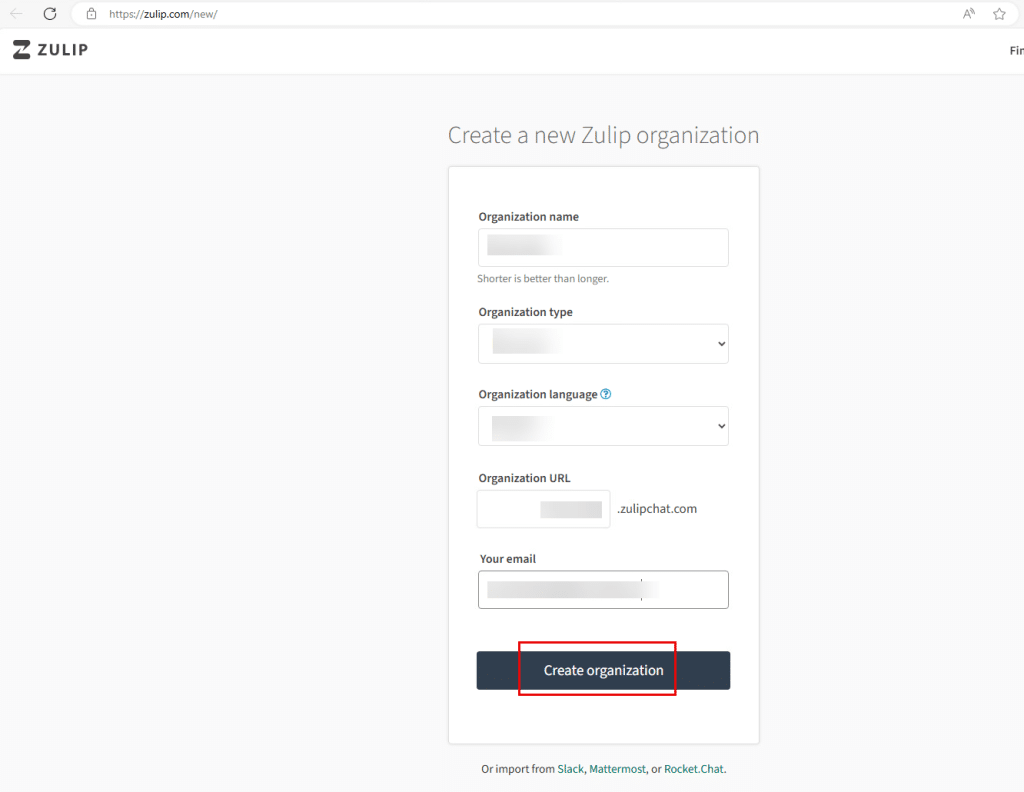
8. Fill in the details and click Create Organization.
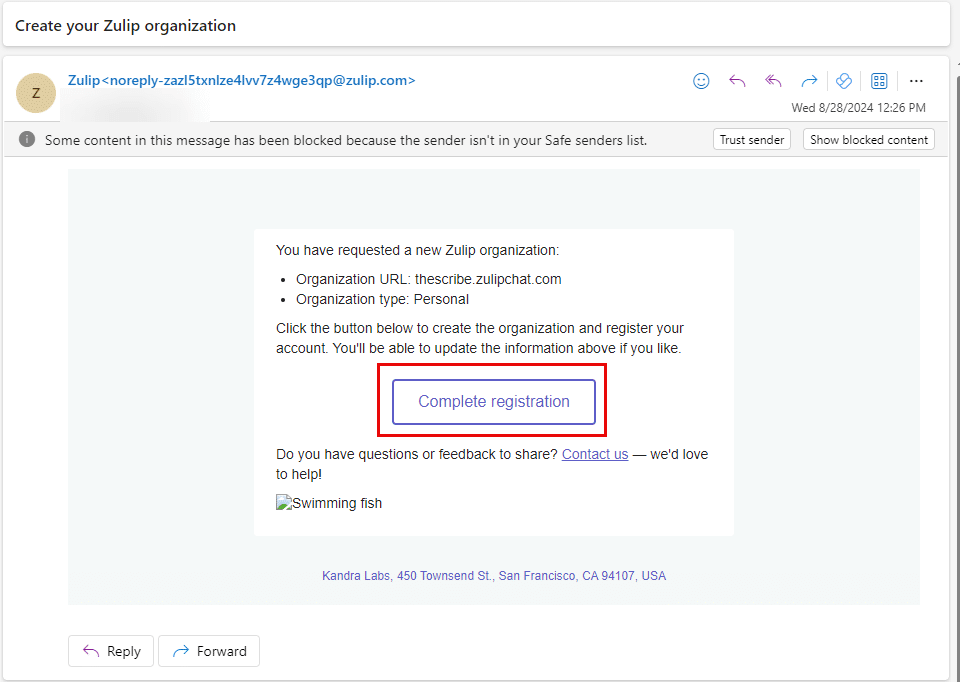
9. A confirmation email is sent to your registered email id.
If the email is not received, click resend it.

10. Check your email account. Open the email received from Zulip, click on Complete registration.
11. Fill in the details.
Check the box next to I agree to the Terms of Service.
Check or uncheck the box next to Subscribe me to Zulip’s low-traffic newsletter. Click Sign up.
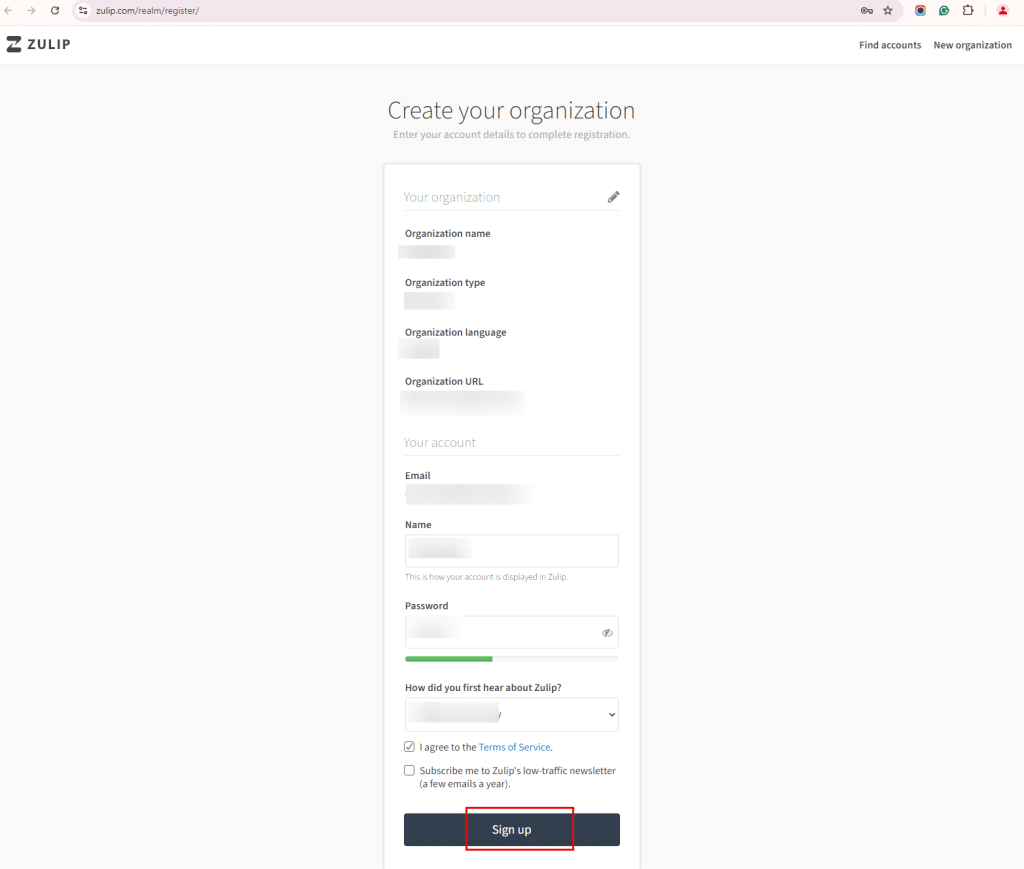
12. You will be redirected to Zulip’s home page.
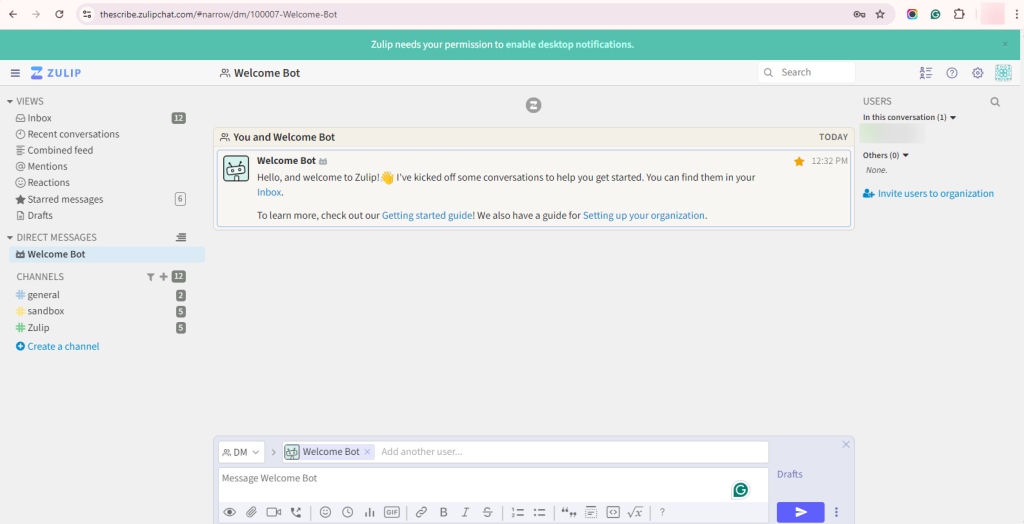
Configure your Zulip server
13. In Zulip’s home page, the Views section on the left side provides a way to organize and manage your streams and messages.
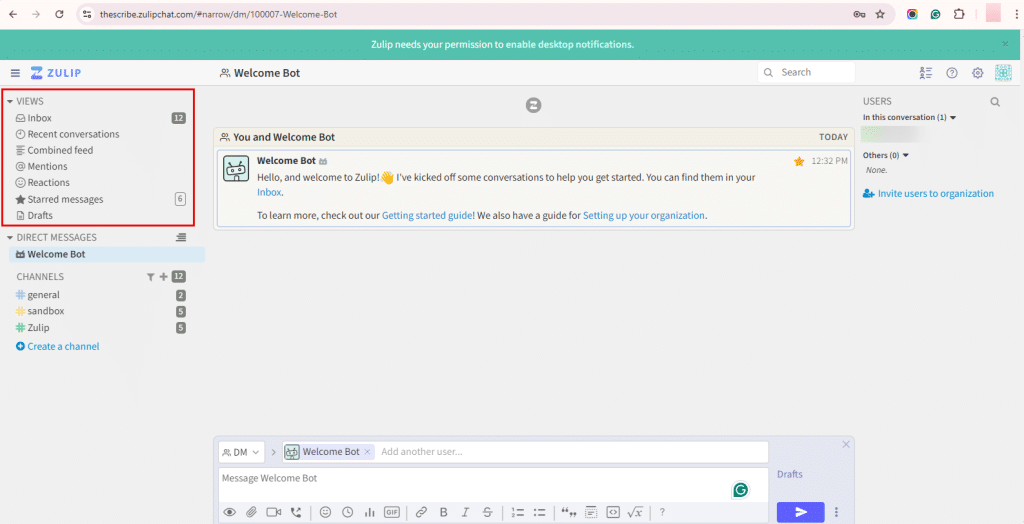
| Field | Description |
| Inbox | Overview of your conversations with unread messages. |
| Recent conversations | Overview of ongoing conversations. |
| Combined feed | All your messages except those in muted channels and topics. |
| Mentions | Messages where you are mentioned. |
| Reactions | Emoji reactions to your messages. |
| Starred messages | Important messages, tasks, and other useful references. |
| Drafts | These are messages that you have started but not sent. |
14. The Direct messages section includes the following:
- Welcome Bot: It is a notification or message that new users receive when they first join a Zulip organization.
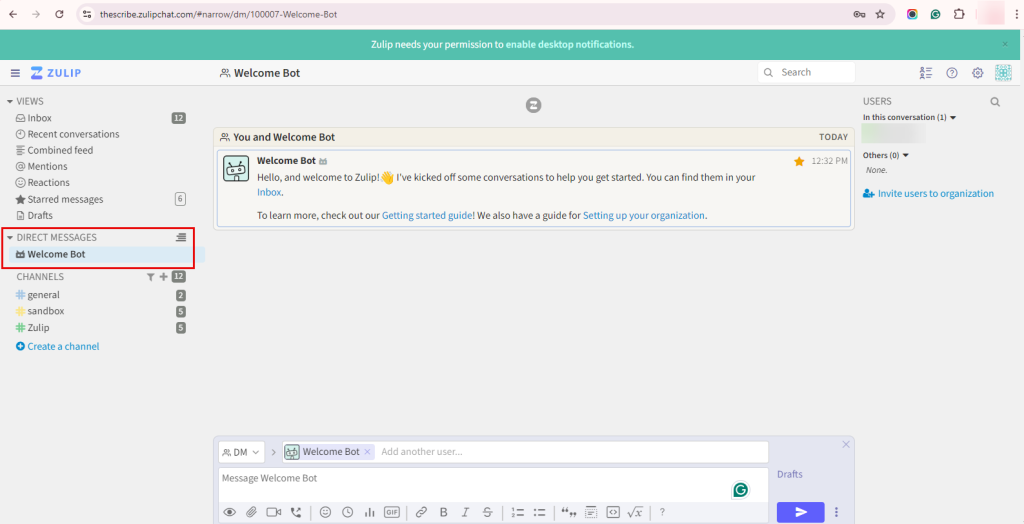
Direct messages are private and one-to-one conversations between users. You can select the user and compose a message as shown in the screen below.
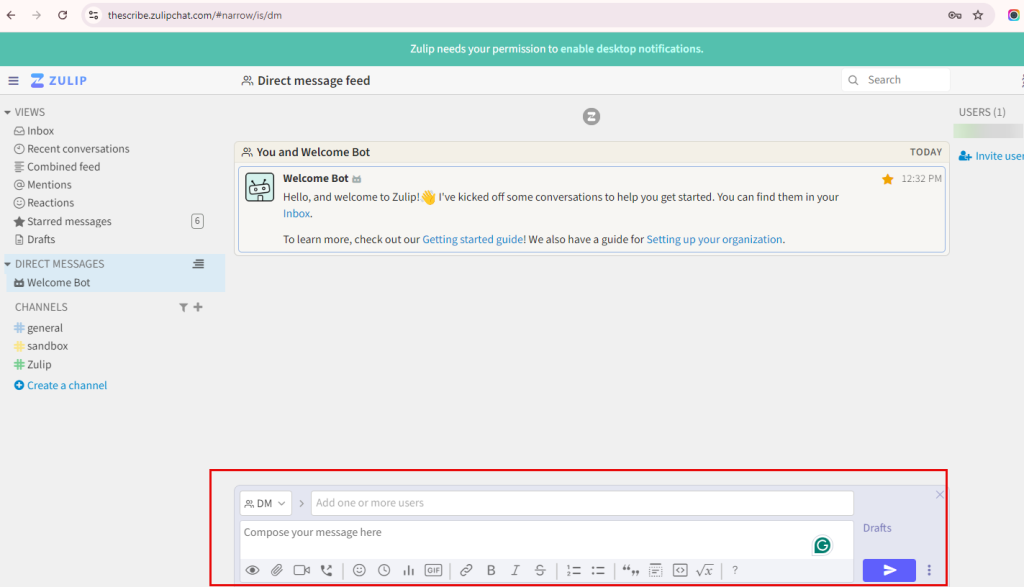
15. In the Channels section,
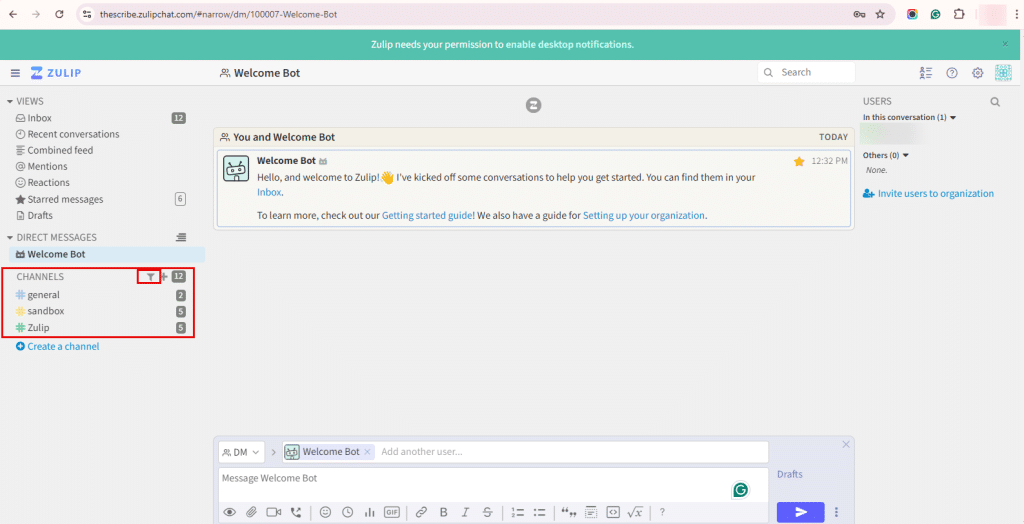
- The filter symbol beside channels allows you to search for streams by name or topic, making it easier to find specific channels in big organizations.
| Field | Description |
| General: It is for team-wide conversations. | |
| greetings | It sends messages to all teammates |
| Sandbox: Experiment with Zulip here. | |
| Start a conversation | Here, you can start a new conversation. This new conversation thread will be labelled with its topic. |
| Experiments | Here, you can try out the new features of Zulip. |
| Zulip: Questions and discussion about using Zulip. | |
| Welcome to zulip! | It guides on how to use Zulip effectively, covering basics like streams, topics, direct messages, and Zulip’s overall functionality. |
| Moving messages | You can easily move messages, rename, and split topics or even move a topic to a different channel. |
How to create a channel
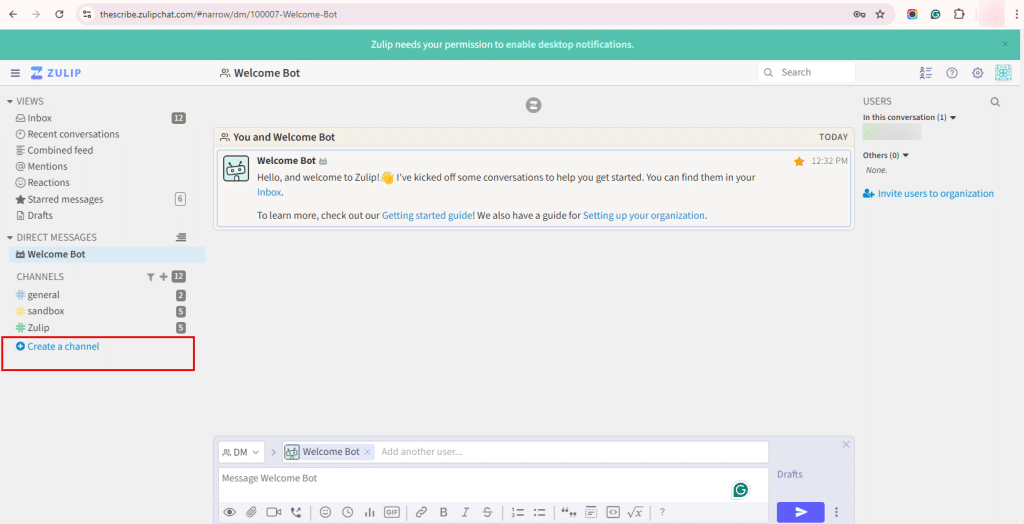
16. Click on Create a Channel.
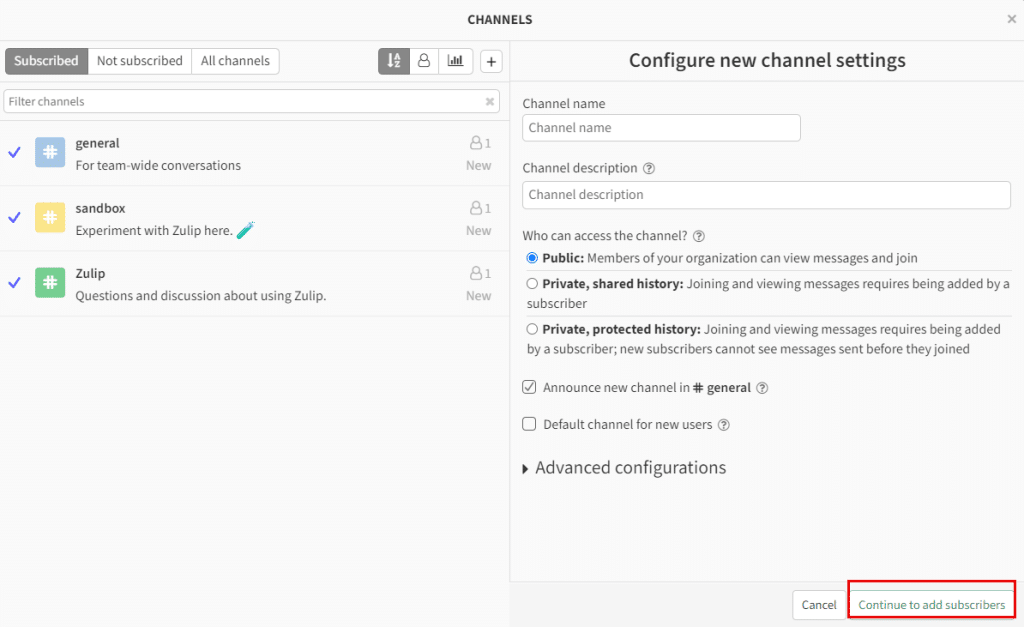
You can create a new channel by filling in the information below. If you want to add more subscribers, then click on Continue to add subscribers.
17. If you want to change the settings, then click on settings icon as shown in the screen below.
Click on Organization settings, to change the profile of your organization.
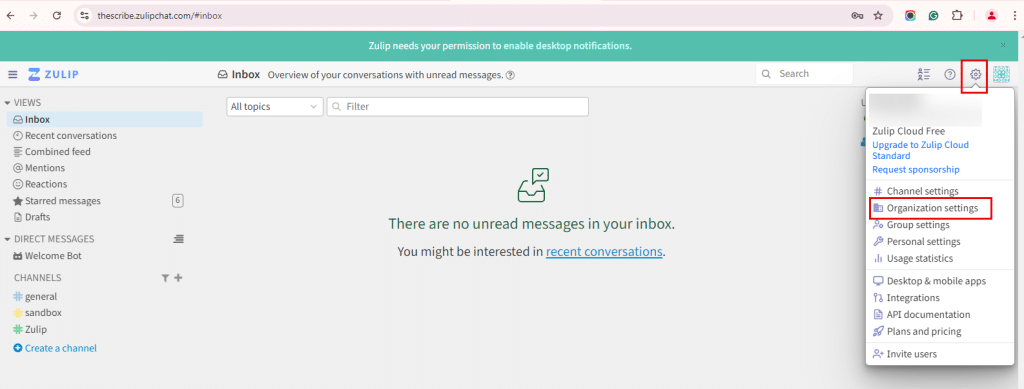
You can change the organization name and type. Give a description and logo for your organization. You can deactivate the organization by clicking on Deactivate organization.
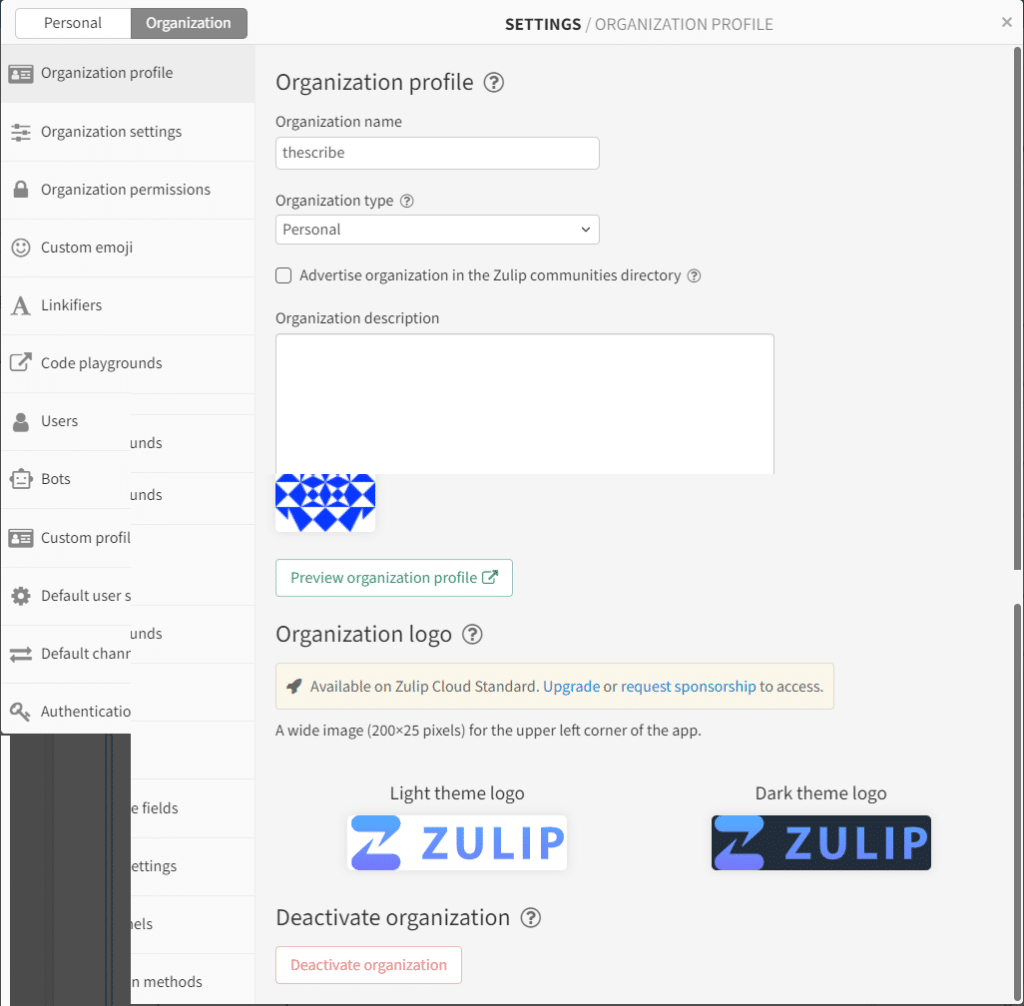
Explore different tabs on the left side to configure the settings according to your requirements. And that’s it! You have successfully configured Zulip on your Kamatera Windows server. Happy messaging!


